Are you tired of seeing the same old boring rugs in your living space? Why not make your own unique rug with a tufting gun? This fun and creative craft has been gaining popularity, allowing people to create custom designs and textures that reflect their personal style. In this blog post, we’ll be discussing how to make a rug with a tufting gun and sharing some tips and tricks to help you get started.
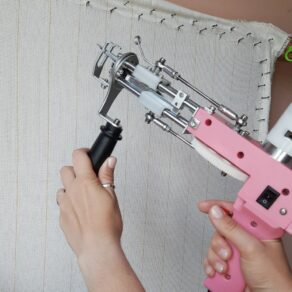
Tufting guns have been used in industrial settings for decades, but only recently have they become accessible to the general public. These handheld devices work by punching yarn through a fabric backing, creating a looped pile that can be trimmed to create different textures. With a tufting gun, you can create a variety of designs, from simple geometric shapes to more complex patterns and even portraits. In this post, we’ll be covering everything from selecting the right materials and tools to troubleshooting common problems and finishing techniques. So, let’s get started and make a one-of-a-kind rug that will be the envy of all your friends and family!
Ditch the Boring Rugs: Embrace Your Creativity with Tufting Gun Art
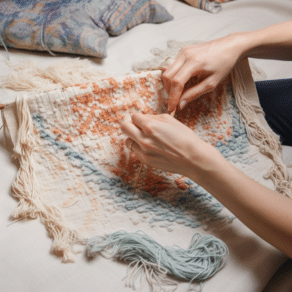
A rug made with a tufting gun is a type of rug that is created using a handheld device that punches yarn through a fabric backing, creating a looped pile. The tufting gun allows for precision and speed in the process of making rugs (compared to traditional techniques such as hand-tufting, weaving, or knotting). You can create various designs, patterns, and textures.
The yarn is held in place by the backing, which is usually made of fabric or hessian. The loops can be trimmed to create a pile of varying heights, giving the rug a plush and luxurious feel. The process of making is relatively simple and can be done by anyone with some basic knowledge and tools.
The Perfect Way to Channel Your Inner Crafter and other benefits of tufting rugs
There are several reasons why you should make a rug with a tufting gun.
- Firstly, it allows you to create a rug that is unique and personalized to your taste.
- With a tufting gun, you can experiment with different designs, patterns, and textures.
- Such rugs are generally quicker and easier to make than other rug-making techniques (such as hand-tufting or knotting). This means you can create a beautiful product in a shorter amount of time, with less physical strain on your hands and wrists.
- Tufting gun rugs are also relatively inexpensive to make, as you can use a wide variety of fabrics to suit your budget.
- Lastly, it is can be a fun and rewarding hobby that allows you to unleash your creativity and produce something that you can be proud of.
Discover the Joy of Tufting: Tips and Tricks for Making Your Own Rug
I’m so excited to share my experience on how to make a rug with a tufting gun! As someone who’s been tufting for a while, I can confidently say that it’s one of the most fun and rewarding hobbies out there. The best part is that anyone can do it, regardless of skill level or experience.
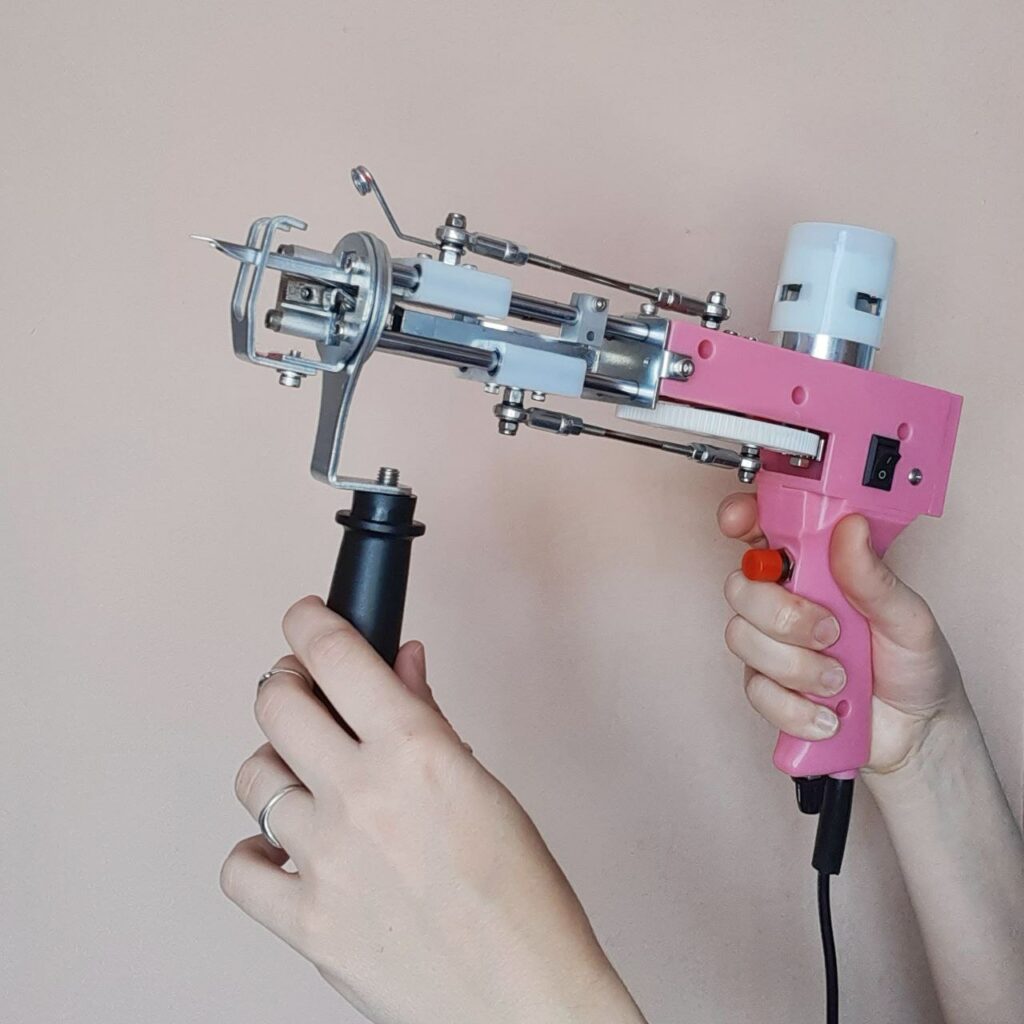
Firstly, let’s talk about the tufting gun itself. I’ve tried a few different models, and my favorite by far is the one with an adjustable pile height. This allows you to create different textures and pile lengths, which adds depth and dimension to your rug. I prefer to use a mix of wool and acrylic, as it’s soft, durable, and easy to work with.
When it comes to selecting a backing, I recommend using a sturdy fabric like hessian or cotton twill. This will ensure that your rug stays in place and doesn’t curl at the edges. I also like to use a non-slip rug pad underneath my finished rug, especially if it’s going to be placed on hardwood or tile floors.
Now, let’s get to the fun part – designing and tufting your rug! I usually start by sketching out a rough design on paper, but you can also use graph paper or a digital design tool if you prefer. Once you have your design ready, it’s time to load your tufting gun and start punching those loops!
One thing to keep in mind is that tufting can be a bit tricky at first, so don’t get discouraged if you don’t get it right away. It takes a bit of practice to get the tension and pile height just right. But once you get the hang of it, it’s incredibly satisfying to watch your rug take shape.
Overall, making a rug with a tufting gun is a fun and creative process that anyone can enjoy. It’s a great way to add a personal touch to your home decor and create a one-of-a-kind piece that you can be proud of. So, grab your tufting gun and get ready to unleash your inner artist!
The Art of Tufting: Crafting a Beautiful and Durable Rug with the Right Ingredients
- Tufting Gun: This is the main tool used to make a tufted rug. It works by punching loops a fabric backing to create a plush pile. There are many different types and models of tufting guns available, but some features to look for include an adjustable pile height, a comfortable grip, and durability.
- Yarn: You choose for your tufted rug will determine its texture, durability, and overall appearance. It needs to be strong enough to withstand the punching process without breaking or shedding. Some popular choices for tufting include wool, acrylic, and cotton.
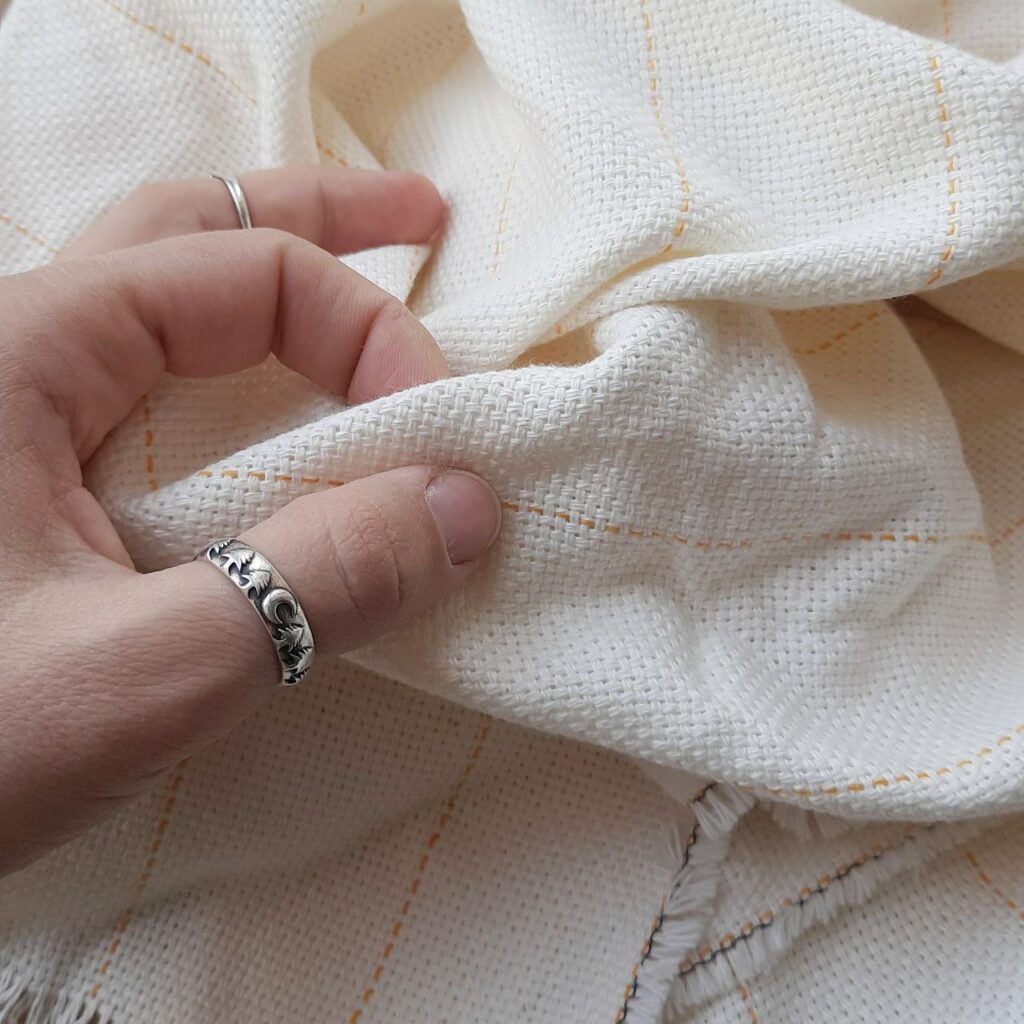
- Backing Fabric: This is what you’ll be punching the loops into with your tufting gun. It’s important to choose a sturdy fabric that won’t tear or stretch, as this can cause your rug to warp or curl at the edges. Hessian, cotton twill and monk’s cloth are all good options for tufted rug backings.
- Non-Slip Rug Pad: Once your tufted rug is finished, you’ll need to secure it in place to prevent slipping and sliding. A non-slip rug pad is a great solution for this, as it provides grip and cushioning while protecting your floors. Be sure to measure your rug and select a pad that’s the appropriate size.
Here’s a comparison table to summarize:
| Ingredient | Features | |
|---|---|---|
It works by punching loops of yarn  | Tufting Gun
| Check Price |
Hessian, cotton twill and monk's cloth are all good options 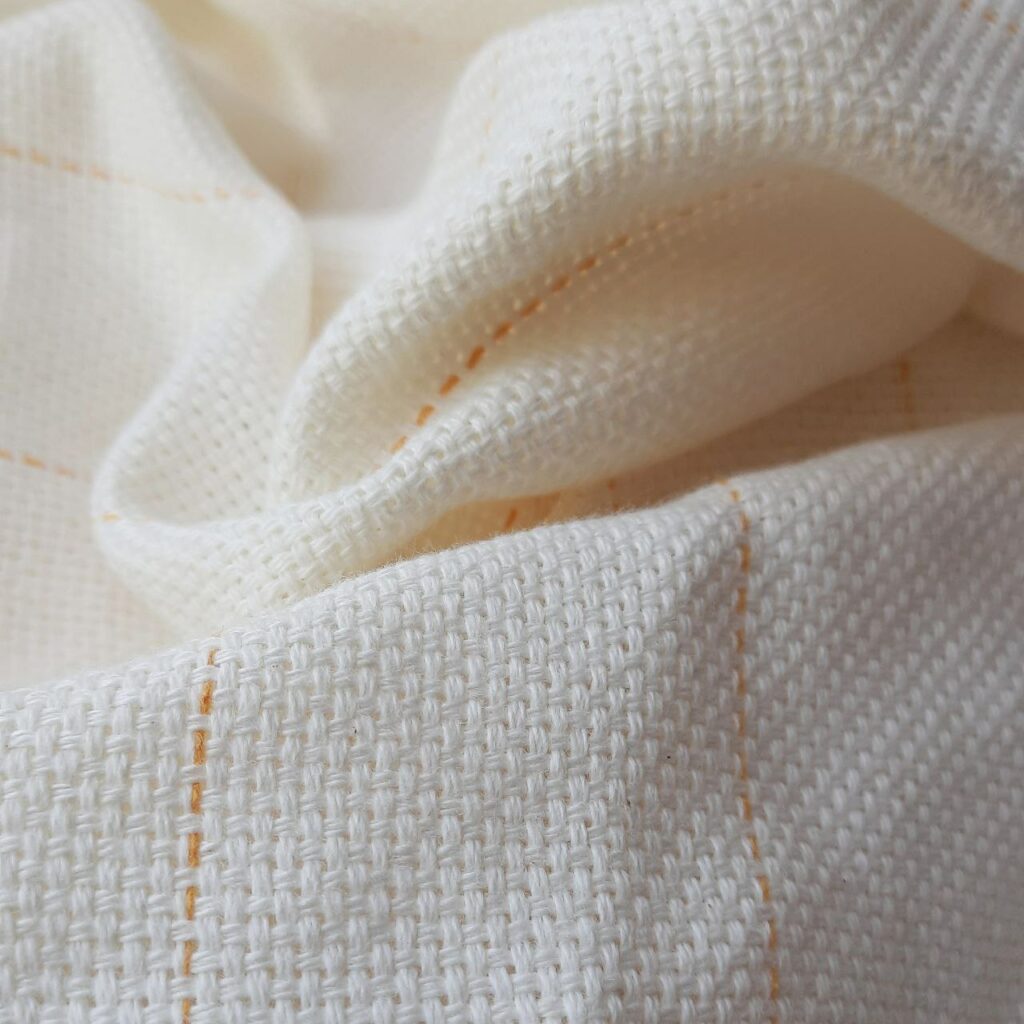 | Backing Fabric
| Check Price |
it provides grip and cushioning 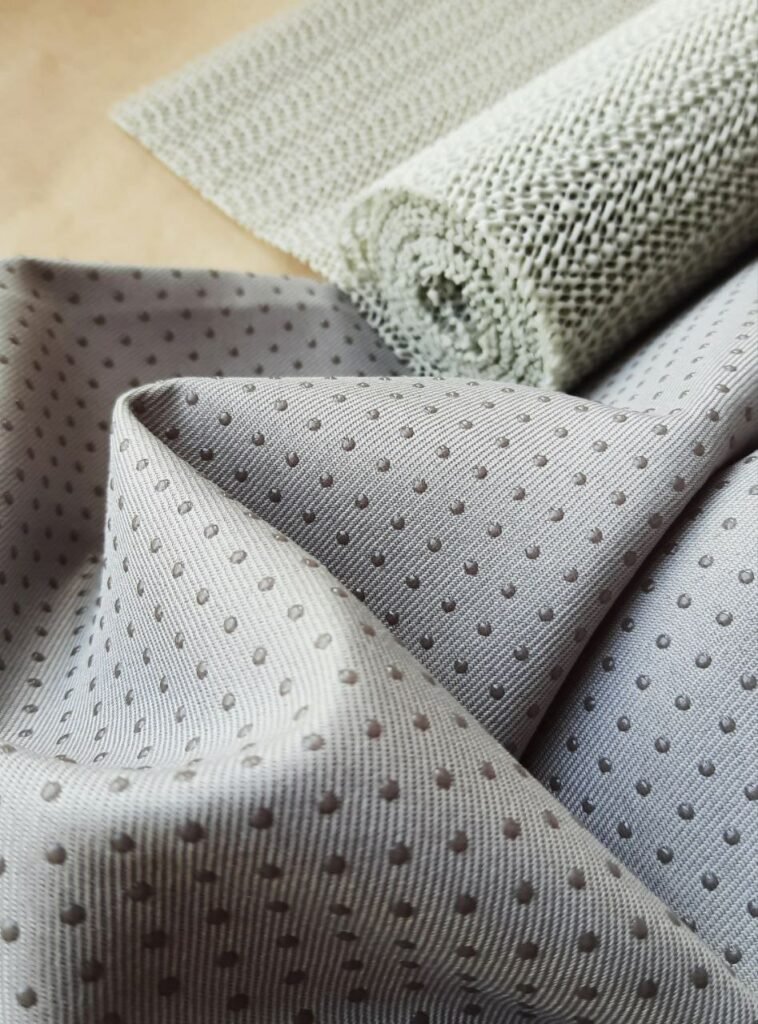 | Non-Slip Rug Pad
| Check Price |
When selecting your tufting gun, yarn, backing fabric, and non-slip rug pad, consider the features and benefits of each ingredient to ensure you create a high-quality and long-lasting tufted rug.
Let’s Get Tufting! Follow These Easy Steps to Make Your Own Tufted Rug
Alright, let’s get started with making a rug with a tufting gun! This project can be a bit time-consuming, but the results are well worth the effort. Here’s a step-by-step guide on how to create your own beautiful tufted rug:
Step 1: Choose Your Design and Materials
Decide on the design and size of your rug, and choose the yarn and backing fabric you’ll be using. Make sure the yarn is strong enough to withstand the tufting process and that the backing fabric is sturdy enough to support the weight of the loops.
Step 2: Prepare Your Backing Fabric
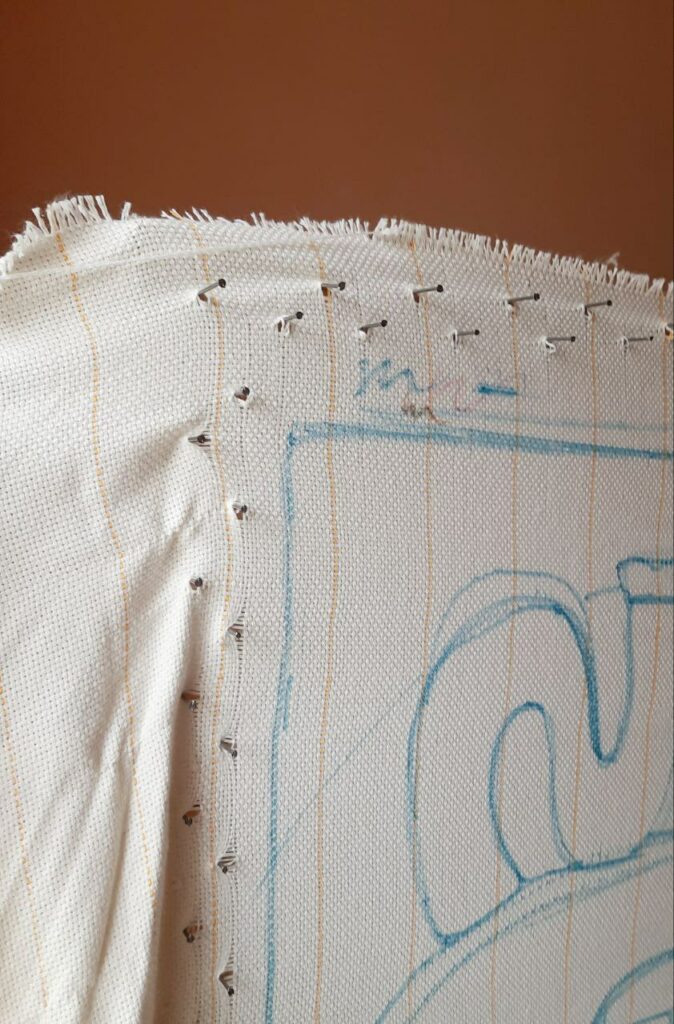
Stretch your backing fabric onto a frame or hoop to keep it taut while you work. Cut the fabric to the desired size, leaving some extra fabric around the edges to allow for trimming later.
Step 3: Load Your Tufting Gun
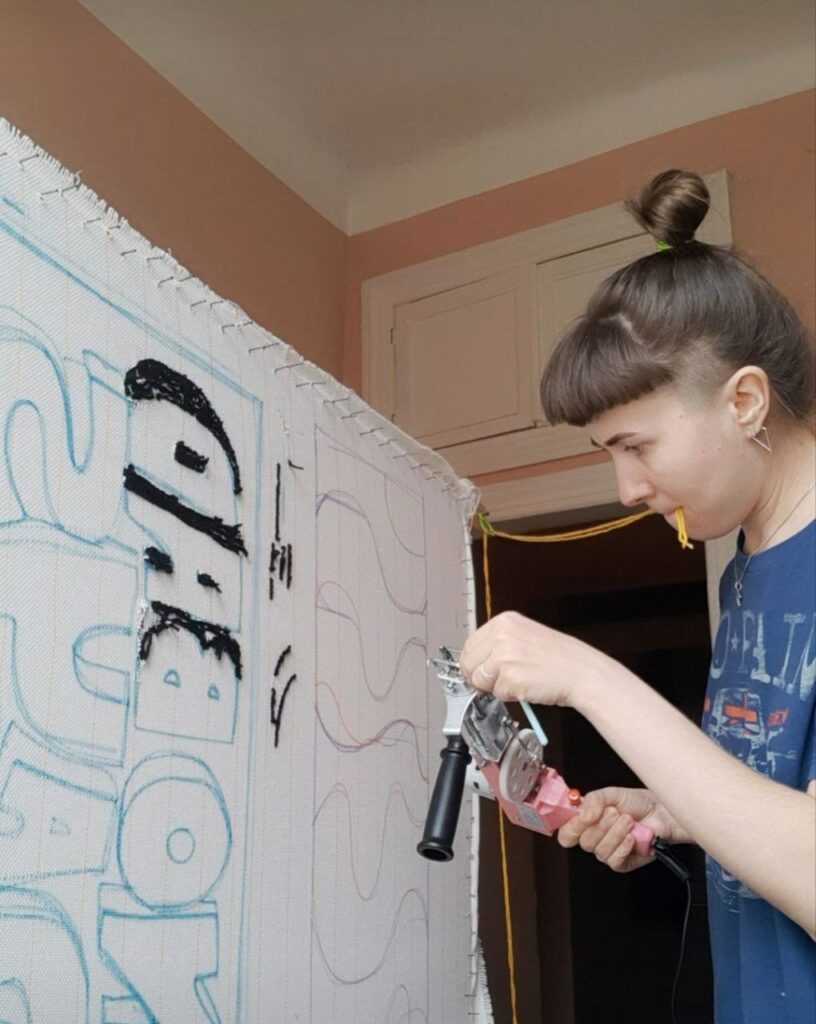
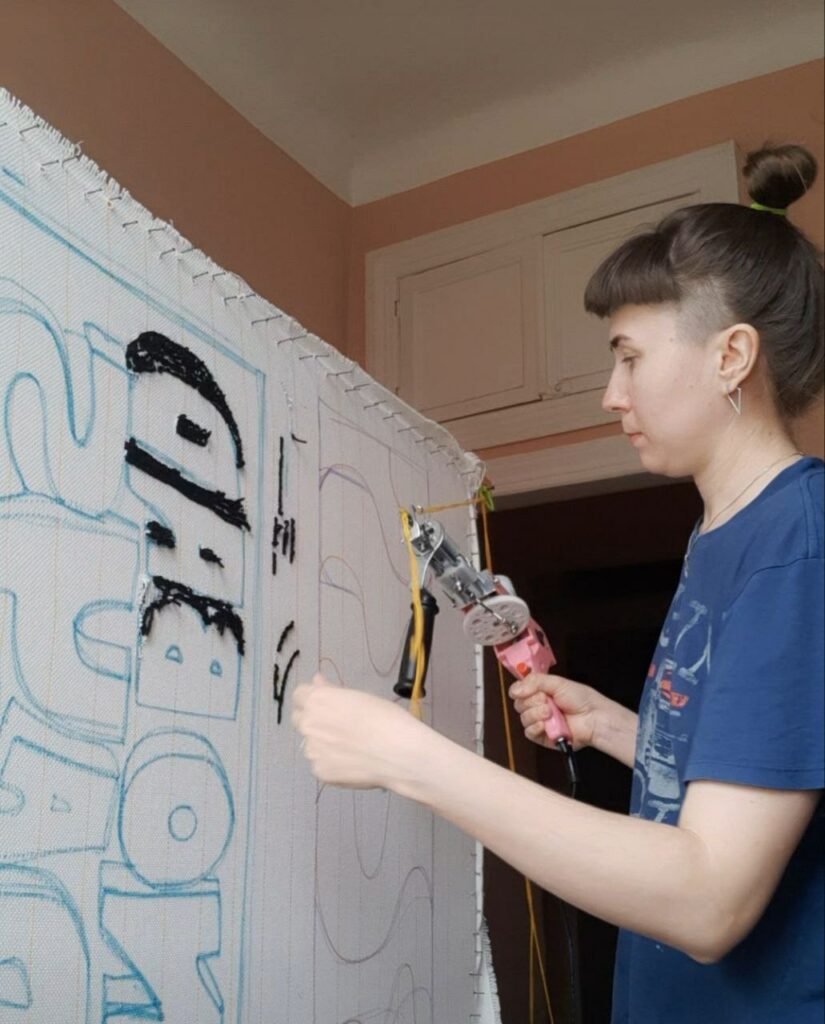
Load your tufting gun. Make sure the yarn is threaded through the needle and that the needle is set to the desired pile height.
Step 4: Start Tufting
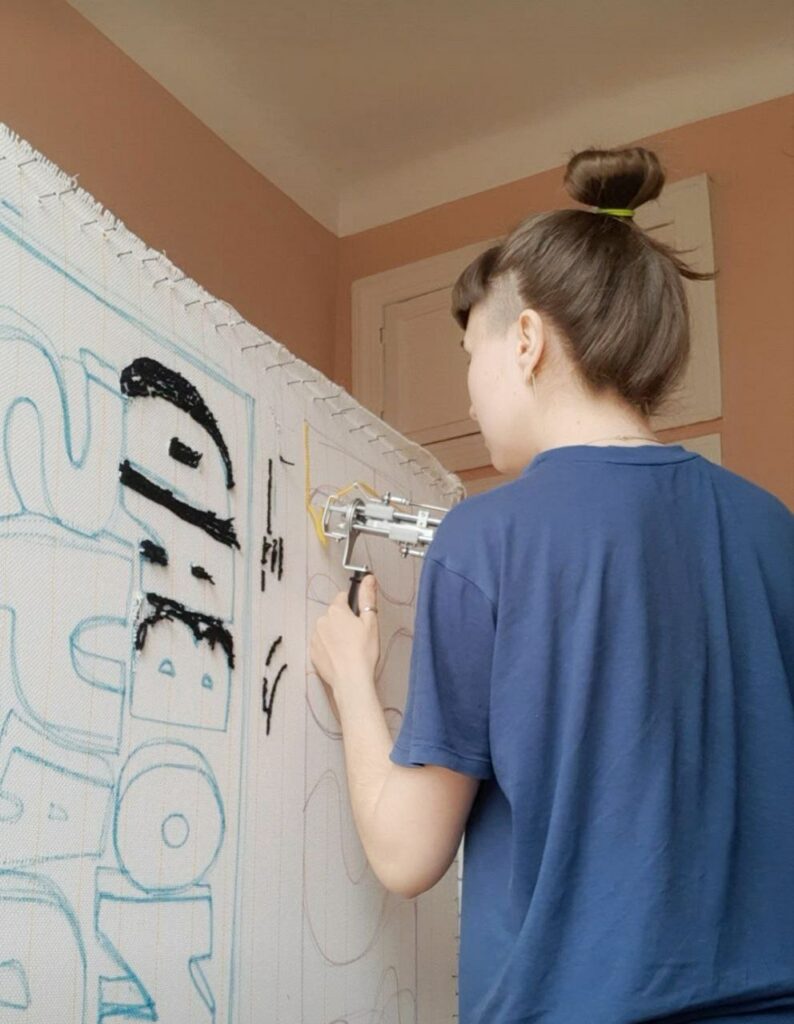
Begin tufting your design onto the backing fabric, working from the back to the front. Use the tufting gun to punch loops through the backing fabric, following your chosen design. Make sure the loops are even and consistent in length.
Step 5: Build Your Design
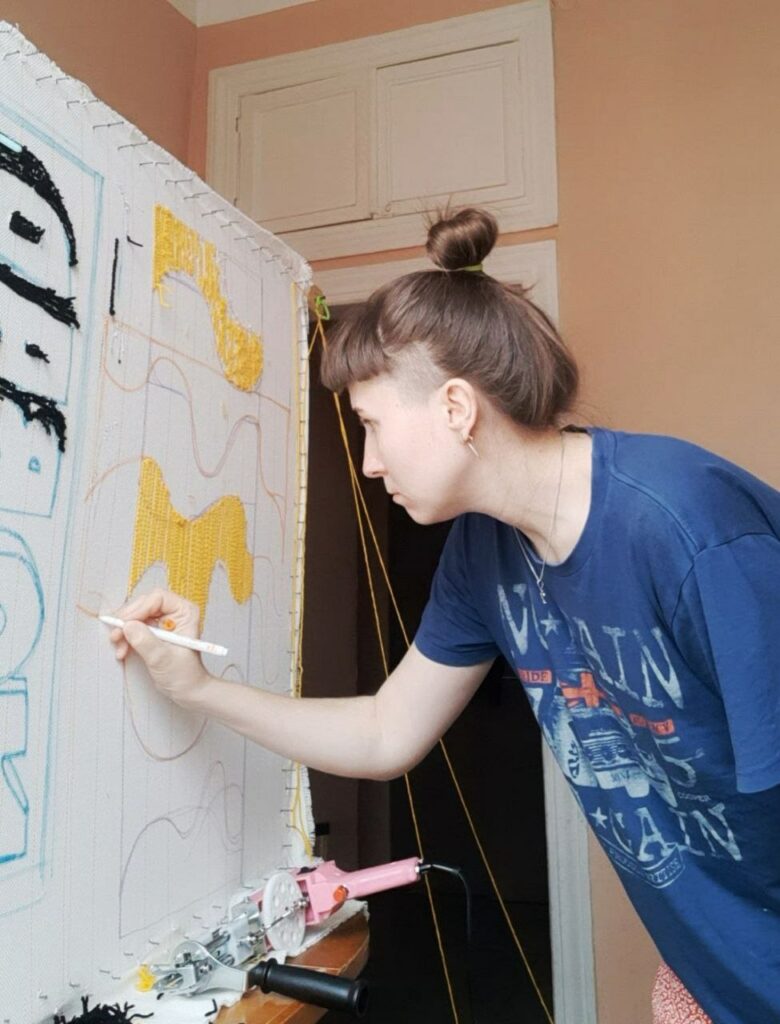
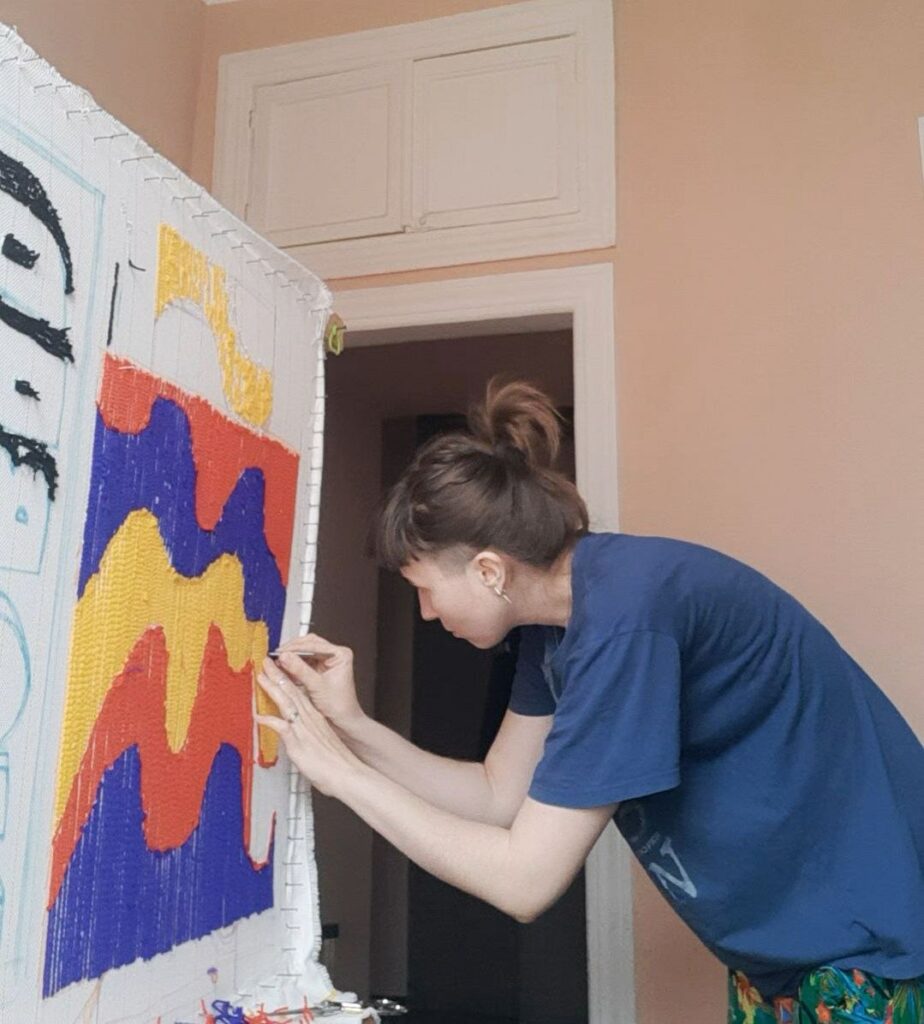
Continue tufting your design, layering loops of different colors and textures to create depth and interest. Adjust the pile height of your tufting gun as needed to achieve your desired texture.
Step 6: Trim and Finish Your Rug
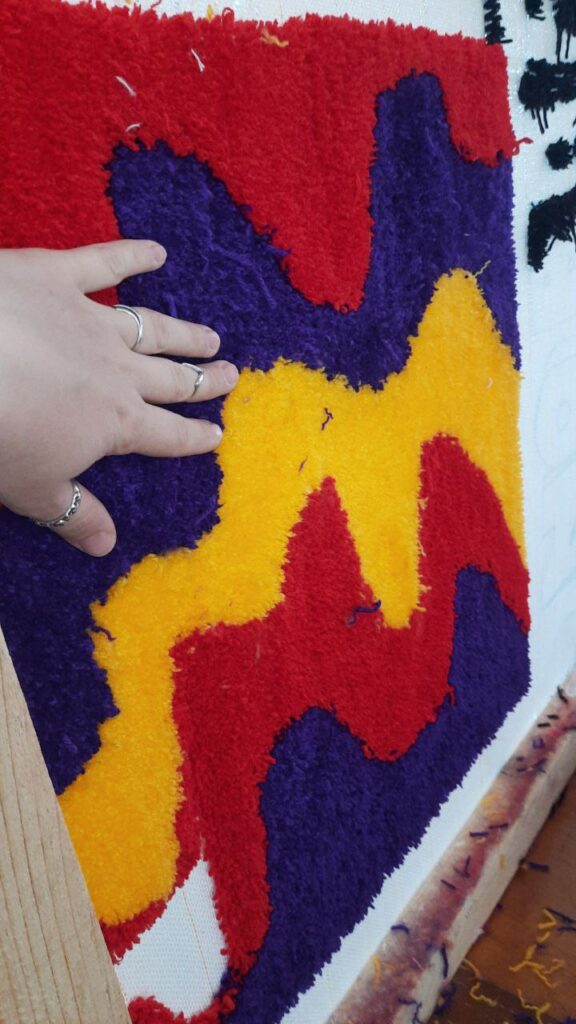
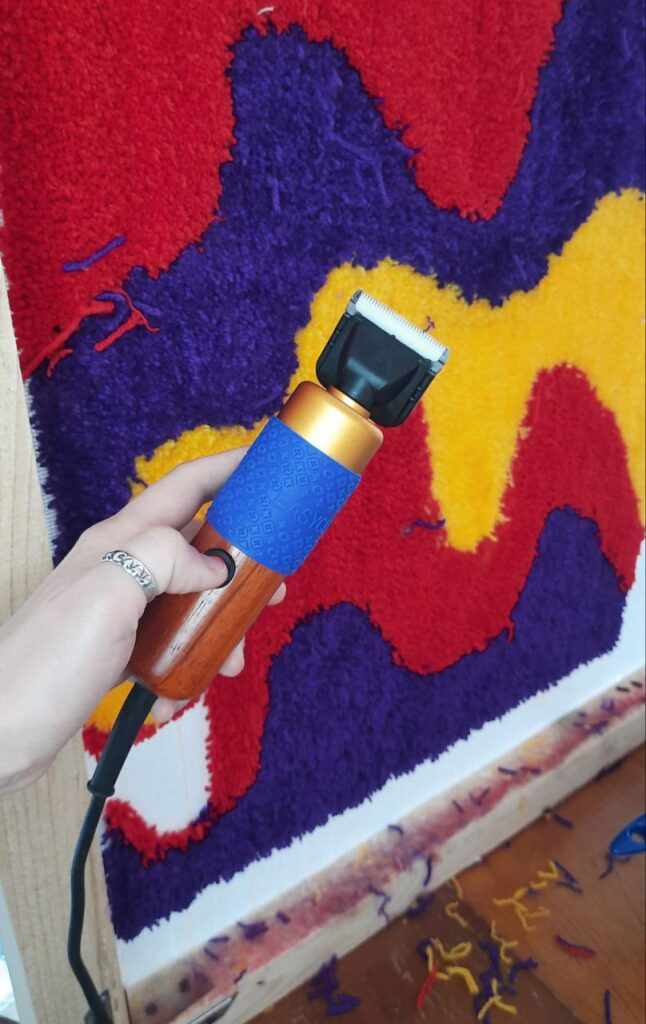
Once you’ve completed your design, trim any excess fabric from the edges of your rug. Secure any loose ends with a knot or weave them into the backing fabric. Optionally, add a non-slip rug pad to the back of your rug to prevent slipping.
And that’s it! With a bit of patience and practice, you can create a beautiful and unique tufted rug that will add a cozy touch to any room in your home.
FAQ
The time it takes to make a tufted rug with a tufting gun can vary depending on the size and complexity of the design. Generally, a small rug can take a few hours to complete, while larger rugs can take several days or even weeks.
While you can technically use any kind of fabric for the backing, it’s important to choose one that is sturdy enough to support the weight of the loops. A heavy canvas or rug warp fabric works well.
To clean your tufted rug, vacuum it regularly to remove any loose dirt or debris. For deeper cleaning, you can use a carpet cleaner or have it professionally cleaned.
Absolutely! Tufting guns can be used to create a variety of tufted projects, including wall hangings, pillows, and even clothing.




Leave a Comment