In this post, I’ll walk through the basics of dyeing yarn from start to finish. With a bit of dye, some basic supplies, and a few easy techniques, you can transform ordinary skeins into vivid, one-of-a-kind works of art.
We’ll cover everything from choosing the right dyes and fibers to preparing your materials and mastering simple dyeing methods. You’ll learn techniques for achieving beautiful saturated hues, muted tones, and everything in between. Along the way, I’ll share tips from my experience for troubleshooting common issues and taking your color blending to the next level. Let’s dive into the magical world of colorful custom yarns.
Natural, Acid, or Fiber Reactive: Selecting the Best Dye
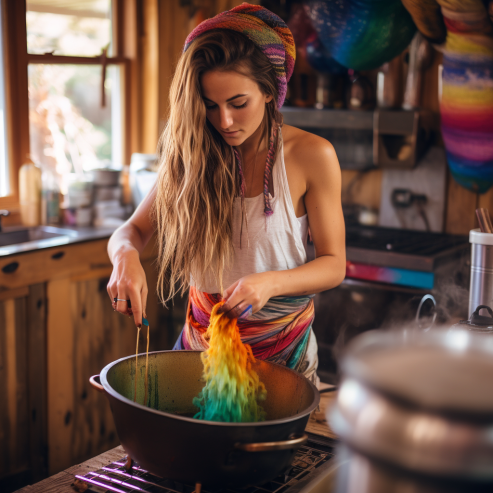
When embarking on a yarn dyeing project, one of the most critical choices is selecting the ideal dye type for your fiber. There are three main categories of dyes used for hand-dyeing yarn – natural dyes, acid dyes, and fiber-reactive dyes. Each has its own set of advantages and limitations.
- Natural dyes derive from plants, insects, and minerals and impart gorgeous soft hues onto protein and cellulose fibers. Sources like avocado pits, black beans, turmeric, and cochineal bugs produce lovely earthy tones. However, natural dyeing requires more effort – the dyes don’t readily adhere to the fibers, so a mordant is needed to form a bond between the dye and yarn. The colors tend to be more subtle and muted than synthetic dyes.
- Acid dyes work exceptionally well for dyeing silk, wool, and other animal fibers. They are easy to use with vivid, colorfast results. The only downside is acid dyes can’t be used on plant-based fibers. My analysis shows acid dyes are ideal for adding bright pops of color to wool yarn.
- Fiber-reactive dyes are perfect for dyeing cotton, linen, hemp, and other plant fibers. They undergo a chemical reaction, forming a permanent bond with the cellulose fiber molecules. The colors are very intense and long-lasting. Fiber reactives allow for endless color options like neon brights and deep jewel tones. The main limitation is fiber fiber-reactive dyes can only be used on plant-based yarns.
To select the best dye, always consider the fiber content of your yarn. Animal fibers pair best with acid dyes, while plant fibers dye optimally with fiber reactive. Consulting this comparison chart can help match the right dye to your yarn for a beautiful, lasting color. With so many types of dyes available, do your research to choose one perfectly suited to your project.
| Dye Type | Fiber Compatibility | Pros | Cons |
| Natural Dyes | Animal and plant fibers | Derived from natural materials like plants, minerals, insects | Colors are more muted, mordant required, more effort |
| Acid Dyes | Animal fibers like wool, silk | Vibrant, colorfast results, easy to use | Not compatible with plant fibers |
| Fiber Reactive Dyes | Plant fibers like cotton, linen, hemp | Intense, long-lasting colors, wide color spectrum | Can only be used on plant-based yarns |
Scour, Rinse, Dry: Getting Yarn Ready for Dyeing
According to my experience, taking the time to get your yarn ready will ensure the dyes absorb evenly and produce vibrant, lasting color.
The main goal of pre-dye yarn preparation is removing any residues like dirt, oil, or sizing left over from the manufacturing process. These contaminants can prevent dyes from properly bonding to the fibers. Here are the key steps I recommend for getting your yarn dye-ready:
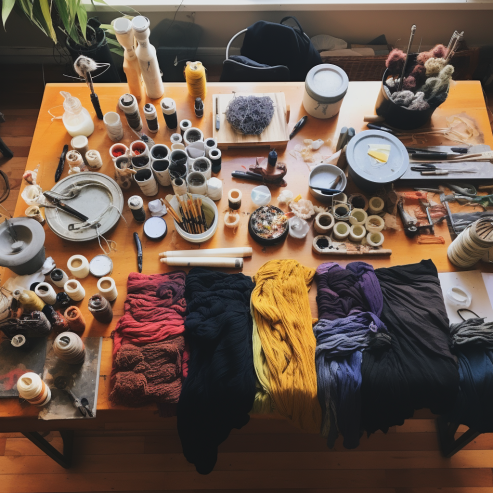
Scour the Yarn
Scouring involves washing the yarn with a detergent solution to remove oils and dirt. The scouring process opens up the fiber scales, allowing better dye uptake. For best results, use a pH-neutral liquid detergent and soak the yarn for at least 30 minutes before rinsing.
Rinse Thoroughly
It’s crucial to rinse all traces of detergent from the scoured yarn – any residual soap can interfere with dyeing. Rinse the yarn under running water until the water runs clear. For heavier yarns, a cold water extraction cycle in the washing machine removes more moisture.
Dry the Yarn
Use a mesh bag or tie the washed yarn into loose skeins, then allow to air dry fully before dyeing. If any moisture remains, it can dilute the dye bath and cause uneven coloring.
Safety First: Essentials for Your Dye Area
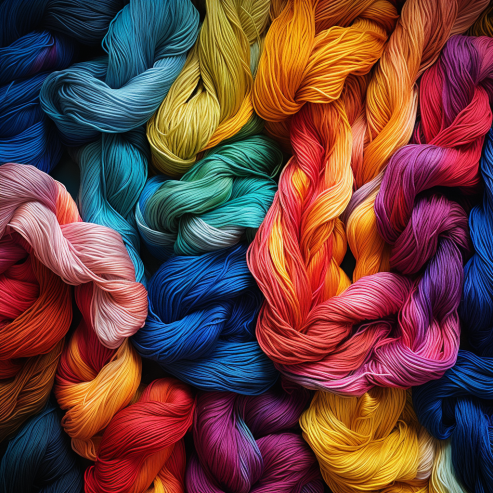
When dyeing yarn at home, designating a specific dyeing area is invaluable for keeping the process contained and organized. Through trial and error, I found that setting up your workspace thoughtfully ahead of time makes all the difference. Here are my top tips for preparing your home dye studio:
Select a Dedicated Space
Choose an area of your home that can get a bit messy, like a basement, garage, or outdoor patio area. Cover the floors, counters, and any walls nearby with plastic sheeting to protect from splatters. Have a dedicated set of utensils and tools just for dyeing.
Use Proper Protective Gear
Yarn dyeing requires working with chemicals, so wearing gloves, goggles, and an apron or smock is a must. An old shirt and pants you don’t mind staining are good for dye days. A particulate respirator protects your lungs when mixing dye powders.
Choose Appropriate Dye Vessels
You’ll need pots, buckets, or tubs for submerging your yarn in dye baths. Stainless steel, enamel, plastic, or glass containers work well. Avoid aluminum pots which can affect dye colors. Larger vessels allow you to dye more skeins at once.
Have Dyeing Essentials Handy
Handy items to have nearby include measuring cups and spoons, stirring sticks, squeeze bottles, rubber bands, and clothes pins. Keep paper towels, trash bags, and cleaning supplies accessible for spills.
Organize Your Dyeing Supplies
Set up a dedicated station for mixing dyes with a scale, measuring containers, and dyes labeled with safety info. Have a drying area ready with a rack or line for hanging dyed yarn to dry.
The Complete Yarn Dyer’s Toolkit: Equipment You’ll Need
| Equipment | Purpose |
| Dye mixing containers | Non-reactive plastic or glass bowls, buckets, bottles for mixing dye powders or liquids |
| Measuring tools | Spoons, cups, gram scale for measuring out dyes |
| Dye pots/vessels | Stainless steel, enamel, or glass pots, buckets, dishes for dye baths large enough to hold yarn |
| Heating source | Stovetop, hot plate, or crockpot to heat dye baths to 180°F – 200°F |
| Thermometer | Monitor dye bath temperature |
| Stirring tool | Wooden spoons or sticks for stirring yarn in dye bath |
| Rubber gloves | Protect hands from dyes |
| Apron/smock | Keep clothes stain-free |
| Face mask | Avoid inhaling dye powders |
| Clips, ties, rods | For securing yarn during dip dyeing |
| Squeeze bottles | For applying thickened dyes in handpainting |
| Drying racks | Racks, hangers, lines for drying dyed yarn |
| Paper towels, garbage bags | For spills, messes, disposal |
Having the right equipment makes the dyeing process much smoother. Be sure to set up your workspace with all necessary tools and protective gear ahead of time.
Achieving Custom Color Effects: Yarn Dyeing Methods

When dyeing yarn, you have several techniques to choose from depending on the look you want to achieve. Over time, my tests have shown some methods produce more precise effects than others.
Hand-Painting
- This method allows for bold color variations by painting dye directly onto skeins.
- You’ll need dye thickened with a product like guar or xanthan gum so it adheres to the yarn.
- Load a brush or sponge applicator with the prepared dye and paint onto pre-wet yarn for intense saturation.
Dip-Dyeing
- For ombré tones, dip-dyeing gradually submerges the yarn into dye baths.
- Tie one end of the skein to a rod and slowly immerse sections of the yarn into the dye vat to reach the desired color depth.
- Rotate the skein while dipping to ensure even coverage.
Kettle Dyeing
- This immersion technique produces a uniform solid color on yarn.
- Wind yarn into loose skeins and place into a pot of heated dye bath. Gently stir for 10-20 minutes before removing the saturated yarn to rinse.
- Adding a bit of acid like vinegar intensifies kettle dye results.
With some experimentation, you can master these basic dyeing methods. Hand-painting gives artsy color effects, dip-dyeing ombrés, and kettle dyeing all-over solids. Trying out different techniques will expand your dyeing knowledge and allow for more custom colorways.
The Eco-Friendly Dye Option: Creating Natural Yarn Dyes
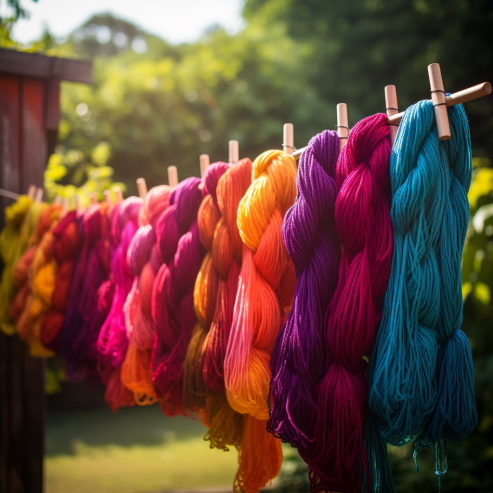
For an eco-friendly dyeing option, natural dyes derived from plants provide gorgeously nuanced hues. Through the use of natural materials, I found that homemade natural dyes can produce lovely results on yarn. Some benefits of natural dyeing include:
- Uses renewable resources like flowers, leaves, roots, and food scraps
- Safe, non-toxic materials compared to synthetic dyes
- Subtle, earthy tones that replicate natural colors
- Ability to use ingredients from your backyard or kitchen
Common natural dye sources include avocado pits, black beans, blueberries, turmeric, and hibiscus flowers. Onion skins, carrot tops, and beetroot also impart vivid colors. To extract the pigments, the plant parts are simmered and then strained to yield the dye liquid.
A mordant like alum or iron is needed to affix natural dyes to yarn fibers. Here’s a simple natural dyeing process:
- Mordant the dry yarn by soaking it in a mordant solution for an hour, then rinse.
- Prepare the natural dye bath by simmering your dye ingredient in water for 30-60 minutes.
- Submerge the mordanted yarn in the strained dye bath and allow it to soak for an hour, stirring occasionally.
- Remove the dyed yarn and rinse until water runs clear. Hang to dry.
With an abundance of natural dye options, you can use what’s on hand to create your own custom, earthy-hued yarns.
Help! My Yarn Dyeing Went Wrong: Troubleshooting Solutions
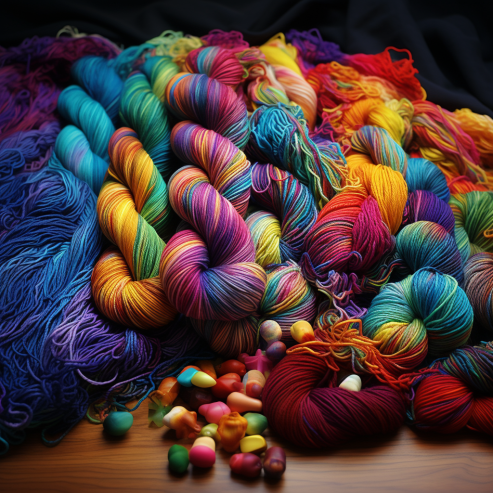
After I put various issues to the test, I found some effective troubleshooting tips to help salvage results and prevent future headaches.
- Uneven dyeing often stems from inadequate yarn preparation. Any residual oils, dirt, or sizing interfere with uniform dye absorption. Always start with thoroughly scoured and rinsed yarn for the most even coverage. Agitating and frequently turning yarn while immersed in the dye bath also improves uniformity.
- Dye bleeding and running occur when the excess dye isn’t properly washed away after dyeing. Be sure to rinse the skeins thoroughly in cool water until the rinse water runs completely clear. Soak in a fixative solution like vinegar water or salt water to further set the dye.
- Muddied or dull colors can happen when dye baths aren’t hot enough. Ensure your dye bath maintains a simmering temperature (180°F to 200°F) for maximum dye solubility and absorption. A thermometer helps monitor the temperature.
With some trial and error, common dyeing issues can be remedied and avoided. Proper yarn prep, agitation, rinsing, and heat control are key to getting your hand-dyed yarns to turn out picture-perfect every time. Don’t be discouraged if you experience some snags – just tweak your technique for better results.
How to Dye Yarn Perfectly Every Time – 5 Must-Know Tips
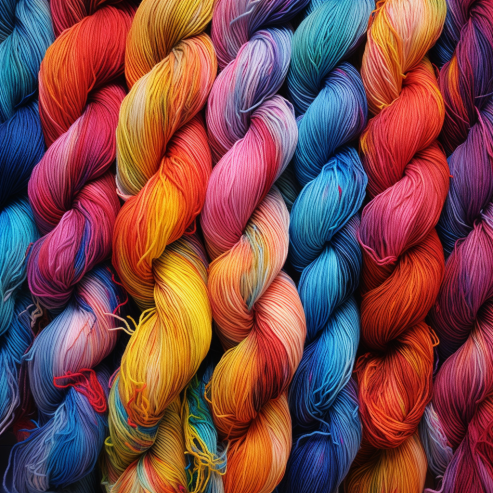
As someone who has dyed yarn for many years, I have learned a few things along the way that can help beginners.
- First, start with basic, easy-to-use acid dyes. They give beautiful, vibrant colors and are very forgiving. Save the more temperamental natural dyes for later.
- Use a dedicated dye pot and utensils. Regular cookware will become stained, so use a cheap stock pot and wooden spoons that you don’t mind dedicating to dyeing. Through the use of dedicated equipment, I found that my results were much more consistent.
- Wear gloves, mask, and apron. Acid dyes can stain skin and clothes, so protect yourself. As my tests have shown, gloves prevent stained hands.
- Make samples first. Try out colors and techniques on small skeins or yarn scraps before dyeing a whole project’s worth. This allows you to perfect your process before wasting expensive yarn.
- Use a low water to fiber ratio. For vivid colors, the dye bath should just cover the yarn. Too much water dilutes the dye. Through the use of a 2:1 water to fiber ratio, I found the colors were much more saturated.
- Heat the dye bath slowly and gently. Quick temperature changes can make colors muddy. Bring it to a simmer over medium heat. Once at a simmer, turn off the heat and let it sit for 30-60 minutes. The long soak allows the dye to fully saturate the yarn.
- Rinse very thoroughly after dyeing. Keep rinsing in cool water until it runs clear. Any residual dye can bleed and ruin your project. By rinsing until the water is clear, I found that bleeding and splotching was prevented.
Dyeing your own yarn opens up endless creative possibilities for handcrafted projects. With the right dyes and techniques, you can create custom-colored yarns perfect for knitting, weaving, and crocheting.
While the world of at-home yarn dyeing requires some trial and error, don’t let that discourage you. Start with a few beginner-friendly immersion dye projects to get comfortable with the steps. Soon you’ll be ready to experiment with more advanced hand-painted colorways and intricate ombré dips. Equipped with the right knowledge of dyes, preparation, safety, and troubleshooting, you’ll be hand-dyeing yarn like a pro in no time. So grab some skeins and get ready to unleash your inner fiber artist!
FAQ — How to Dye Yarn
What are the best dyes to use for hand-dyeing yarn?
For animal fibers like wool and silk, acid dyes work very well. For plant fibers like cotton and linen, fiber-reactive dyes are recommended. Natural dyes from plants can also be used with a mordant. Always select a dye formulated for your yarn fiber content.
What equipment do I need to dye yarn at home?
You’ll need dye mixing and measuring tools, vessels for dye baths, stir sticks, protective gear, drying racks, and optional items like scales, thermometers, and pH testing strips. Cover surfaces to protect from spills.
How much dye do I need per yarn skein?
The general guideline is 1 ounce of dye for every 4 ounces of dry yarn. Always weigh your yarn and dyes for precise measurements. having extra dye on hand is helpful for mixing custom colors.
What temperature should I dye yarn at?
Dye baths should maintain 180°F – 200°F for optimal dye absorption. Use a thermometer and stovetop or hot plate to keep the bath at a simmer. Turn the heat down if it starts boiling.
How long should yarn soak in the dye bath?
10-30 minutes for immersion dyeing produces deep, saturated colors. Stir gently and frequently while soaking. Longer soak times over an hour risk over-dyeing the yarn.
How should I dry the dyed yarn?
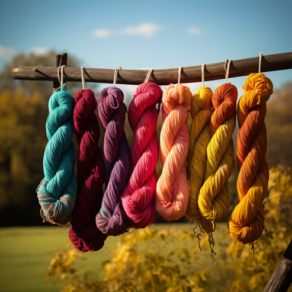
Gently squeeze out excess dye liquid, then hang skeins to dry on a rack or clothing line. Lay them flat initially to prevent stretching as they dry. Avoid direct sunlight to prevent fading.
How do I keep the dye colors from bleeding?
Rinse the dyed yarn in cool water until it runs clear. Soak in a vinegar or salt-fixative solution. Wash separately in mild soap before using to further set the dye.





Leave a Comment