When we’re little, we often watch in awe as our parents or grandparents masterfully sew a button onto a garment with a seemingly magical speed and dexterity. Now, as adults, this little chore has become our own puzzle to solve, yet it’s one that’s not as insurmountable as it might initially appear. Through trial and error, I found that sewing shank buttons aren’t an arcane art. Quite the contrary—it’s a skill that can be learned and refined and one that opens up a world of creative and practical possibilities.
In this blog post, we’re going to uncover the secrets of sewing shank buttons, that elusive skill that often feels like threading a needle in a haystack (quite literally!). We’ll discuss the materials you need, the step-by-step technique, and some crucial do’s and don’ts. After reading this, you’ll not only be able to save that beloved coat from retirement, but you’ll also be able to add a burst of creativity to your projects, reinvigorating them with your unique touch. So, are you ready to turn this seemingly mundane task into an opportunity for growth and self-expression? Let’s stitch our way into the art of sewing shank buttons together!
Shank Buttons: A Closer Look
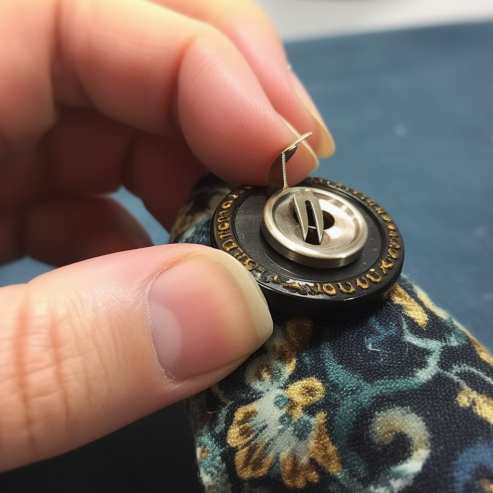
When we think of buttons, we often imagine flat, circular disks with holes in the center. Yet, in the vast cosmos of buttons, one variety stands out as particularly intriguing—shank buttons. From my experience, they’re a key component of button lore that often goes overlooked. Let’s delve a little deeper and explore what these fascinating objects are.
- A Unique Design: Shank buttons, unlike their two or four-holed counterparts, have a protruding loop or “shank” on the back, rather than holes going through the top. This unique feature gives shank buttons an undeniable burst of charm. They hover a bit above the fabric, adding a dimensional depth to your projects that can be both aesthetically pleasing and functional.
- Versatile and Attractive: Often used on coats, jackets, and other heavy garments, shank buttons serve as sturdy fasteners that can weather the strain of daily use. Their design allows them to sit comfortably on thick or layered fabrics without distorting the material. Moreover, their elevated profiles can be a real spotlight-stealer, acting as miniature sculptures that add a touch of elegance to your attire.
- Material Galore: Shank buttons can be made from a variety of materials—plastic, metal, wood, ceramic, and more. Each material imparts a unique character to the button, enabling you to select the perfect button that echoes the spirit of your garment.
Why Choose Shank Buttons? Exploring Their Advantages in Sewing Projects
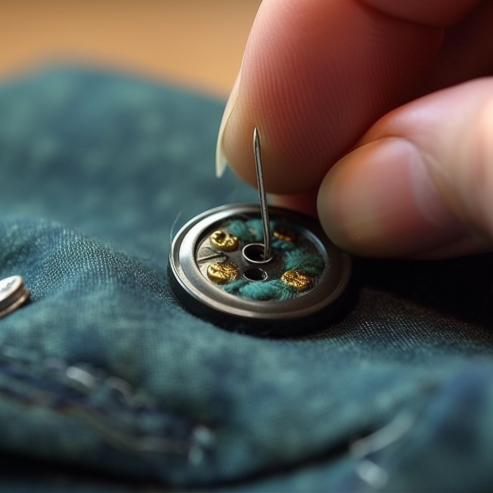
Shank buttons, with their distinct design and dimensional charm, have a plethora of uses that extend far beyond merely holding pieces of fabric together. As my tests have shown, they can serve as artistic and practical enhancements to a multitude of sewing projects. So, why exactly should you consider using shank buttons? Here’s what I found:
- Functionality: First and foremost, the shank’s design allows it to handle thicker fabrics or those with a high pile like fur or heavy wool. The space created by the shank can accommodate the extra material, preventing bunching or pulling at the button, which could distort the fabric or compromise the button’s stability.
- Artistry: The second reason is all about aesthetics. Shank buttons add a creative burst to your projects. Whether you’re adding a vintage metal button to a handmade coat or using a ceramic one for a one-of-a-kind bag, shank buttons can be like miniature pieces of art on your garment, making your creations even more unique.
- Versatility: Shank buttons can be versatile tools in your sewing repertoire. They can be used in non-traditional ways too, such as in crafting projects or as decorative accents on accessories or home decor items.
- Durability: Lastly, shank buttons can often be more durable than other button types, especially when attached correctly. They are less likely to become loose over time, as the stress of pulling and tugging is distributed across the shank and not just on the thread passing through the buttonholes.
All things considered, shank buttons are a splendid addition to any sewing endeavor. They offer a winning combination of functionality, artistry, versatility, and durability—everything a sewing enthusiast could hope for in a button!
My Guide to How to Sew Shank Buttons: A Seamstress’s Tale
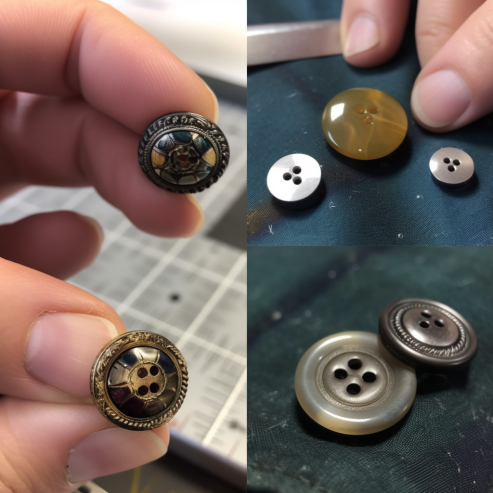
Let me tell you, sewing shank buttons has been a game-changer in my projects! After I put it to the test, it’s safe to say that the journey has been nothing short of fantastic. And trust me, the thrill of watching a plain piece of fabric transform into a beautiful garment, adorned with these little gems, is unparalleled.
- Selecting the Right Button and Thread: The first step is all about choosing your shank button and the corresponding thread. Through the use of different products, I found that matching the thread’s color with the fabric, rather than the button, provides a cleaner, more professional finish. Not to mention, the range of shank buttons out there is incredible—from vibrant plastics to sophisticated metals, there’s a shank button for every mood and style.
- Positioning the Button: Once you have your button and thread, you need to position the button correctly. Accuracy here is key! Use a ruler or a sewing gauge for precise placement.
- Securing the Button: This is where the real fun begins. Thread your needle, tie a knot at the end, and start from the back of the fabric. Bring the needle through to the front, pass it through the shank of the button, and then back into the fabric. Repeat this several times to ensure the button is secure. The motion is almost like a dance, rhythmic and continuous.
- Creating a Thread Shank: After securing the button, you have to create a thread shank. This is crucial as it provides the necessary space between the button and the fabric, especially for thicker or heavier garments. Just loop the thread around the stitches under the button a few times and voilà! You’ve got yourself a thread shank.
- Finishing Up: Lastly, take the needle to the back of the fabric one final time, tie off your thread, and trim any excess. Congratulations, you’ve just sewn a shank button!
Breaking Down the Essentials: A Comparison of Shank Button Sewing Components
|
Component |
Importance |
Usability |
Versatility |
|
Shank Button |
High – The key element for attaching pieces of fabric together. |
Shank buttons can be a bit trickier to sew than flat buttons due to their design, but with practice, they’re manageable. |
High – They come in a wide range of materials, designs, and sizes, making them suitable for different garments and purposes. |
|
Thread |
High – It serves as the anchor, securing the button to the fabric. |
It’s quite easy to use. Choose a durable thread that matches the color of the fabric. |
High – Threads are available in numerous colors and types, allowing for many creative choices. |
|
Needle |
High – It’s the tool you’ll use to stitch the button to the fabric. |
Needles are straightforward to use, but choosing the right size for your thread and fabric can take some practice. |
Medium – There are various types of sewing needles, but for button sewing, a regular sharp needle is typically sufficient. |
|
Ruler/Sewing Gauge |
Medium – It’s crucial for precise button placement. |
It’s simple to use for marking where the button should go. |
Low – While there are different types of measuring tools, their function remains the same. |
|
Fabric |
High – The medium on which the button will be placed. |
The usability of fabric can vary based on its type and thickness. Heavier fabrics can be more challenging to work with. |
High – Fabrics come in countless types, colors, and patterns, adding to the variety of potential projects. |
The exact nature of these components can change depending on your project, but their importance in the process of sewing shank buttons remains consistent. Each plays a vital role in the overall success of your sewing project.
FAQ How to sew shank buttons
I recommend using a thread that matches the color of your fabric for a cleaner finish. As for the type of thread, a strong polyester or nylon thread works well due to its durability.
Based on my own experience, looping the thread through the shank about 3-5 times generally ensures a secure button. However, if the fabric is heavier or the button larger, you might need more loops for added strength.
A thread shank is a length of thread left between the button and the fabric to allow the button to sit properly, especially on thicker fabrics. While sewing shank buttons, you don’t typically need an additional thread shank as the button design already provides some space.
You can use a ruler or sewing gauge to measure the correct position. Mark the spot with a fabric pencil or pin. Ensuring accurate placement is crucial for functionality and aesthetic appeal.
When I tried it out, I found it helpful to start with a small backstitch on the fabric where the button will go. This secures the thread before you start attaching the button, making the process easier.




Leave a Comment