Embroidering your dreams into reality? But oh, those pesky jump stitches, they seem to leap out of nowhere, causing a labyrinth of unnecessary threads in your otherwise perfect design. If you’re left scratching your head, wondering how to tame this beast, you’re in the right place. Those annoying little threads – jump stitches – can be the bane of any embroiderer’s existence. Yet, with a touch of skill and a dash of patience, you can trim them down to size and let your design shine as it should.
In this blog post, we’re embarking on a mission to master the art of trimming jump stitches. We’ll delve into the intricate world of embroidery, exploring why these jump stitches occur and how they can throw off the balance of your carefully crafted work. Then we’ll wield our scissors and learn step-by-step how to trim those unruly threads with precision and ease, leaving your embroidery unscathed and beautiful. But first, let’s ponder a question: what if the mastery of jump stitches became your secret weapon to perfecting your craft? Stay with me, and we’ll unravel this thread together.
Demystifying Jump Stitches: The Unseen Ballet in Your Embroidery
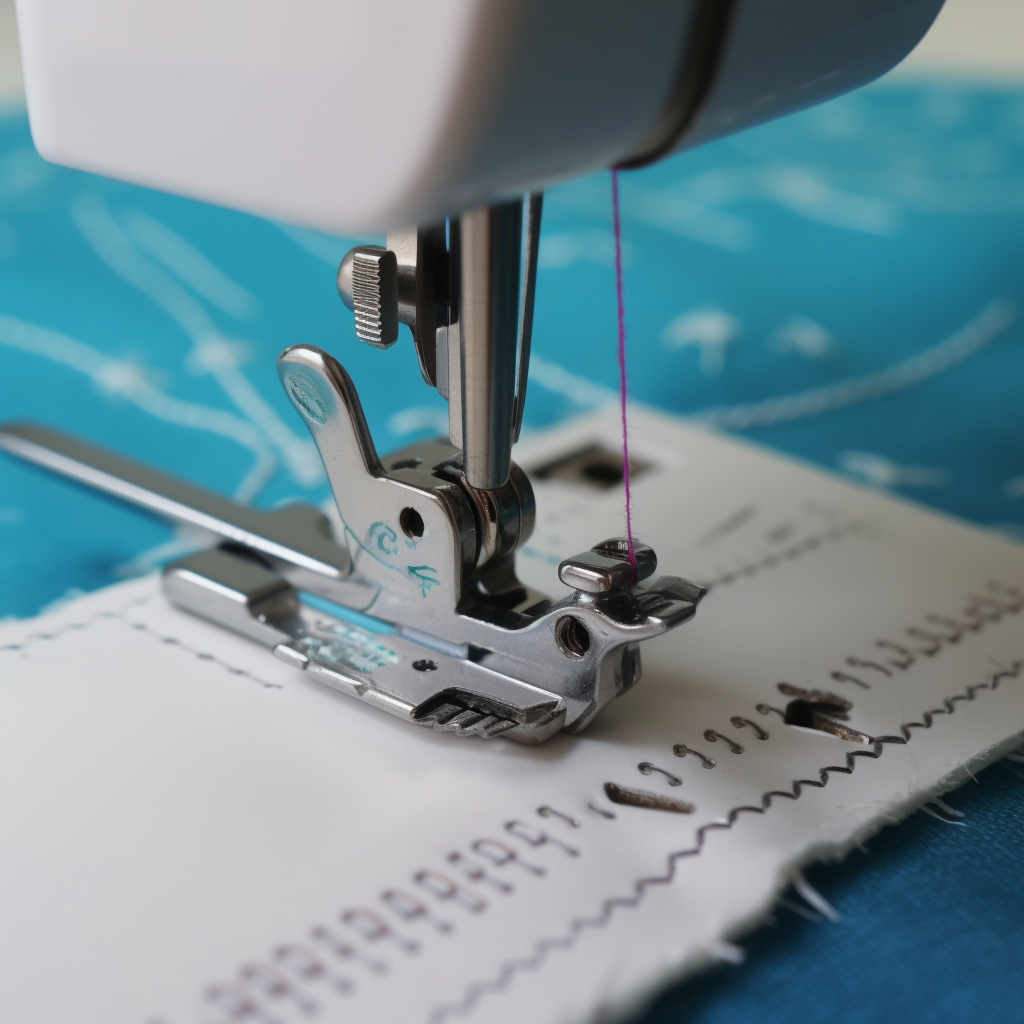
Ever seen those long, maverick threads that seem to literally ‘jump’ from one section of your design to another? Voila! You’ve just encountered a jump stitch.
The world of embroidery is full of such quirks and surprises. Now, let’s get into a bit more detail:
- What are they? Jump stitches are long threads that connect two non-adjacent parts of your design. They ‘jump’ across the fabric, hence the name. Imagine a ballet dancer leaping gracefully from one point to another on the stage. That’s exactly what these threads do!
- Why do they exist? Your embroidery machine has a roadmap for your design. When it needs to move from one area to another, it doesn’t teleport (as much as we’d like it to); it travels. And while traveling, it leaves a trail, like breadcrumbs in the forest, in the form of jump stitches.
- Are they trouble? Not always. In some cases, they’re hidden on the back of the design, but sometimes, they show up on the front and can interrupt the flow of your embroidery. Picture a magnificent painting with a random line streaking across – a bit jarring, right? That’s the effect we want to avoid.
So, now you know what they are and why they appear. Next, we’re going to venture on a quest to conquer them. Ready to dive in and transform your jump stitch woes into wows? Let’s roll up our sleeves and jump into action!
The Surprising Reasons You Need Jump Stitches
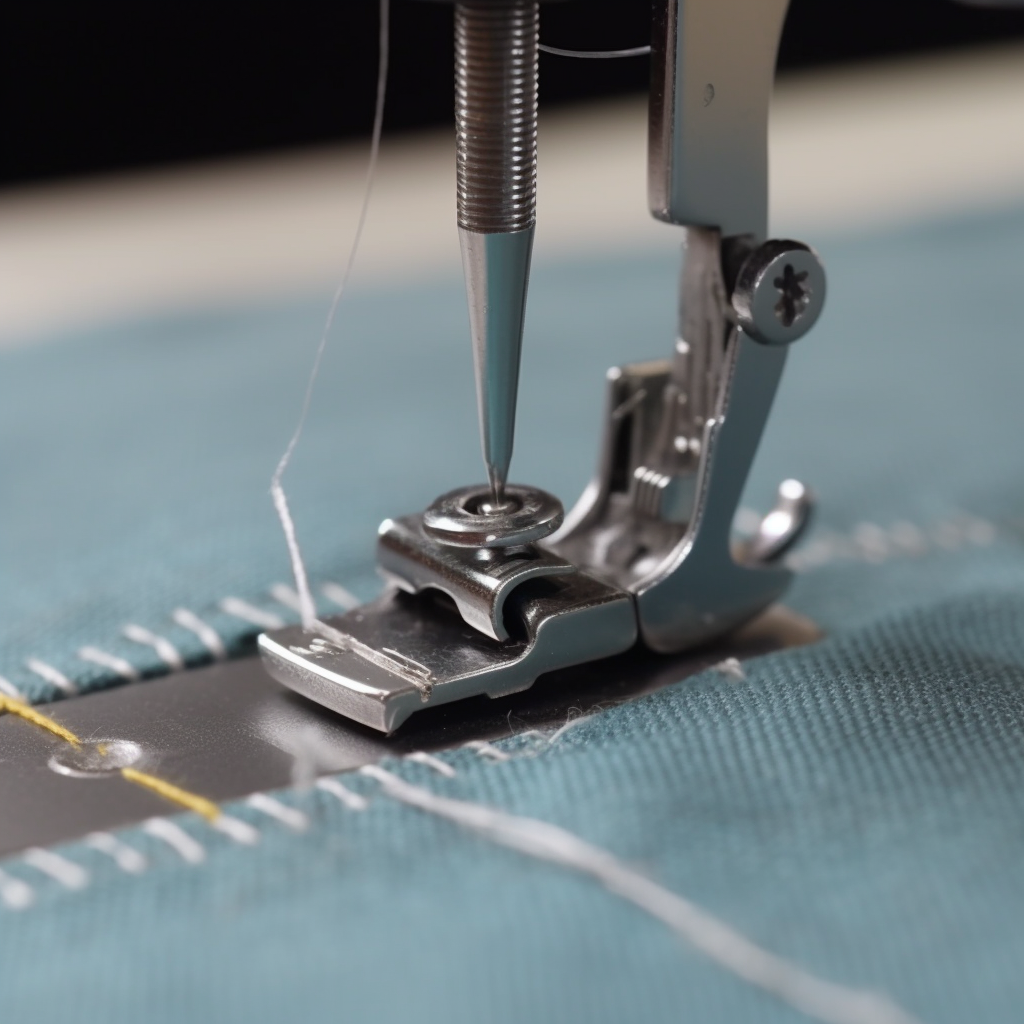
Jumping stitches: it sounds like an exciting acrobatic feat. But in embroidery, it’s a necessary maneuver, not for the thrill, but for the sake of your design’s integrity. Let’s ‘stitch’ into why you should jump stitches:
- Keeping the Flow: The primary reason to create jump stitches is to maintain continuity in your design. When the embroidery machine needs to get from point A to point B, a jump stitch serves as a bridge. Without it, you’d need to cut the thread at point A and start anew at point B. That’s a lot of stop-and-start, which can disrupt your workflow and the machine’s efficiency.
- Saving Time: Consider this – you’re working on a design that has multiple color changes or distant elements. Instead of stopping the machine, cutting the thread, moving it manually, and then rethreading, the machine just ‘jumps’ across. It’s like taking a direct flight instead of multiple layovers.
- Conserving Thread: Jump stitches can help conserve thread. If you were to cut the thread every time you finished with one part of the design, you’d have a lot of small leftover pieces of thread. Over time, this adds up to a lot of waste.
- Preserving the Design: Last but not least, jump stitches ensure that the back of your embroidery doesn’t become a messy tangle of cut threads. It keeps the reverse side cleaner, which is particularly important for items like scarves or towels where both sides can be visible.
So, while you might initially see jump stitches as mischievous intruders, they’re actually your allies, working behind the scenes to keep your design flowing smoothly, saving you time and resources. Ready to embrace these useful ‘jumpers’ and learn how to manage them efficiently? Let’s hop to it!
An Enthusiastic Guide to Handling Jump Stitches
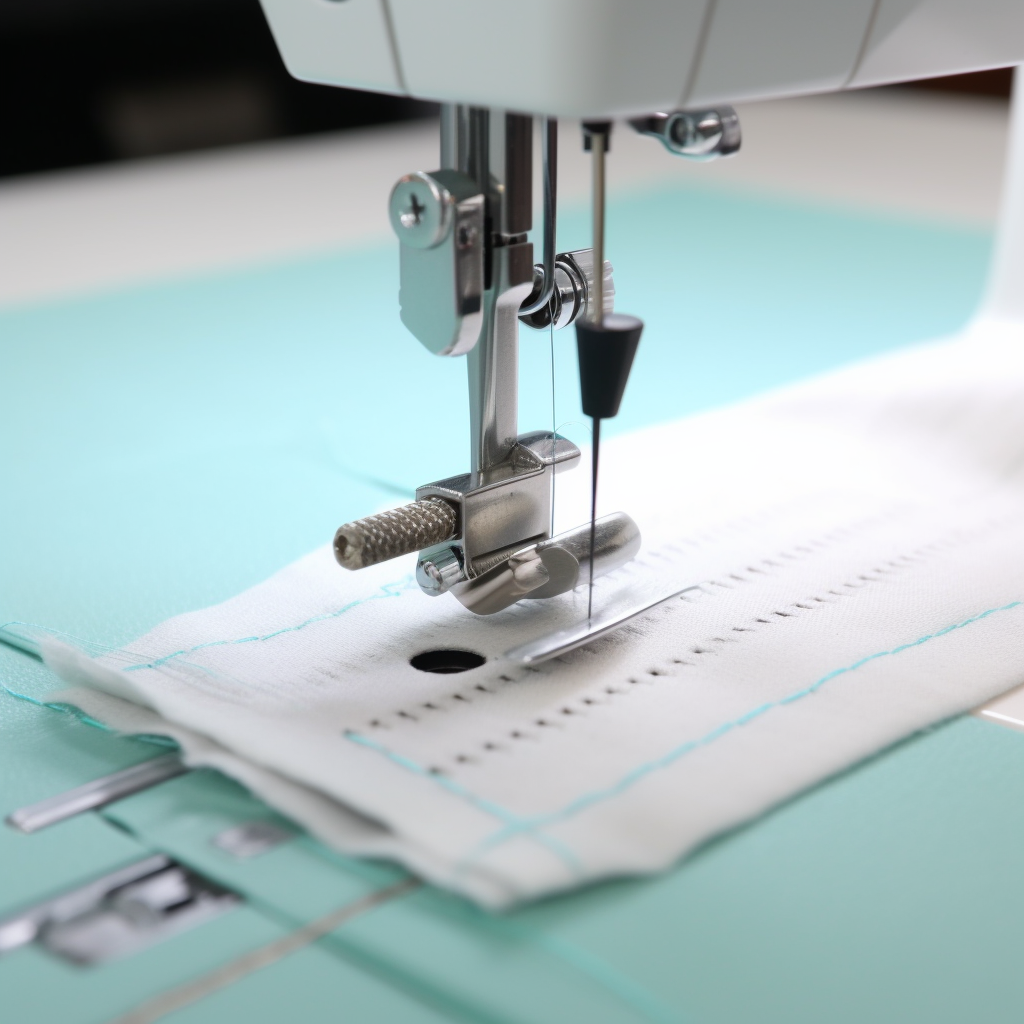
I must say, this is a topic I’m absolutely thrilled to discuss. From my experience, it’s one of those areas that can feel a bit daunting at first. But once you get the hang of it, it’s like dancing the salsa – exhilarating, engaging, and oh-so-satisfying.
- First off, let’s talk tools. Scissors are your best friend when it comes to trimming jump stitches. But not just any pair will do. As a result of my tests, I have determined that small, sharp embroidery scissors with curved tip work best. They’re precise, they’re comfortable, and they can get into those tiny spaces between stitches without disturbing the rest of your design. It’s like they were made for this job!
- Now, let’s chat about the method. Trimming jump stitches is a bit like playing a game of Operation. You need to be careful, deliberate and have a steady hand. My golden rule? Always trim your jump stitches as you go. Trust me, there’s nothing more tedious than finishing a beautiful piece of embroidery only to spend the next hour hunting for and trimming jump stitches. Plus, by trimming as you go, you’ll reduce the risk of tangles or knots forming – a win-win!
- Next up, let’s touch on materials. When working with thicker threads, jump stitches can be more noticeable and may need more careful trimming. But don’t let that deter you! With your trusty curved-tip scissors and a bit of patience, you can tackle them with ease.
- And finally, the most important ingredient of all – patience. Trimming jump stitches requires a gentle touch and a good dose of patience. But believe me, when you see your finished piece, free from any stray threads, you’ll know it was all worth it.
From my experience, trimming jump stitches may seem like a small detail, but it can make a big difference in the overall quality and appearance of your embroidery. With the right tools, method, and mindset, you’ll be trimming those jump stitches like a pro in no time!
Here’s a comparison table for quick reference:
|
Ingredient |
Role |
Benefits |
Challenges |
|
Scissors |
Essential tool for trimming |
Precision, clean cut |
Requires careful handling |
|
Proactive Method |
Approach to trimming |
Prevents tangles, keeps workspace clean |
Requires constant attention |
|
Thread Type |
Material used in embroidery |
Thicker threads easier to trim, thinner threads less visible |
Thicker threads more noticeable, thinner threads can fray |
|
Patience |
Required mindset |
Ensures careful, mistake-free trimming |
Requires time and calm |
Remember, mastering the art of trimming jump stitches is an ongoing journey. But with the right tools, method, materials, and a good dose of patience, you’ll be well on your way to creating clean, beautiful embroidery.
Tools of the Trade: The Equipment You Need to Conquer Jump Stitches
|
Equipment |
Description |
Purpose |
|
Embroidery Scissors |
A small, sharp pair of scissors, ideally with a curved tip. |
These are used for precision cutting of jump stitches without disturbing the rest of your design. |
|
Tweezers |
A pair of pointed tweezers can be handy. |
These can help you lift the jump stitch slightly before cutting, ensuring you don’t accidentally cut into your design. |
|
Embroidery Machine |
This is where your design comes to life. |
It creates the embroidery, including the jump stitches you’ll need to trim. |
|
Embroidery Hoop |
A tool to keep your fabric taut while working. |
It helps to keep the fabric stable, making it easier to see and trim the jump stitches. |
|
Lighting |
A good desk lamp or overhead light. |
Proper lighting is essential to clearly see the jump stitches that need to be trimmed. |
|
Magnifying Glass |
Not absolutely necessary, but can be helpful for intricate designs. |
It can help you see small or intricate jump stitches more clearly. |
Frequently Asked Questions about Trimming Jump Stitches
Jump stitches can leave a mess on the back of your embroidery and, in some cases, may show through on the front side. Trimming them gives your piece a cleaner, more professional look.
Small, sharp embroidery scissors with curved tips are the best for this task. The curved tip allows for more precise control when navigating the tight spaces in your embroidery.
It’s recommended to trim jump stitches as you go rather than leave them all until the end. This approach helps prevent tangles or knots from forming and keeps your workspace clean.
While some designs may allow you to avoid jump stitches, they are often a necessary part of machine embroidery. They allow the machine to move from one part of the design to another without stopping and starting the thread each time.
If you accidentally cut a part of your design, don’t panic! You can usually fix it by going back over the cut area with the same thread. In the future, using tweezers to lift the jump stitch slightly before cutting can help prevent accidents.
Yes, the type of thread can impact the visibility and handling of jump stitches. Thicker threads can make jump stitches more noticeable but can also be easier to trim cleanly. Thinner threads might be less visible but can be trickier to trim without causing fray.




Leave a Comment