Who knew that the art of rug making could merge technology and creativity into a handheld tool? Welcome to the world of tufting guns, the modern spin on a centuries-old craft that’s creating a burst of enthusiasm amongst artists and DIY enthusiasts alike. This ingenious device has transformed the way we create plush, patterned, and utterly bespoke rugs at home. My findings show that using a tufting gun not only enhances efficiency but also opens up an entirely new realm of personalized design and texture.
In this post, we’re about to pull back the curtain on the mechanics of using a tufting gun. Our journey will take us from understanding the basics of tufting, choosing the right type of gun, to finally learning the art of operating one. Do you have a flair for home décor or just love DIY projects? Ever wondered if you could handcraft a rug as per your own color scheme, design, and size? Then this post is especially for you. Get ready to harness the power of the tufting gun and dive headfirst into this vibrant, tactile world!
The Tufting Gun: Speed, Efficiency, and Customization at Your Fingertips
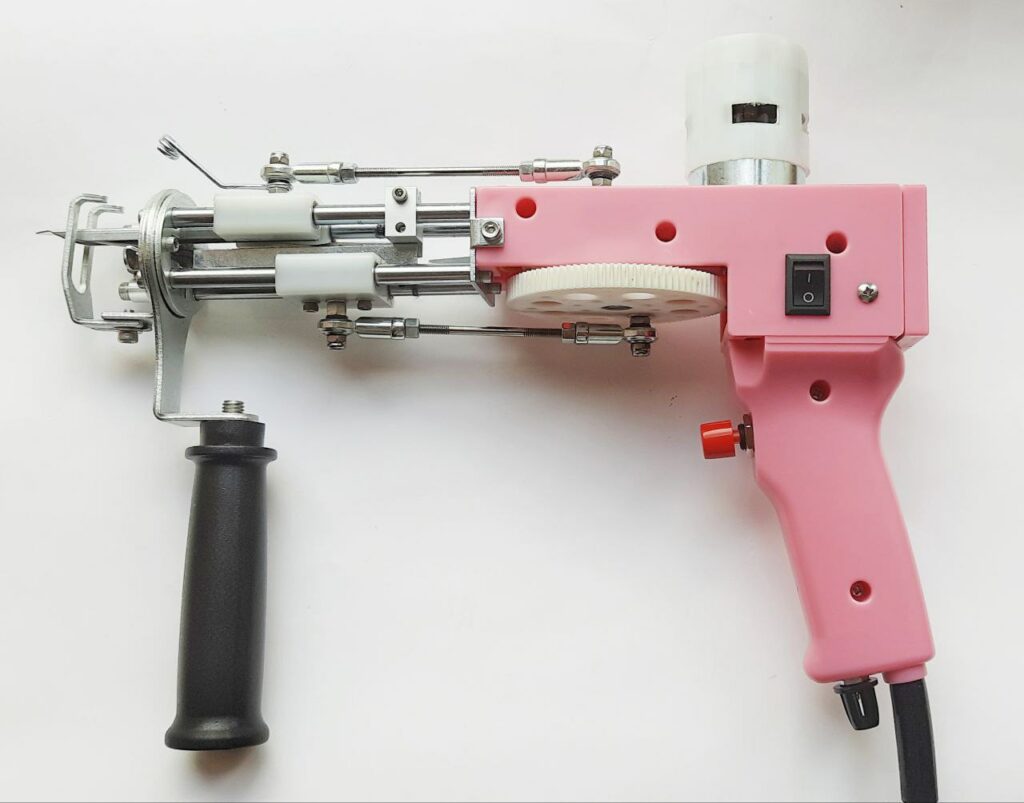
A tufting gun is a powerful tool, a game-changer in the world of rug making that merges old-world craftsmanship with modern technology. If you’ve ever marveled at the lush, tactile beauty of handmade rugs and wished you could craft one yourself, then this is the tool you’ve been waiting for.
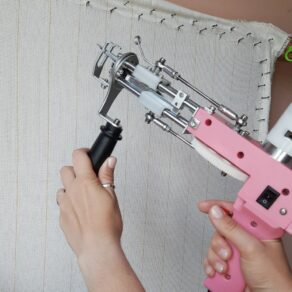
In the simplest terms, a tufting gun is a handheld machine that inserts tufts (loops or cut piles) of yarn into a pre-made backing fabric. There are two main types:
- Cut Pile Tufting Guns: This variant cuts the yarn as it inserts it into the fabric, resulting in a dense, plushy rug.
- Loop Pile Tufting Guns: This type creates loops with the yarn instead of cutting it, leading to a different texture and look.
Now, let’s take a look at a comparison table highlighting the main differences between cut pile and loop pile tufting:
|
Aspect |
Cut Pile Tufting Gun |
Loop Pile Tufting Gun |
|
Texture |
Plush and velvety |
Textured with loops |
|
Yarn Appearance |
Cut yarn ends |
Looped yarn ends |
|
Complexity |
Simple and straightforward |
Offers more design possibilities |
|
Durability |
Highly durable |
Loops may be prone to snagging |
|
Versatility |
Ideal for intricate designs |
Great for adding texture |
Harness the Power of a Tufting Gun: Top Reasons to Dive Into This Creative Journey
Why should you consider adding a tufting gun to your crafting arsenal? Great question! Whether you’re a DIY aficionado or a seasoned artist, this innovative tool can truly transform your creative process. My investigation shows that there are several compelling reasons to pick up a tufting gun and start creating your own unique rugs.
1. Elevate Your Efficiency:
The tufting gun offers a level of speed and efficiency that traditional rug-making methods simply can’t match. It enables you to craft a full-sized, intricately designed rug in a matter of hours, rather than days or even weeks. With its burst of high-speed productivity, a tufting gun is a dream tool for any craftsperson wanting to optimize their time without sacrificing quality.
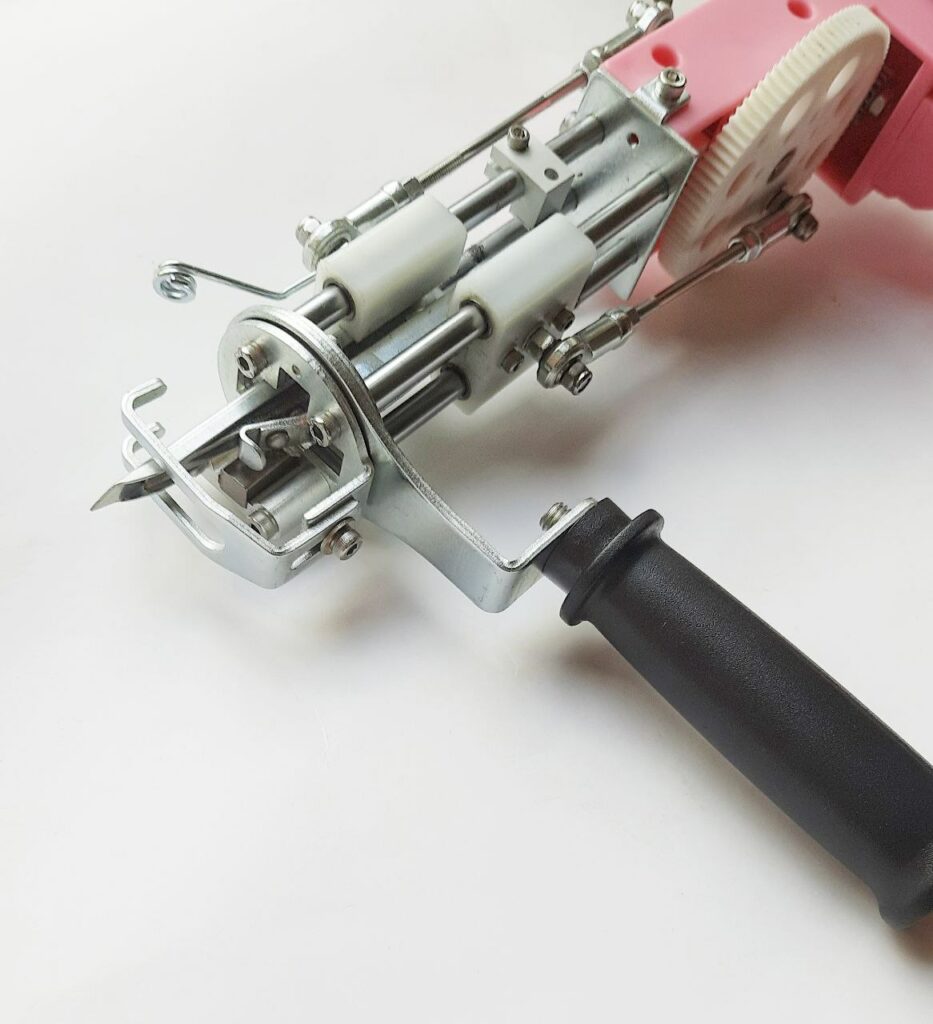
2. Unleash Your Creativity:
With a tufting gun, you’re in complete control of the design process. Want to create a bright, abstract rug that’s a stunning expression of your artistic vision? Or perhaps a geometric masterpiece that showcases your attention to detail and precision? With a tufting gun in your hand, your imagination is the only limit.
3. Accessibility and Ease:
Contrary to what you might think, using a tufting gun isn’t rocket science. It’s a relatively easy tool to learn and operate, making rug-making a more accessible and enjoyable craft. While there is a learning curve (as with any new tool), with a bit of practice, you’ll be crafting your own unique rugs with ease and joy.
4. Personalized Home Décor:
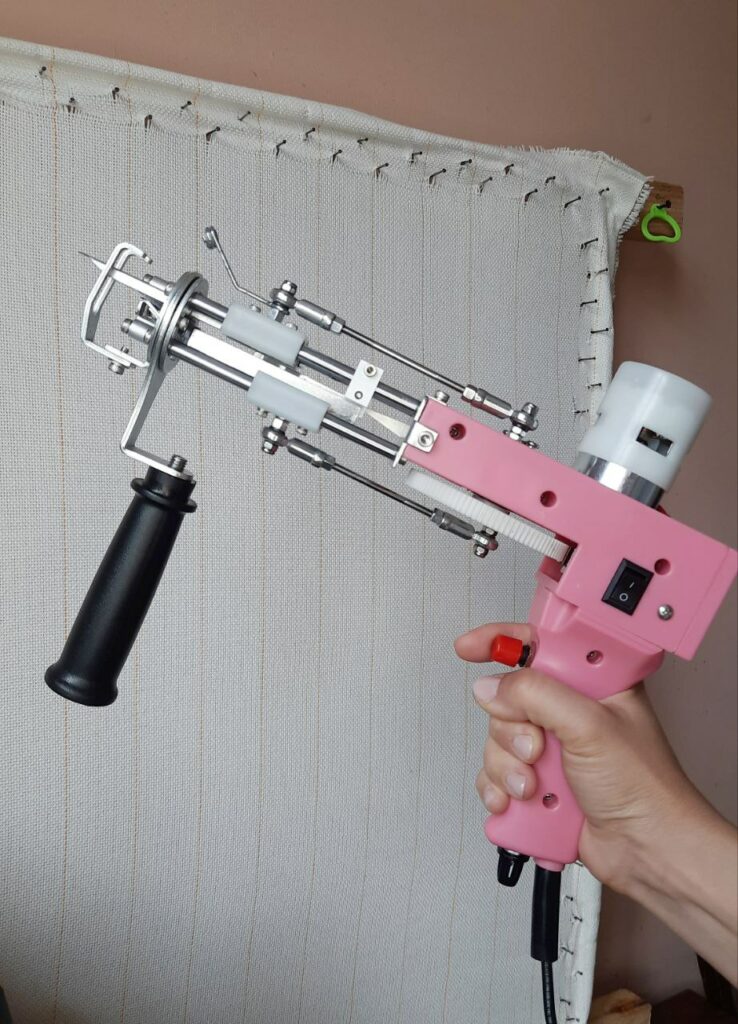
What’s more satisfying than decorating your home with a rug that you’ve made with your own two hands? Tufting guns give you the opportunity to create bespoke rugs that reflect your personal style and complement your home décor beautifully.
5. Potential for Profit:
If you love rug-making and have a knack for it, why not turn your passion into profit? Handmade rugs, especially custom designs, are in demand and can fetch a pretty penny in the marketplace.
In essence, the tufting gun is more than just a tool – it’s a creative companion that can lead you on a path to artistic discovery and even potential financial gain. Let’s dive deeper into the world of tufting and see where it takes us!
Tufting Tools Unleashed: Essential Equipment for Creating Masterful Rugs
|
Equipment |
Description |
|
Tufting Gun |
The main tool for inserting yarn into the backing fabric. There are various models available, so choose one that suits your needs and budget. |
|
Tufting Frame |
A sturdy frame used to stretch the backing fabric tightly, providing a taut surface for tufting. It helps maintain even tension and facilitates smooth yarn insertion. |
|
Backing Fabric |
A strong and durable fabric that serves as the base for tufting. Common options include monk’s cloth, burlap, or rug canvas. Select a fabric suitable for your tufting project. |
|
Yarn |
The material used to create the tufts in your design. Choose a yarn type, such as wool or acrylic, based on your desired texture, color, and durability. |
|
Latex Rug Glue |
A specialized adhesive used to secure the yarn tufts on the back of the rug, providing stability and preventing unraveling. |
|
Scissors |
Sharp scissors for trimming excess yarn and fabric during the finishing process. |
|
Marking Tools |
Optional tools like fabric markers or chalk to outline your design on the backing fabric before tufting. |
|
Rug Gripper Tape |
Non-slip tape or rug grippers to prevent the finished rug from sliding or shifting on the floor. |
|
Optional Accessories |
Additional accessories like yarn winders, yarn spools, or storage containers to help organize and streamline your tufting process. |
Having the right equipment is essential for a smooth and enjoyable tufting experience. Make sure to gather all the necessary tools before embarking on your tufting journey.
From Novice to Rug-Making Pro: Your Ultimate Tutorial on How to Use a Tufting Gun
Step 1: Prepare Your Workspace and Materials
- Set up a well-lit and comfortable workspace where you can freely maneuver.
- Secure a sturdy tufting frame and tightly stretch the backing fabric across it.
- Choose your yarn, considering the texture and color scheme you desire for your rug.
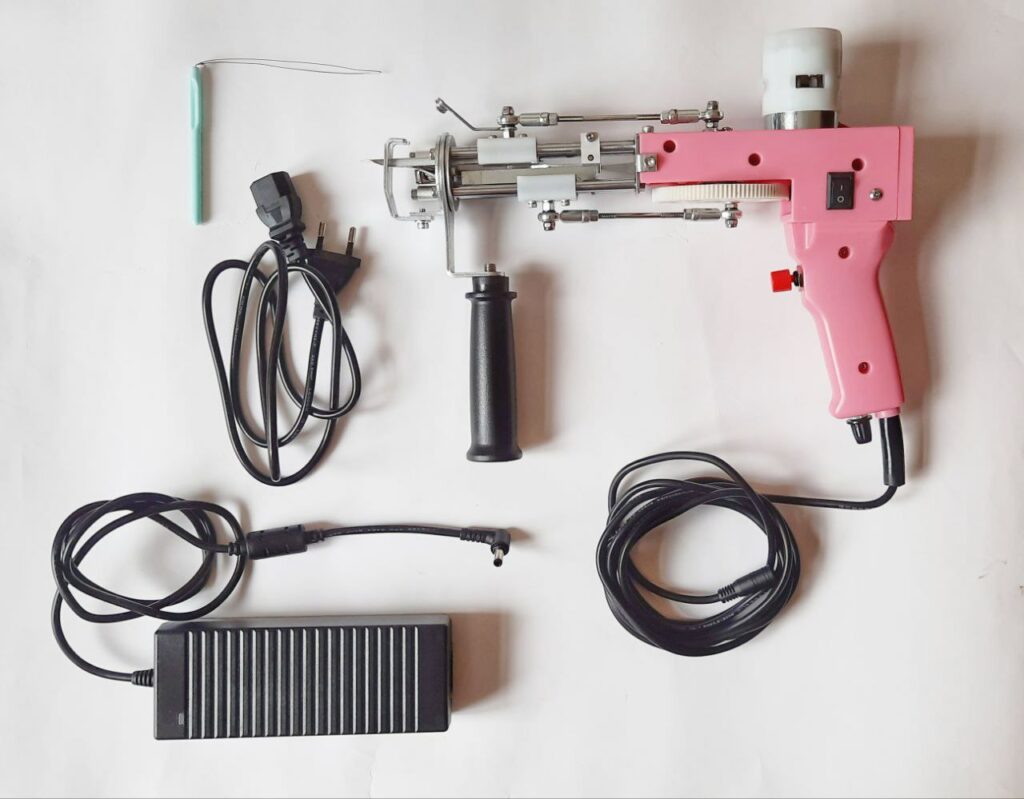
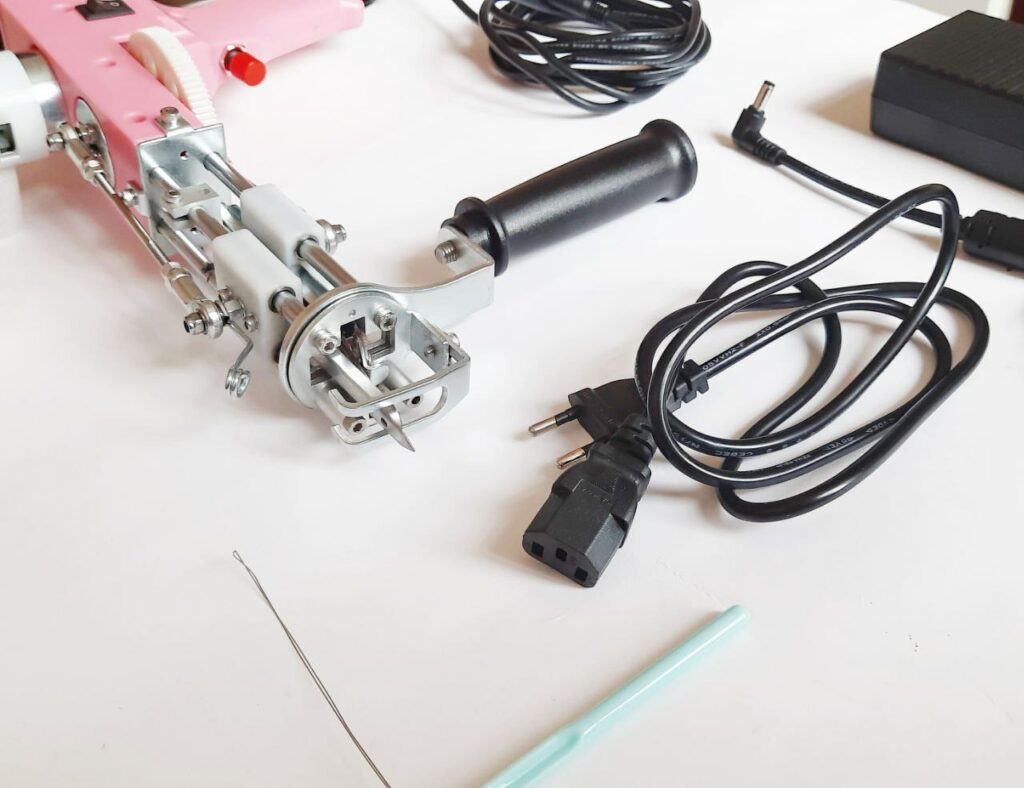
Step 2: Familiarize Yourself with the Tufting Gun
- Select a tufting gun suitable for your project, whether it’s a cut pile or loop pile variant.
- Read the user manual to understand its features and functions.
- Familiarize yourself with the different adjustments and controls.
Step 3: Plan Your Design and Mark the Backing Fabric
- Sketch out your rug design on paper, considering the overall pattern, colors, and shapes.
- Use fabric markers or chalk to transfer the design onto the backing fabric. Be creative!
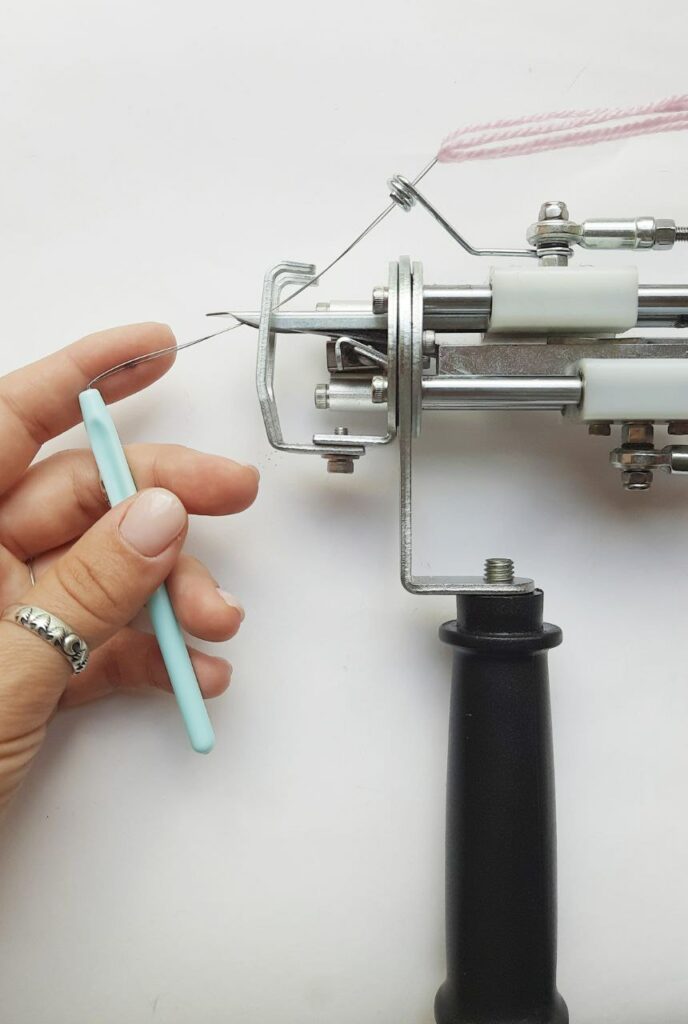
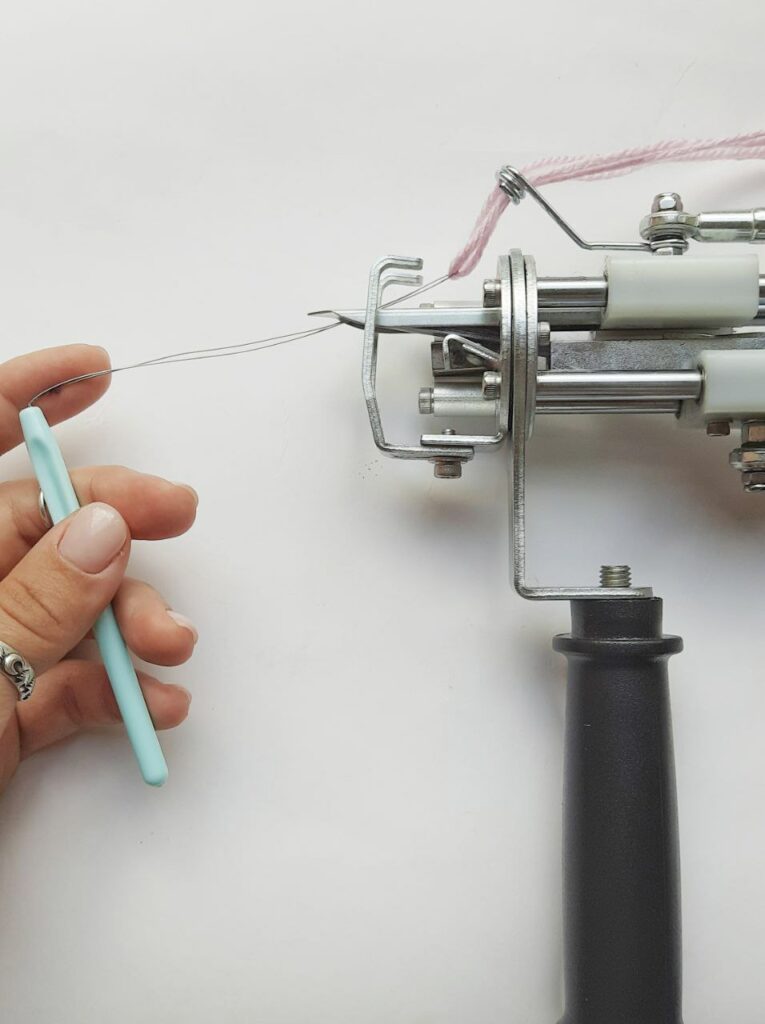
Step 4: Load and Test the Tufting Gun
- Load your chosen yarn into the tufting gun, following the manufacturer’s instructions.
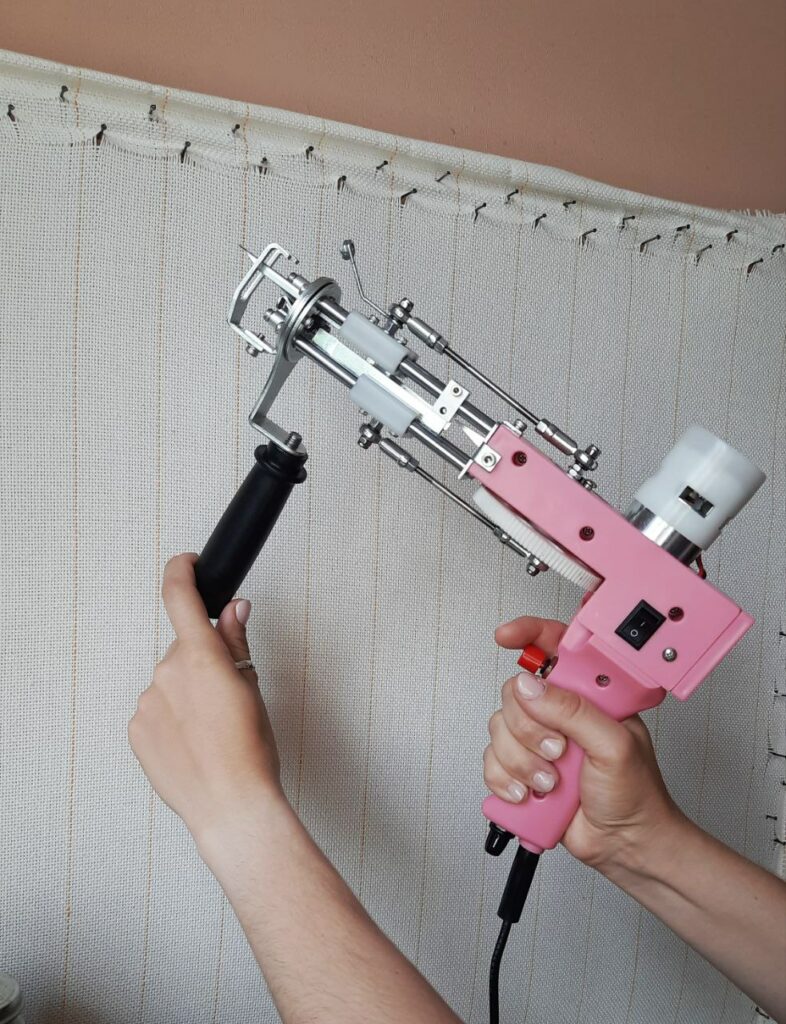
- Hold the tufting gun at a comfortable angle and test its settings on a scrap piece of fabric.
- Adjust the depth and speed according to your experience and desired results.
Step 5: Begin Tufting!
- Start from the bottom of your design and work your way up.
- Place the tufting gun against the fabric and press the trigger to insert the yarn.
- Move the tufting gun in a steady motion, following the marked design lines.
- Experiment with different stitch lengths and directions to achieve varied textures.
- According to my experience, maintaining a consistent pace and angle produces the best results.

Step 6: Finishing Touches
- Once your design is complete, remove the rug from the tufting frame.
- Flip the rug over and apply latex rug glue to the back to secure the tufted yarn.
- Allow the glue to dry completely before trimming any excess fabric.
- Trim carefully with scissors, ensuring a clean and neat edge.
Step 7: Admire Your Handcrafted Rug
- Lay your tufted rug on the floor or hang it on a wall to proudly showcase your creation.
- Marvel at the vibrant colors, intricate patterns, and unique textures you’ve brought to life!
My analysis of this product shows that using a tufting gun offers endless possibilities for artistic expression. With practice and experimentation, you’ll become more adept at creating stunning rugs that reflect your creative vision.
FAQ
Absolutely! With a tufting gun, you have the flexibility to create intricate and detailed designs. By adjusting the speed, depth, and angle of the tufting gun, you can achieve various patterns, shapes, and textures. Practice and experimentation will help you refine your skills and bring your artistic vision to life.
The time required to complete a tufted rug depends on factors such as the size of the rug, the complexity of the design, and your level of experience. However, using a tufting gun significantly speeds up the process compared to traditional hand-tufting methods. You can typically create a small to medium-sized rug in a matter of hours.
It’s generally recommended to spot clean or dry clean tufted rugs to maintain their appearance and durability. Washing a tufted rug in a machine or submerging it in water may cause the yarn to loosen or unravel. Always refer to the specific care instructions for the yarn you use to ensure the longevity of your tufted rug.




Leave a Comment