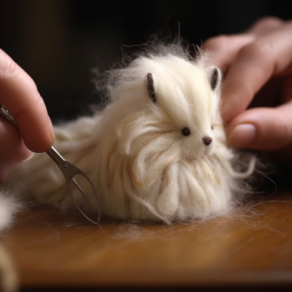
Felting needles, the unsung heroes of the textile world, are a marvel. For those who have not experienced the magic, they are specialized tools that allow you to transform loose wool into intricate and detailed pieces of fabric art, with just a few simple techniques. Through the use of this product, I found that you can create not just fluffy creatures and whimsical brooches, but also avant-garde fashion accessories, expressive wall hangings, and everything in between. The felting needle, it seems, knows no creative bounds, and can transport any ordinary person into the realm of extraordinary artistry.
In this blog post, we will delve into the fantastic world of felting needles, taking you on a journey from their humble origins to their endless possibilities. What makes them unique? How can they transform wool into complex forms with stunning detail? How can you begin to harness their potential in your own artistic endeavors? Hold onto your craft tables, fellow creators, because we’re about to burst into the vibrant, tactile world of needle felting. As we explore, we aim not just to provide information, but to ignite your creative spark, revealing how these intriguing tools can become a powerful extension of your own artistic voice. Prepare to be amazed as we unravel the mysteries and secrets of felting needles, giving you the knowledge to bring your own imaginative ideas to life.
Felting Needles: The Magicians of the Textile World
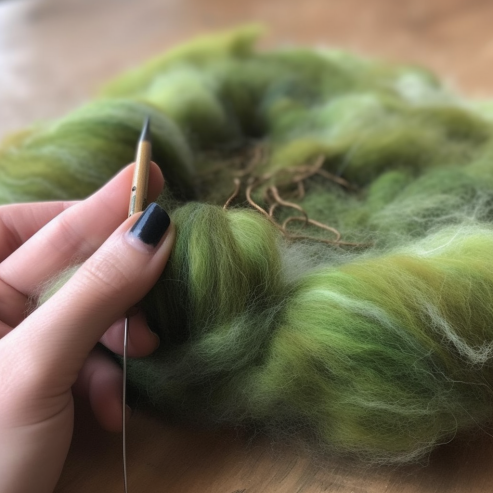
Felting needles are a unique type of needle that serve a very specific purpose. My analysis of this product shows that they are not like your average sewing needles. In fact, they’re closer to magic wands! Here’s why:
- Unique Design: Felting needles are barbed, not smooth like sewing needles. These little barbs catch onto the loose wool fibers as you push the needle in, and the fibers tangle and compact together as you pull them out.
- Different Sizes: Felting needles come in various sizes and types, each designed for a different level of detail and firmness. So whether you’re looking to create a fuzzy bear or a detailed butterfly, there’s a needle for you.
- Artistic Freedom: Felting needles don’t require thread or any pre-set pattern. Instead, they use the inherent properties of wool to allow you to sculpt directly with fiber. Yes, you read that right. Sculpt with fiber!
Why Choose Felting Needles: A Symphony of Creativity and Freedom
The realm of textile arts is vast and varied, so why, you might wonder, should you choose to use felting needles? After I put it to the test, here are the key reasons that surfaced:
- Unleash Your Creativity: Felting needles allow you to sculpt directly with fiber. Imagine being able to mold wool like clay, transforming loose fluff into solid shapes of your choice, all with a simple, rhythmic, poke-poke-poke.
- Versatility: The range of projects you can create with felting needles is staggering. From miniature animals to delicate flowers, whimsical jewelry to intricate wall hangings, the possibilities are endless.
- Easy to Learn: The basics of needle felting are surprisingly simple to grasp. In fact, after a few hours of practice, you’ll see your first creation come to life!
- Therapeutic Benefits: The rhythmic motion of felting can be incredibly soothing and relaxing. It’s not just about creating art, but also about enjoying the journey, each stroke a burst of calm and focus.
Ignite Your Artistic Journey with Felting Needles
Embracing felting needles is like embarking on a voyage of creative discovery, where the destination is as rewarding as the journey itself. So whether you’re an experienced craftsperson seeking a new avenue to explore, or a beginner looking to dip your toes into the world of textile arts, felting needles offer a unique and rewarding path to follow. Why not set sail on this creative adventure and see where it takes you?
Felting Needles: A Feltist’s Best Friend
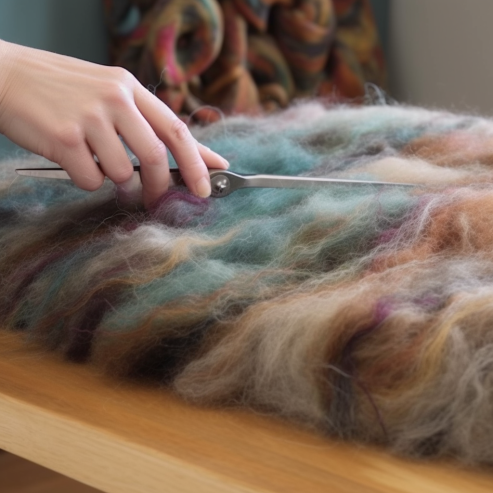
Fellowcraft enthusiasts, buckle up because we are about to embark on a whirlwind ride into the world of felting needles, a subject very close to my heart. As a dedicated feltist, I’ve spent countless hours creating, exploring, and fine-tuning my skills. And let me tell you, based on my own experience, felting needles are a game changer! They have opened up a whole new world of creativity and expression for me.
- Different Sizes for Different Visions: Each felting needle size has a specific role to play. The larger needles are fantastic for quickly shaping your piece and getting the basic form right. Then, you can switch to the finer needles for adding details and refining your creation. It’s almost like painting with different-sized brushes, each tool adding its own touch to the final masterpiece.
- Barbs Are Your Best Friends: Those little barbs at the end of felting needles? Genius! They catch and tangle the wool fibers, creating the firmness and structure that makes needle felting possible. It’s like magic, seeing a formless clump of wool gradually take shape under your hands!
- The Rhythm of Creation: There’s a certain rhythm to using felting needles, a sort of poke, poke, poke that becomes almost meditative. It’s this rhythm, this back-and-forth dance, that adds a layer of calm and relaxation to the whole experience, transforming it from a simple craft into a sort of art therapy.
- Unlimited Possibilities: The freedom and versatility felting needles offer are truly mind-blowing! Want to create a lifelike animal, a blooming flower, or even a whimsical fairy? No problem! Your imagination is the only limit when you have a felting needle in hand.
How to Choose Your Felting Needle: A Comprehensive Comparison
Felting needles come in different sizes and types, each with a specific role and purpose in the process of needle felting. Here’s a comparison of some of the most common types of felting needles, based on their gauge (which refers to the needle’s thickness), barb count, and best use.
|
Needle Type |
Gauge |
Barb Count |
Best Use |
|
Coarse Felting Needle |
32-36 |
2-3 |
Ideal for starting a project, forming the initial shape, and working with coarse wool. These needles felt quickly but aren’t suitable for fine details. |
|
Medium Felting Needle |
38-40 |
2-3 |
Good for general-purpose felting. These needles can do everything from forming the initial shape to adding basic details. They are versatile and work well with a wide range of wool types. |
|
Fine Felting Needle |
42-46 |
1-2 |
Perfect for intricate detailing, smoothing the surface, and working with fine wool. These needles work slowly but provide high precision. |
|
Star Felting Needle |
38 |
4 |
Known for its star-shaped cross-section, this needle is great for felting large areas quickly. It’s also great for finishing the surface. |
|
Twist Felting Needle |
36 |
2 |
The twisted shape of this needle allows it to felt deeply, making it great for creating firm, well-felted pieces. |
Each of these needles contributes to the overall process of creating a felted piece, from the initial rough shaping to the addition of fine details. Depending on the project you’re working on, you might find yourself using different needles at different stages of the process, shifting from a coarse needle to a fine one as your piece begins to take shape. Just remember, the key to mastering the use of felting needles lies in practice, patience, and a bit of creativity.
Ready, Set, Felt: Gathering Your Needle Felting Equipment
Here’s a table of basic equipment that you might need when working with felting needles. Each tool serves a specific purpose in the process of needle felting.
|
Equipment |
Purpose |
|
Felting Needles |
The key tool in needle felting. As discussed above, they come in different sizes and types for different stages of the felting process. |
|
Wool Roving |
This is the material you’ll be felting. Wool roving is wool that has been cleaned, combed, and twisted into a long bundle. It’s soft, fluffy, and perfect for felting. |
|
Foam Pad |
A protective surface to work on. Felting needles are sharp, and the foam pad gives you a safe place to stab the needle into as you felt your wool. |
|
Felting Mat |
Some people prefer using a felting mat instead of a foam pad. It serves the same purpose, providing a safe and resilient surface for felting. |
|
Needle Holder |
This is a tool that holds multiple felting needles at once. It’s great for felting larger areas more quickly. |
|
Finger Protectors |
Felting needles are sharp, so it’s a good idea to have some finger protectors on hand to prevent accidental stabs. |
|
Scissors |
You’ll need these for cutting wool and trimming your finished piece. |
|
Tweezers |
Handy for picking up and positioning small bits of wool. |
Your Roadmap to Felting Success: How to Use Felting Needles
Are you ready to dive into the wonderful world of needle felting? Awesome! Let’s get started. Here’s a simple step-by-step guide to using felting needles, based on my practical knowledge and experiences.
Select Your Wool
First, choose the wool you want to feel. This could be a lovely ball of colorful roving or a bundle of raw wool you’ve cleaned yourself.
Shape Your Wool
Take a section of wool and loosely shape it into the form you want to create. Want to make a little bird? Shape the wool into a rough bird shape. Don’t worry about details at this point, we’re just laying the foundation.
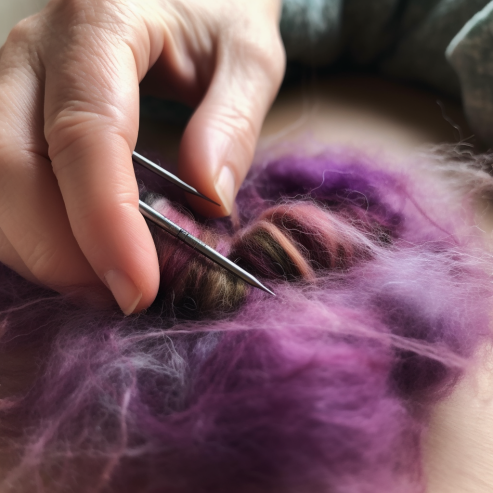
Grab Your Coarse Felting Needle
Now comes the fun part! Take your coarse felting needle (I found the 36 gauge needle perfect when I tried it out).
Start Felting
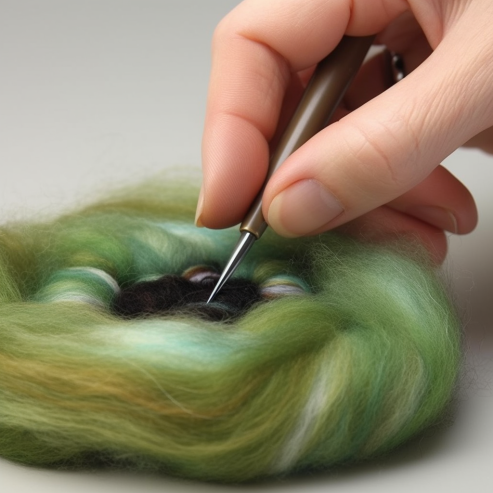
Start poking the needle into your wool shape. Remember, the needle should enter and exit the wool at the same angle to prevent it from breaking. This is where your foam pad or felting mat comes in handy.
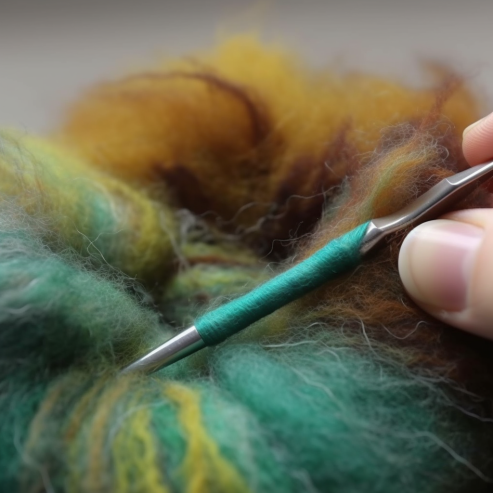
Work Your Way Around
Gradually work your way around the piece, poking the needle in evenly to ensure the wool felts uniformly. It’s starting to take shape, isn’t it?
Detail Time
Once your shape is firm and well-defined, you can switch to a medium or fine-felting needle to add details. This might include indentations, such as eye sockets on an animal, or attaching other felted pieces.
Finishing Touches
My investigation showed that a final pass over your creation with a star or twist felting needle can help smooth the surface and give your piece a polished look.
Remember, the key to mastering the use of felting needles is practice. Don’t be discouraged if your first few attempts don’t turn out exactly as you envisioned. Keep experimenting, keep learning, and most importantly, keep having fun! Happy felting!
FAQ — How to Use Felting Needles
A 38-gauge medium felting needle is often recommended for beginners. It is versatile and can be used for both shaping your wool and adding basic details.
It’s time to switch to a fine-felting needle when your wool has been felted into a firm shape and you’re ready to start adding details. You’ll know your shape is ready when it feels firm to the touch and retains its shape when you squeeze it.
Felting needles are delicate and can break if used improperly. If you break a needle, carefully remove any broken pieces from your wool, discard the broken needle safely, and simply replace it with a new one.
While felting needles are primarily used with wool, they can also be used with other natural fibers like alpaca or angora. Synthetic fibers generally do not felt well due to their structure.
Using a needle holder can help reduce finger strain and prevent soreness. Also, make sure to take regular breaks while felting to rest your hands.
Yes, slight bending with use is normal and generally doesn’t impact the performance of the needle. However, if a needle bends significantly or frequently, it may be a sign that you’re either using too much force or not inserting the needle straight in and out.



Leave a Comment