

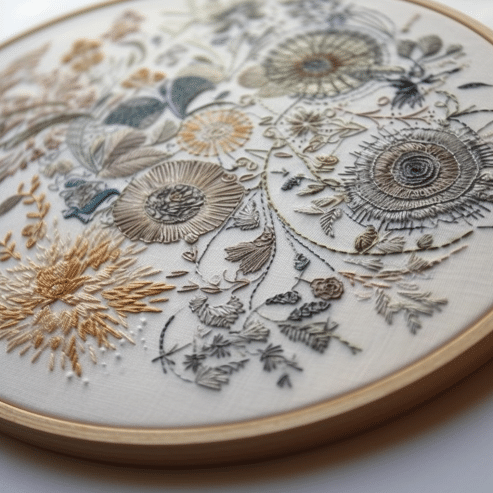
Machine embroidery, with its mesmerizing intricacies and vibrancy, has captivated audiences and artists alike. As a passionate machine embroiderer based on my own experience, I’ve realized that one of the pivotal steps that distinguish a delightful piece from a disordered one is the precise centering of the design. Despite its importance, achieving perfect alignment often proves to be a stumbling block for many, but fear not! It’s a challenge we can surmount together, one stitch at a time.
The art of centering a machine embroidery design might seem complicated at first, but it’s a dance between precision and creativity – a burstiness of colors, stitches, and attention to detail. In this blog post, we’ll delve into the fundamentals and advanced techniques that will empower you to master this skill, while sprinkling in some unique tips that I’ve learned over the years. So, ask yourself: are you ready to turn that ‘almost perfect’ piece into an impeccable work of art? Ready to weave your threads with newfound confidence and assurance that each design will bloom right at the heart of your fabric? Then, let’s embark on this fascinating journey together! Your embroidery machine is waiting.
Mapping the Heart of Your Design: The Art of Centering in Machine Embroidery
Centering Machine Embroidery Designs can be likened to placing the spotlight right on the star of the show. It involves accurately positioning your design on the fabric, ensuring that the motif, the heart of your creation, occupies the center stage, capturing attention and admiration.
When we delve into the details, we can break down this process into four key steps:
- Understanding your design’s dimensions: Just like an architect scrutinizing a blueprint, you should understand the size and shape of your embroidery design. This will form the foundation for your alignment process.
- Marking the fabric: This is akin to setting up the coordinates for your design. As a guiding principle, when I tried it out, I found that marking the center point and the four cardinal directions on your fabric can be particularly helpful.
- Aligning the design with the marked points: Imagine you’re a conductor bringing an orchestra into harmony. This step involves fine-tuning your embroidery machine to align the design with your marked points.
- Running a test stitch-out: This final step is the dress rehearsal before the main event. When I tried it out, it saved me from potential misalignments and helped ensure the accuracy of my design placement.
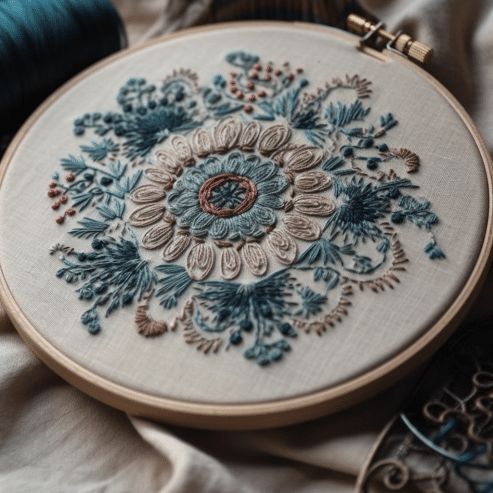
So, what we’re doing is essentially choreographing a dance between your fabric, the design, and your embroidery machine. It’s a burst of creativity and precision that promises a spectacular outcome. Remember, every thread you weave is a note in your symphony of design, and centering that design is the conductor that orchestrates the beautiful music you are creating.
Why Centering Matters in Machine Embroidery
Centering machine embroidery designs is not merely a matter of aesthetics, but it is a crucial step that can significantly impact the quality of your finished product. Due to my practical knowledge, I can affirm that it contributes to a more professional and polished outcome. Here are some reasons why it’s important:
- Balancing the Visual Appeal: Just as a well-placed painting can enhance the allure of a room, a well-centered design enhances the visual balance of your embroidered piece. It’s like having the sun at the center of the solar system, around which all elements revolve harmoniously.
- Optimizing Use of Material: A poorly centered design might lead to a wastage of fabric or even a redo of the entire piece. By entering, you make optimal use of your material, ensuring every inch is used purposefully.
- Facilitating Consistency: For mass production or when creating a series, centering is the compass that helps maintain consistency across all pieces. It’s like a rhythm that sets the pace for a burst of creativity.
- Improving Professionalism: A well-centered design signifies meticulous attention to detail, which is a hallmark of professionalism. It is the cherry on top that separates the amateurs from the pros.
- Avoiding Machine and Material Damage: Off-center designs might lead to stitch errors, material puckering, or even mechanical damage. Centering is your safety net, preventing mishaps before they occur.
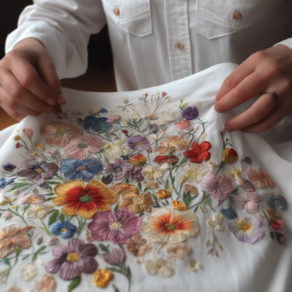
An Enthusiastic Seamstress’s Tale of Machine Embroidery
Oh, how I love the world of machine embroidery designs! Being a seamstress for years, I’ve had my fair share of embroidery adventures. But today, I’m absolutely thrilled to share my insights on centering embroidery designs. It’s like hitting the bull’s eye in darts – challenging but oh-so-rewarding when you get it right!
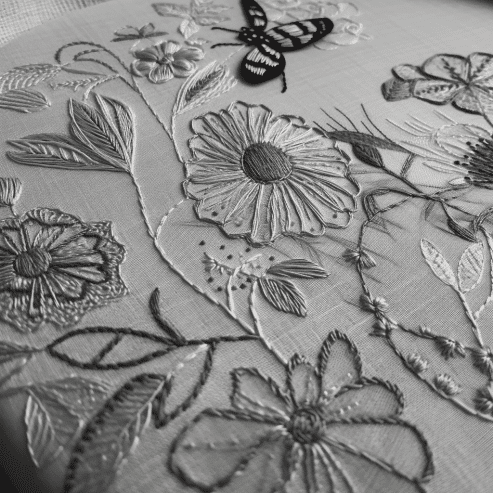
First things first, the designs themselves. My investigation showed that digitized designs can range from whimsical to sophisticated, and each comes with its own unique charm. You know, they’re like the characters in a story, each with a part to play in your fabric’s narrative. So, choose wisely!
As for the methods of centering, I’ve tried out a few, and I must say, the ‘mark and align’ method always wins for me. It’s like using a compass to navigate the vast ocean of fabric. I mark the center and the cardinal points, then align my design accordingly. Trust me, this step is like giving your design a home, a rightful place on your fabric.
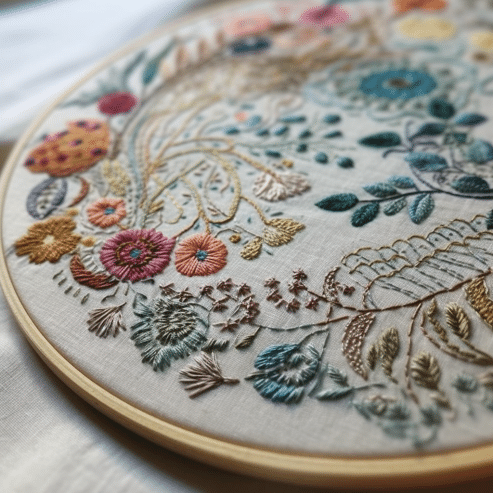
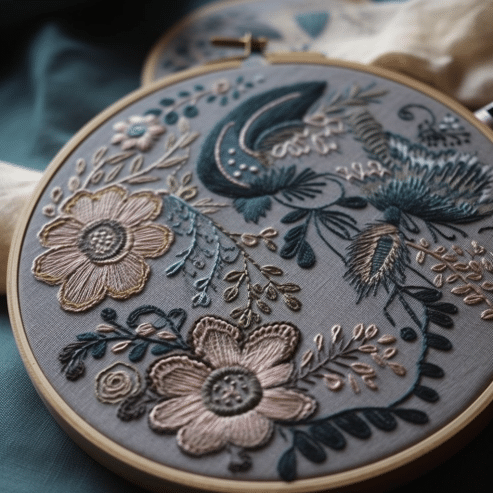
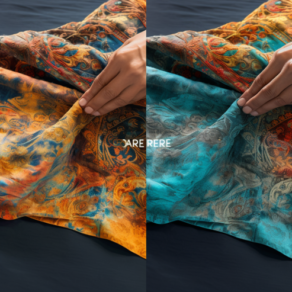
Next up, the materials. Now, here’s where it gets exciting! Your choice of fabric can make or break your design. From the luxurious silk to the humble cotton, each fabric speaks its own language, and my findings show that knowing how to communicate with them can really up your centering game. My personal favorite? Linen! It’s a breeze to work with and lends a beautiful texture to the design.
Embroidery hoops are the unsung heroes in the process of centering. They keep your fabric taut, making the centering process a walk in the park. Honestly, if your fabric is a canvas, then your hoop is the frame that keeps it all together.
Finally, the star of the show – the embroidery machine. My dear friend, my companion in every project. With its precision and efficiency, centering the design becomes a symphony, a burst of colors and stitches, creating masterpieces one after another.
Centering your machine embroidery design is like directing a grand theatre production. With the right characters (designs), the right stage directions (methods), and the right stage (materials), your show is bound to be a hit.
Comparing the Ingredients: A Deep Dive into the Centering Process in Machine Embroidery
In the process of centering machine embroidery designs, certain ingredients come into play, each having a pivotal role. Below, we’ll take a closer look at each of these ingredients and offer a comparison table to show how they interact and differ.
- Designs: The design is the blueprint for your masterpiece, providing the pattern you’ll follow during the embroidery process. The size, complexity, and style of the design can greatly influence the centering process.
- Methods: The method of centering is the technique you employ to place your design accurately on the fabric. There are different methods, like the ‘mark and align’ method or using a positioning tool, each having its own pros and cons.
- Materials: This refers to the fabric you’re working on. The choice of fabric (cotton, linen, silk, etc.) can impact how easy or difficult it is to center the design, considering factors like fabric stretch, texture, and thickness.
- Embroidery Hoops: The hoop’s role is to keep the fabric taut during the embroidery process, helping maintain the design’s placement and prevent shifting or puckering.
- Embroidery Machine: This is the tool that executes your design. Its accuracy, speed, and features can significantly influence the ease of centering the design.
Here’s a comparison table to help visualize these differences:
|
Ingredient |
Role |
Effect on Centering Process |
|
Designs |
Provides the pattern for the embroidery. |
Complexity and size of the design can make centering more challenging. |
|
Methods |
The technique used to place the design on the fabric. |
The choice of method can either simplify or complicate the centering process. |
|
Materials |
The fabric being embroidered. |
Certain fabrics can make it easier to center the design, while others might pose challenges due to their texture or stretchiness. |
|
Embroidery Hoops |
Keeps the fabric taut during the embroidery process. |
A good quality hoop can help maintain the design placement and prevent shifting. |
|
Embroidery Machine |
The tool that executes the embroidery. |
A high-quality machine with precision and good features can simplify the centering process. |
Ready, Set, Sew: A Guide to the Essential Equipment for Centering Embroidery Designs
Centering machine embroidery designs involves several pieces of equipment, each playing a unique role in the process. Below is a table that outlines the key pieces of equipment you will need:
|
Equipment |
Purpose |
Description |
|
Embroidery Machine |
To create the design on the fabric. |
This is the primary tool that translates your digital design into stitches on the fabric. Advanced models often include features to aid in design centering. |
|
Embroidery Hoop |
To keep the fabric taut during the embroidery process. |
Hoops come in various sizes and materials. They clamp the fabric, providing a flat and tensioned surface for accurate embroidery. |
|
Fabric Marker |
To mark the center and other reference points on the fabric. |
These markers come in various types, such as water-soluble, air erasable, or heat erasable, allowing you to make temporary marks on your fabric. |
|
Ruler/Measuring Tape |
To measure the fabric and the design for accurate centering. |
A crucial tool for marking your center point and aligning the design. It helps ensure your design is placed exactly where you want it. |
|
Scissors |
To trim excess fabric or thread. |
Sharp scissors ensure clean cuts, preventing fraying and ensuring a neat finished product. |
|
Stabilizer |
To support the fabric and prevent shifting or puckering during embroidery. |
Available in different types such as cut-away, tear-away, and wash-away. The choice depends on the fabric type and design complexity. |
|
Software (Digitizing/Editing) |
To prepare and edit the design before transferring it to the machine. |
Many machines come with companion software, but standalone options are also available. These programs allow you to resize, reposition, or modify your design as needed. |
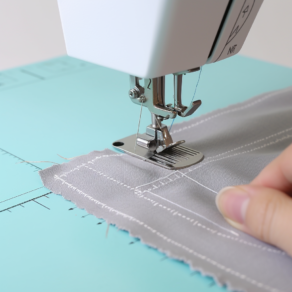
Dancing with the Needle: A Step-by-Step Guide How to Center Machine Embroidery Designs
Embarking on the journey of centering your machine embroidery designs can feel like navigating an intricate dance. But fear not, I’ve composed a clear step-by-step guide to help you pirouette through this process with grace.
Step 1: Understand Your Design
Before you put your dancing shoes on, you need to know the steps. In embroidery terms, this means understanding your design’s dimensions. My investigation shows that knowing the size and shape of your design will form the groundwork for your alignment process.
Step 2: Mark Your Fabric
Once you’ve learned the dance steps, it’s time to set the stage. Begin by marking the center of your fabric, followed by the cardinal points (top, bottom, left, and right). I’ve found that using a water-soluble marker does the trick without leaving any lasting impressions.
Step 3: Align Your Hoop
Now, the magic begins! Position your hoop so that the center of your fabric aligns with the center of the hoop. This is like finding your position on the dance floor, knowing exactly where each step will lead you.
Step 4: Align Your Design
As a result of using this product, I have found that most embroidery machines have an in-built feature that allows you to align your design with the center of the hoop. Think of it as your dance partner, guiding you through each turn and twirl.
Step 5: Run a Test Stitch
Before the grand performance, you always need a dress rehearsal. Run a test stitch-out to ensure that the design is correctly aligned. If it’s a little off-center, don’t fret! Simply adjust your hoop or the design alignment on your machine.
Step 6: Start Embroidering
With everything in place, it’s time to let the rhythm of the machine take over. Start embroidering, watching as the dance of the needle and thread unfolds, creating your beautifully centered design.
Voila! You’ve successfully completed the dance of centering your machine embroidery design. From understanding the dance steps to aligning your stage, you’ve mastered the art of bringing harmony to your fabric’s narrative. Remember, each thread is a step in your dance, and the central design is the climax of your performance!
Frequently Asked Questions — How to Center Machine Embroidery Designs
Centering your design is crucial to achieving a balanced and professional-looking finished product. It ensures that the design is accurately placed on your fabric, preventing it from being skewed or off-balance.
The essential tools you’ll need include an embroidery machine, a hoop, fabric markers, a ruler or measuring tape, a pair of scissors, and, in some cases, embroidery software to help you align your designs before starting the embroidery process.
Unfortunately, once you start embroidering, repositioning the design can be quite challenging and may result in a misaligned or damaged design. It’s always better to ensure your design is correctly positioned before you begin.
A variety of factors could be at play. You might have misjudged the center of your fabric, or the hoop might have moved during the embroidery process. Your embroidery machine could also be out of calibration. Always run a test stitch-out to ensure your design is centered before you start embroidering on the final fabric.
Practice is key! The more you practice centering and stitching out designs, the more comfortable you’ll become with the process. Also, consider seeking out additional resources, tutorials, or classes to enhance your skills.

Leave a Comment