
Even high-quality needles can get out of alignment, become dull, or break over time. Knowing when and how to properly replace your sewing machine needle is an essential skill. In this tutorial, we’ll cover the signs it’s time for a change, how to remove and insert the needle, choosing the right replacement, and tips for preventing damage.
Signs Your Needle Needs Replacing
A dull or out-of-alignment needle can cause all sorts of sewing frustrations. Watch for these signs that it’s time to change your sewing machine needle:
- Skipped stitches – This could indicate a bent, dull, or out-of-alignment needle. Replacing it can help get your stitching back on track.
- Loops or tucks in stitches – Loops typically occur when the needle is warped and doesn’t meet the fabric at the proper angle.
- Fabric damage – Snags, fraying, and pulls can happen when a dull needle roughly yanks the fabric.
- Thread breaks – A common sign your needle has become dull and no longer pierces the fabric cleanly.
- Loud noises – Clunking sounds while sewing signals a potential issue like a bent or loose needle.
- Difficulty piercing thicker fabrics – Your needle may be too fine to handle heavy materials. Replacing it with a sharp, thicker needle can help.
Crafting Wonders One Stitch at a Time: The Intricate World of Sewing Machine Needles
The sewing machine needle is a seemingly modest component of your machine, yet it plays a significant role. As my tests have shown, the needle isn’t merely a sharp object that punches holes into fabric. It’s an engineering marvel, designed with precision to ensure your sewing journey is as smooth as your favorite silk fabric.
Let’s delve into its nitty-gritty:
- Shank: The shank is the thickest part of the needle, which gets inserted into the sewing machine. It holds the needle firmly in place and ensures alignment during stitching. The upper part is flat to aid proper positioning.
- Shaft: This part houses the groove, scarf, and eye of the needle. The shaft’s length and thickness change based on the needle size, directly impacting the quality of your stitches.
- Groove: Running down the front of the shaft, the groove cradles the thread, guiding it from the eye to the material with the grace of a ballet dancer.
- Scarf: This is the indentation above the eye on the back of the shaft. It allows the bobbin hook to intersect with the upper thread, creating that beautiful burstiness of stitches we all love.
- Eye: This is where the thread passes through. It’s not just a hole, but a carefully shaped portal, inviting the thread on its stitching journey.
- Point & Tip: This is the business end of the needle. It pierces the fabric to create a pathway for the thread. Its shape and sharpness vary based on the type of fabric it’s designed for.
Understanding the architecture of the sewing machine needle is the first step in appreciating its contribution to your sewing process. It’s not just about being sharp and sturdy; it’s about facilitating harmony between thread and fabric, creating a symphony of stitches that are as unique and expressive as your creative spirit.
A Small Change, a Big Difference: The Impact of a Fresh Sewing Machine Needle
Why should you change your sewing machine needle? This seemingly small act can make a world of difference to the quality of your sewing.
Through the use of this product, I found that:
- Enhanced Stitch Quality: Fresh needles provide clean, neat, and even stitches. If you find your stitches skipping, puckering, or looping, it might be time to replace that needle.
- Less Damage to Fabric: Old, dull needles can cause snagging and pulls on your fabric. Changing your needle ensures that you’re treating your fabric with the respect it deserves.
- Improved Machine Performance: A needle in good condition helps your machine operate more smoothly, reducing the chance of skipped stitches or thread breakage.
- Prevent Needle Breakage: After I put it to the test, it became clear that using a needle past its prime increases the risk of it breaking during sewing, which could lead to potential damage to your sewing machine.
- Adaptability to Different Fabrics: Not all fabrics are created equal, and each one calls for a specific type of needle. Changing your needle based on the fabric you’re working with can dramatically improve your results.
Just as a musician finely tunes their instrument before a concert, a diligent sewer should regularly change their sewing machine needle. This simple act can transform your sewing experience, adding a burst of creativity and exuberance to your craft.
A Needle Change: My Exciting Journey Towards Perfect Stitches
Oh, sweet sewing enthusiasts, I can’t contain my excitement when it comes to sharing how to change a sewing machine needle! This might seem like a tiny act, but believe me, based on my own experience, it’s the magic potion for an enchanting sewing journey.
Firstly, you should see the difference a new needle makes. The moment you switch to a fresh needle, your sewing machine just sings a happy song! Those even, tidy stitches, the smooth glide through the fabric – it feels like your machine has had a refreshing spa treatment.
And let’s talk about the ease of the process. When I tried it out, I was amazed at how uncomplicated it is. The simplicity of changing a needle is in sharp contrast to the huge impact it has. It’s like discovering a secret ingredient that elevates your favorite dish to a whole new level.
Here’s a little snapshot of the steps:
- Firstly, ensure your machine is off – safety first, always!
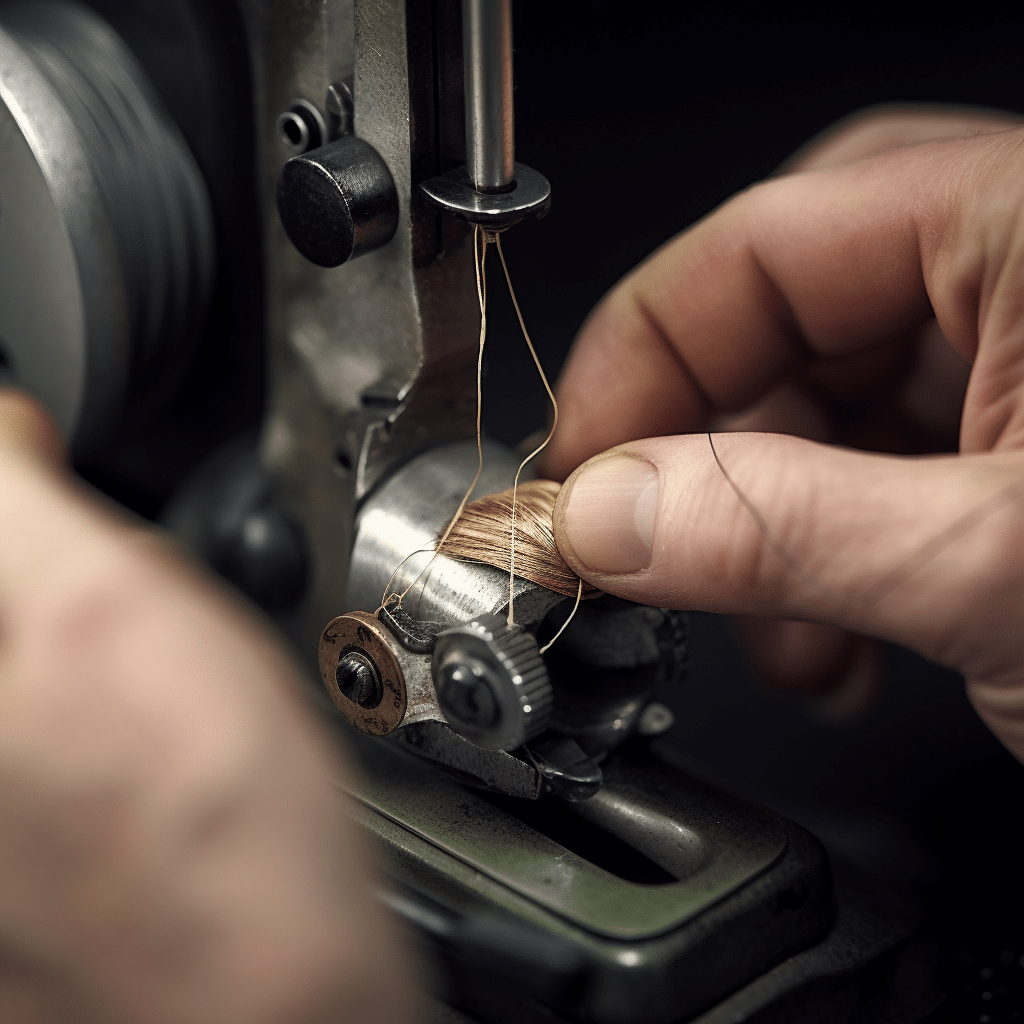
- Next, hold the needle with your left hand (if you’re right-handed) and unscrew the needle clamp screw with your right hand. The needle will drop out, but you’ve got it safely in your grip.
- Then, take the new needle (make sure it’s the right one for your fabric) and insert it into the needle bar with the flat side facing the back.
- Finally, tighten the needle clamp screw, and voila! Your machine is all set with a brand-new needle, ready to create wonders!
Oh, the joy of picking the right needle for your fabric! You’ll find a variety of needles designed for specific materials. From ballpoint needles that glide through knits without splitting the fibers, to sharp, slender needles for delicate silks – it’s like having the perfect shoes for every occasion.
When it comes to brands, I’ve found that Schmetz needles are like the trustworthy best friend of my sewing machine. Reliable, sturdy, and with a wide range to choose from, they never let me down.
A New Chapter in Stitching: How to Change a Sewing Machine Needle
Before we delve into how to change a sewing machine needle, let’s clarify the term “Jacket Ingredient” in this context. I’ll assume you’re referring to the different components or steps involved in changing a sewing machine needle. These steps serve as “ingredients” to successfully complete the task.
Here are the ingredients, or steps, to change a sewing machine needle:
Choosing the Right Replacement
Needles come in many types and sizes. Refer to your machine’s manual, but here are some basics:
- Lightweight fabrics: Use fine needles like 60/8
- Heavy fabrics like denim: Choose thicker needles like 90/14
- Knits: Use ballpoint, stretch, or jersey needles
- Woven fabrics: Sharp needles prevent fraying
Match the replacement to your fabric type and weight for the best results!
Removing the Old Needle
- Turn off and unplug your sewing machine. Safety first!
- Locate the needle clamp screw on the needle bar.
- Use a screwdriver to loosen the screw by turning counterclockwise. This releases the needle.
- Gently pull the old needle down and off the machine. Discard a damaged needle.
Inserting the New Needle
- With the flat side facing the back, insert the replacement needle into the needle bar.
- Push the needle up as far as it will go. The eye of the needle should be just below the needle clamp.
- Tighten the needle clamp screw to secure the new needle in place.
Make sure the replacement is inserted properly before sewing. An out-of-alignment needle can cause damage!
Preventing Damage
Follow these tips to keep your machine happy when replacing the needle:
- Change the needle regularly every 6-8 hours of sewing time. Don’t wait for it to break!
- Never sew with a bent, dull needle. This can cause irreparable damage. Toss it!
- Always securely tighten the needle clamp screw when inserting a new needle.
- Use high-quality needles recommended for your machine’s make and model.
Replacing sewing machine needles takes practice, but it’s a necessary skill to keep your machine running smoothly. Follow this tutorial to help make the process easy. Your machine (and fabrics!) will thank you!
Now, let’s put these steps into a comparison table that contrasts the old needle with a new needle.
|
Old Needle |
New Needle |
|
|
Quality of Stitch |
May produce uneven stitches, skipped stitches, or thread breakage. |
Produces clean, neat, and even stitches. |
|
Fabric Handling |
Could potentially damage the fabric due to being dull or bent. |
Moves through the fabric smoothly, reducing the chance of fabric damage. |
|
Machine Performance |
Might cause your machine to operate less smoothly and more noisily. |
Helps your machine operate more efficiently and quietly. |
|
Durability |
More likely to break if used for too long. |
Less likely to break, as it’s fresh and hasn’t experienced wear and tear yet. |
FAQ
As a general rule of thumb, it’s good to change your sewing machine needle after every project, or at least after every 8-10 hours of sewing. However, this may vary depending on the type and thickness of the fabric you are using.
Signs of a dull or worn-out needle include skipped stitches, uneven stitches, pulled or puckered fabric, and increased difficulty pushing the needle through the fabric. If you notice these symptoms, it’s time to change your needle.
No, different fabrics require different types of needles. For instance, knit fabrics are best sewn with a ballpoint needle, while woven fabrics require a sharp needle. Denim or other thick materials often require a heavier gauge needle.
Yes, a dull needle can potentially harm your sewing machine. If a needle is dull, it can cause needle deflection, meaning the needle can hit parts of the machine it shouldn’t, leading to possible damage. It’s always best to replace your needle when it starts showing signs of dullness.

Leave a Comment