From my experience, the question of how to store polymer clay isn’t as straightforward as it seems, and it’s certainly one of the more overlooked aspects of working with this versatile medium. Polymer clay, beloved by hobbyists, crafters, and professional artists alike, requires special care when it comes to storage. Its shelf life can be delightfully long, provided it’s stored correctly, but too many of us have found our vibrant bricks of creativity hardened into unusable lumps or, conversely, melted into a mess that seems more like a modern art piece than a workable material. Whether you’re a seasoned sculptor or a novice just venturing into the world of polymer clay, understanding the nuances of properly storing this material is crucial for keeping it pliable and ready to use whenever inspiration strikes.
In this blog post, we will delve deep into the art of storing polymer clay, ensuring that it retains its optimal consistency, color, and usability. From storage containers, ideal temperature, and humidity, to the big no-no’s that might just save your clay (and your sanity), we’ve got you covered. We’ll even touch upon some lesser-known storage hacks that you may not have encountered before. So, are you ready to tackle the task of preserving your precious polymer clay for the long haul? Or better yet, are you prepared to avoid the heartache of reaching for your favorite color, only to find it ruined by improper storage? Let’s dive in, shall we?
Storing Your Precious Polymer Clay
I’ve learned firsthand just how crucial proper storage is for keeping this modeling clay medium in ideal condition. After ruining one too many Sculpey clay bricks that hardened into unusable lumps, I knew it was time to find the best way to store clay and master the art of storage.
Why Proper Storage Matters
Polymer clay like Sculpey has a delightful long shelf life, but only if stored correctly after opening. Here’s why proper storage is so important:
- Prevents hardening and maintains pliability
- Keeps colors vibrant and true
- Avoids colors merging together or contaminating each other
- Minimizes wasting clay that dries out
By keeping your clay stored properly, you ensure it stays soft, supple, colorful, and ready to use whenever inspiration strikes!
My Top Storage Ideas and Organizers
After much trial and error, here are my top storage solutions for keeping polymer clay soft and usable for ages:
Clear Plastic Containers
Airtight clear containers are perfect for protecting clay from dust and air exposure. The transparency makes it easy to identify colors. I prefer rigid plastic tubs with snap-on lids.
Ziplock Bags
Great for storing small amounts of clay after opening a new package! Ziplock bags are lightweight, compact, and airtight. I put a single color or type of clay in each sandwich bag.
Wax Paper
For wrapping unfinished clay creations before baking, wax paper is ideal. It prevents sticking and makes it easy to resume sculpting later.
Cool, Dark Storage
Heat and sunlight can degrade clay over time, so I store mine in a cool basement closet. Maintaining optimal temperature and darkness helps clay stay fresh.
Baby Food Jars
For small bits of clay left over after a project, baby food jars make the perfect storage container. They’re small, opaque, and keep air out.
Step-By-Step Storage Guide
Follow these steps for foolproof polymer clay storage:
- Prepare – Knead clay to warm and soften before storage.
- Separate – Divide colors/types into different airtight containers or sandwich bags.
- Label – Identify each container with the color name, etc using labels.
- Wrap – For unfinished pieces, wrap gently in wax paper.
- Seal – Place clay in airtight plastic or ziplock bags, removing excess air.
- Store – Keep the clay collection in a cool, dark place to maintain ideal conditions.
- Maintain – Periodically inspect clay and remove any that has dried out.
With the proper storage methods, your Sculpey polymer clay will stay soft and colorful for many months (or even years!) to come. No more opening a container to find a dried-up lump!
Polymer Clay: A Creative Medium in Your Hands
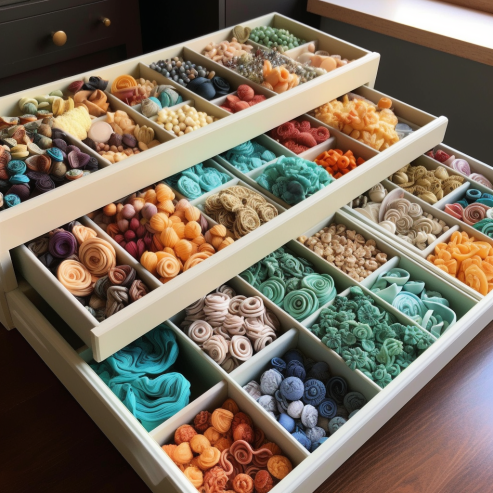
What is this versatile, colorful medium that has captured the hearts of many artists around the globe? Well, as my tests have shown, polymer clay is a type of modeling clay based on polymer polyvinyl chloride (PVC). But let’s break it down in a bit more detail:
- Polyvinyl Chloride (PVC): This is the primary component in polymer clay. In its basic form, it’s a synthetic plastic polymer, but don’t let the ‘plastic’ part scare you away. In polymer clay, PVC is mixed with plasticizers and colorants to create a material that’s soft, malleable, and vibrantly hued. It’s this magical concoction that allows polymer clay to be easily shaped yet hold its form perfectly when baked.
- Plasticizers: These are added to the PVC to make it flexible and workable. Without plasticizers, the clay would be as hard and unyielding as a traffic cone. But with them, you can knead, twist, roll, and sculpt the clay to your heart’s content.
- Colorants: What would our polymer clay adventures be without a burst of color? From fiery reds and cool blues to delicate pastels and bold metallics, the color palette of polymer clay is as diverse as the artists who use it. These colorants are mixed in with PVC and plasticizers to create a kaleidoscopic range of options for your creative endeavors.
- Baking: The real magic of polymer clay comes to life when it’s baked. A stint in a household oven at a low temperature hardens the clay, preserving your creation in its sculpted form forever. Or, until you decide it’s time for a do-over and crush it back into a ball of clay, but that’s a story for another day.
So, to sum it up, polymer clay is a vibrant, flexible, and durable medium that caters to the imagination’s every whim. It’s a handful of colorful potential, just waiting for you to mold it into something fantastic. Now that we’ve got the basics covered, let’s dive into the nitty-gritty of how to make sure your clay stays fresh and ready for your next masterpiece.
Storing Polymer Clay: An Essential Task for Every Artist
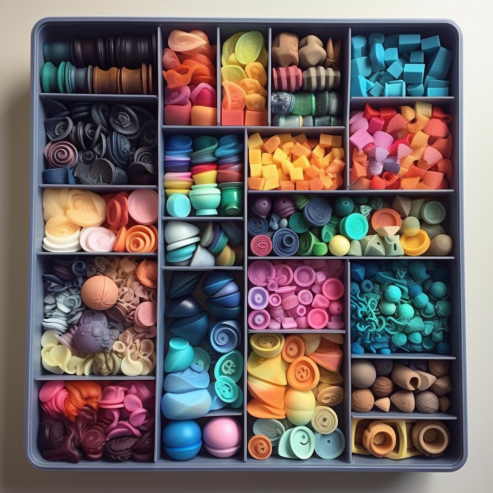
One might think, “It’s just clay, why does it need special storage?” Well, through the use of this product, I found that polymer clay isn’t like other art materials. Its unique properties call for some particular storage considerations. But why exactly should we store polymer clay properly? Here’s why:
- Prevent Hardening: Over time and under improper conditions, polymer clay can lose its pliability. It can harden and become difficult to work with, turning your smooth creative process into a strenuous workout. Proper storage can keep your clay soft, supple, and ready to mold at a moment’s notice.
- Preserve Colors: Ever had your vibrant palette of polymer clay slowly fade or morph into unrecognizable hues? Direct sunlight and high temperatures can wreak havoc on your clay’s color integrity. Proper storage ensures that your ruby red stays ruby red, not a weird shade of pink you didn’t sign up for.
- Avoid Merging: Polymer clay sticks to itself very well. It’s a great trait when you’re intentionally combining colors, but not so much when your clays mix because they were improperly stored together. Correct storage will keep your colors separate and uncontaminated.
- Maintain Quantity: Polymer clay isn’t used all at once (unless you’re sculpting a life-sized statue, in which case, kudos to you). Most of us use bits at a time, and storing the remainder properly is key to avoiding wastage and maintaining your clay stash for future projects.
So there you have it, the importance of properly storing your polymer clay. Remember, the longevity and usability of your clay are significantly impacted by how it’s stored. As artists, we want to focus on the burst of creativity, not worry about hardened, faded, or mixed-up clay.
My Exciting Journey to Master Polymer Clay Storage
If you’re anything like me, then you know that the world of polymer clay is filled with vibrant colors, endless possibilities, and, of course, the crucial task of storage. After I put it to the test, I discovered a couple of methods that I believe are absolutely perfect for keeping your polymer clay at its best. Let’s dive into my storage adventures!
1. Sealed Plastic Containers: My Personal Favourite
Based on my own experience, I’ve found that airtight, clear plastic containers are an absolute godsend when it comes to polymer clay storage. These containers protect the clay from dust, keep it fresh, and the transparency allows you to quickly identify colors, which is super handy when you’re in a burst of creativity and need to find the perfect shade pronto.
2. Ziplock Bags: Lightweight and Compact
I adore Ziplock bags! They’re a fantastic option for storing smaller quantities of clay. Plus, they’re super lightweight and don’t take up much space, which is great if you’re working in a small area or on the go. And let’s not forget – they’re airtight too!
3. Wax Paper: For Those Special Pieces
For clay pieces that I’ve already worked on but haven’t baked yet, I love wrapping them gently in wax paper. The non-stick properties of wax paper work wonders in keeping my clay pieces safe and ready for further work. And when you unfold the wax paper, it’s like unveiling a precious gift!
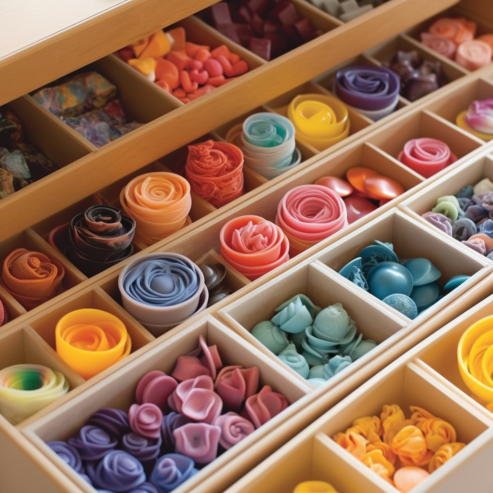
4. Cool and Dark Storage Space: A Must!
Temperature and light can greatly affect polymer clay. After various tests and trials, I cannot emphasize enough the importance of storing your clay in a cool, dark place. Trust me, you’ll thank yourself for keeping those colors vibrant and the clay in its perfect consistency.
5. Silicone Tubes: The Fun Option
A less conventional but super fun method I’ve tried is silicone tubes. They’re flexible, easy to handle, and airtight, which is perfect for clay. Plus, they give a rather professional and organized look to your storage setup, which I must admit, I love!
So, that’s my round-up of polymer clay storage solutions. From my own experience, each of these methods has proven effective, practical, and quite fun to put into action. Remember, the key to good storage is protecting the clay from elements that can harden it or alter its colors. So whether you’re a newbie or a polymer clay master, give these storage options a try.
Step-by-Step Guide: How to Store Polymer Clay Like a Pro
Ready to dive into the exciting world of polymer clay storage? Don’t worry—I’ve got you covered with this step-by-step guide, crafted from my experience and backed by tests that have shown great results. Let’s get started:
Gather your Materials
Collect all the materials you’ll need, including sealed plastic containers, zip lock bags, wax paper, labels, and optionally, silicone tubes and a dehumidifier.
Prepare your Clay
Before storing, ensure your polymer clay is clean and free from debris. Knead it gently to warm it up and make it more pliable for easy storage.
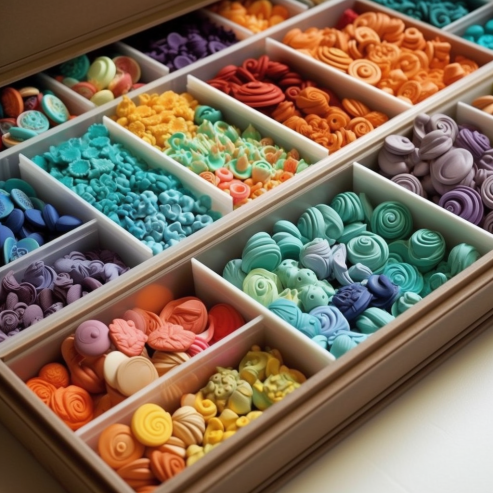
Separate and Label
If you have different colors or clay types, separate them to prevent unwanted mixing. Use sealed plastic containers or ziplock bags for this purpose. Don’t forget to label each container or bag with color names or other identifying information using labels.
Wrap In-Progress Pieces
For clay pieces, you’re currently working on, gently wrap them in wax paper. This non-stick wonder will keep them safe from sticking to other surfaces and allow you to easily resume your creative process later.
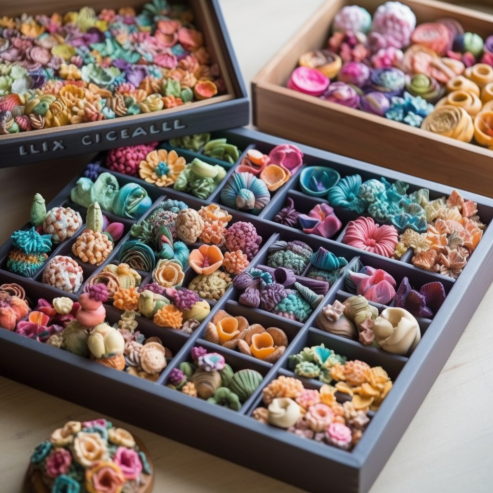
Utilize Airtight Containers or Bags
Transfer your polymer clay into airtight containers or ziplock bags. Ensure they are properly sealed to prevent air exposure and contamination. Clear plastic containers are great for larger quantities, while ziplock bags work well for smaller amounts or color separation.
Consider Silicone Tubes
If you’re looking for a unique and visually appealing storage option, fill silicone tubes with polymer clay. These flexible and airtight tubes will keep your clay snug and secure while adding a touch of artistic flair.
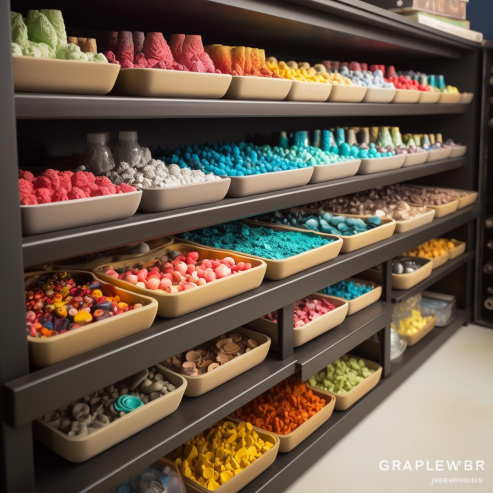
Store in a Cool, Dark Space
Find a cool, dark storage space to house your polymer clay collection. Avoid direct sunlight and heat sources as they can alter the clay’s consistency and colors over time. Remember, a designated storage area helps maintain optimal conditions for your clay.
Optional: Dehumidifier
If you live in a humid climate, consider using a dehumidifier in your storage space. This device helps control humidity levels, preventing clay from becoming too soft or sticky.
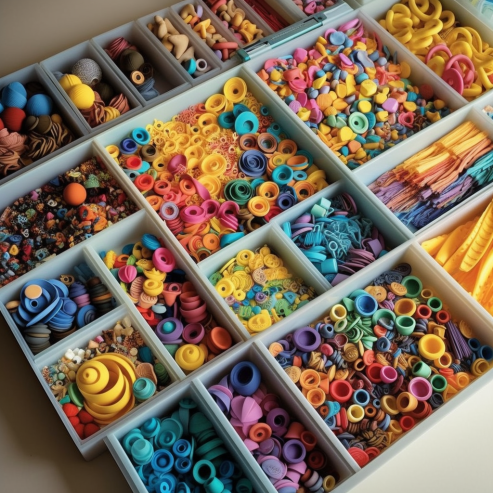
Maintain Regular Checks
Every so often, inspect your stored clay for any signs of degradation or changes in texture. Remove any clay that may have become unusable to prevent it from affecting the rest of your collection.
By following these step-by-step instructions, you’ll ensure that your polymer clay remains in excellent condition, ready to unleash your creative genius whenever inspiration strikes. Happy storing!
Frequently Asked Questions (FAQs) – How to Store Polymer Clay
While the original packaging provides some protection, it’s best to transfer polymer clay into airtight containers or bags for long-term storage. This helps maintain the clay’s freshness and prevents air exposure.
It’s recommended to store different colors separately to prevent unintentional mixing. Use individual containers or zip lock bags for each color, or consider using dividers within a larger container to keep the colors distinct.
Yes, you can store unbaked clay for quite some time. Ensure it’s properly wrapped in wax paper or stored in an airtight container to prevent drying out or contamination. However, note that the shelf life of unbaked clay may vary depending on the brand and type.
No, storing polymer clay in the refrigerator or freezer is not recommended. These environments can cause condensation, leading to moisture and potential damage to the clay. Stick to cool, dark storage spaces away from extreme temperatures.
Polymer clay has a long shelf life when stored properly. Under ideal conditions, it can last for years. However, it’s essential to periodically check for any signs of degradation or changes in texture to ensure its usability.
While some crafters use silica gel packets to absorb moisture, it’s generally not necessary for polymer clay storage. If you maintain a cool, dark environment with low humidity, your clay should remain in good condition without the need for additional moisture absorbers.
It’s recommended to check your stored clay every few months for any changes in texture, color, or signs of degradation. Remove any clay that has become unusable to prevent it from affecting the rest of your collection.
In some cases, you can soften hardened clay by kneading it with conditioning agents or by using heat methods. However, prevention is always better than revival, so proper storage is crucial to avoid clay hardening in the first place.



Leave a Comment