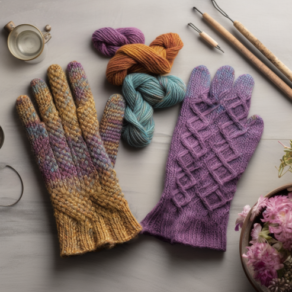
Welcome, aspiring crafters and seasoned knitters alike, to the cozy realm of glove knitting! As temperatures begin to tumble and frost etches its delicate patterns onto our windows, the demand for snug, hand-crafted gloves soars to new heights. Through the use of this product, i.e., knitting, I found that not only does it protect your hands from the biting cold, but it also provides an outlet for creativity, a means of self-expression, and an enchanting journey into a world that’s bursting with texture, color, and design. Who knew that a couple of knitting needles and a skein of wool could unfurl such wonders?
In this post, we will guide you step by step, stitch by stitch, on your journey to knit a pair of gloves that perfectly fits your hands and style. From choosing the right yarn and needles to understanding different knitting patterns, all the way to the final finishing touches, we’ve got it all covered. We’ll delve into the complexities of thumb gussets and finger shaping, transforming these seemingly daunting tasks into manageable milestones. Stay with us, and by the end of this post, you’ll be ready to create your own handcrafted gloves. So, are you ready to let your hands dance with the rhythm of the needles and weave warmth into every stitch?
Handcrafted Warmth: 5 Reasons to Start Knitting Gloves
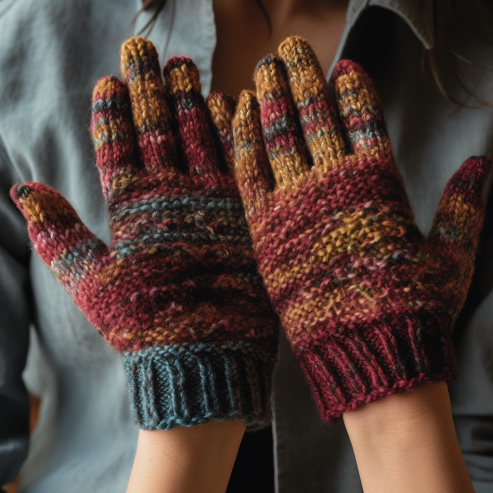
You might be asking yourself, why should I knit gloves? In this bustling world, where convenience is often favored, wouldn’t it be easier to buy a ready-made pair? Based on my own experience, I can say with certainty that knitting gloves offer benefits that transcend the mere practicality of keeping our hands warm. Let’s delve into the reasons that make glove knitting an irresistible endeavor.
- Unleash Your Creativity: Knitting gloves allow you to explore the expansive realm of creativity. From selecting the color and type of yarn to choosing the knitting pattern, each decision is a testament to your unique artistic expression. With every stitch, you weave a story – one that’s inherently yours.
- Achieve a Perfect Fit: Unlike off-the-shelf gloves, a pair that you’ve knit yourself is truly made for your hands. You can customize every aspect, from the width of the palm to the length of the fingers, ensuring a glove that fits like a second skin.
- Experience the Joy of Crafting: There’s a particular satisfaction in seeing a product come to life in your hands. The process of knitting, the rhythm of the needles, the burst of colors – they all culminate in a tangible item that’s not only useful but also a symbol of your skill and patience.
- Mindful Engagement: In the age of technology, knitting offers a welcome respite. It demands focus, allowing you to step away from screens and engage in a mindful activity. As the yarn slides through your fingers and the pattern emerges, you’ll find a calming rhythm that soothes the mind.
- Unique Gift-Giving: Knit gloves make for thoughtful, personalized gifts. Knowing that each pair is handcrafted and one-of-a-kind adds a touch of sentiment that store-bought items often lack.
So, are you ready to embark on this wonderful journey of crafting, creativity, and warm coziness? Grab your needles and yarn, and let’s dive into the world of knitting gloves!
Why Knitting Gloves Captured My Heart: A Seamstress Shares Her Experience
Oh, let me tell you, the first time I knitted a pair of gloves, it was like entering a whole new world of crafting! I’ve been a seamstress for years, but when I tried it out, I discovered a different side of textile creativity that was simply thrilling. Knitting gloves, my friends, is not just about keeping your hands warm, it’s a delightful adventure from start to finish!
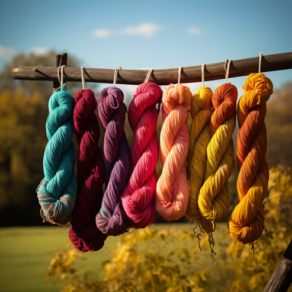
Choosing the right yarn for your project is where it all begins. I was amazed at the array of options available, from soft cashmere to chunky wool, each offering its own unique texture and warmth. I’m particularly fond of merino wool due to its superior warmth and softness. And let’s not forget the burst of colors available! From bright, sunny yellows to deep, mysterious blues – the spectrum is mesmerizing.
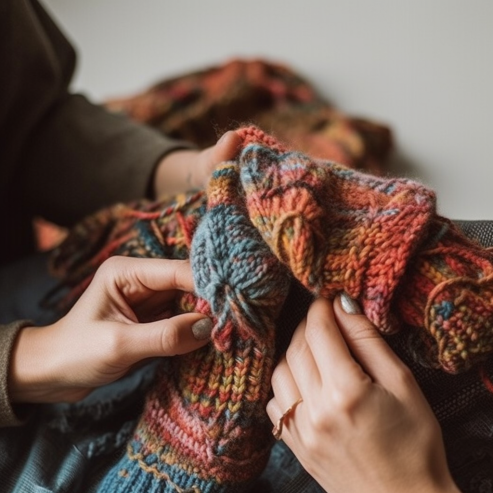
Then there’s the selection of knitting needles. It’s important to choose the right size for your yarn and pattern. I adore bamboo needles; they’re light, comfortable to hold, and provide just the right amount of grip for the yarn. Plus, they’re environmentally friendly too, which is a wonderful bonus!
The glove pattern you choose can be as simple or complex as you desire. As someone with a penchant for detail due to my practical knowledge of sewing, I find the intricate cable and lace patterns utterly captivating. But don’t worry if you’re a beginner, there are plenty of straightforward, yet equally beautiful patterns available!
Now, the process of knitting the gloves, oh it’s pure magic! From the initial casting on to the formation of the thumb gusset, all the way to closing off each individual finger – it’s an intricate dance of yarn and needles that’s simply fascinating to witness.
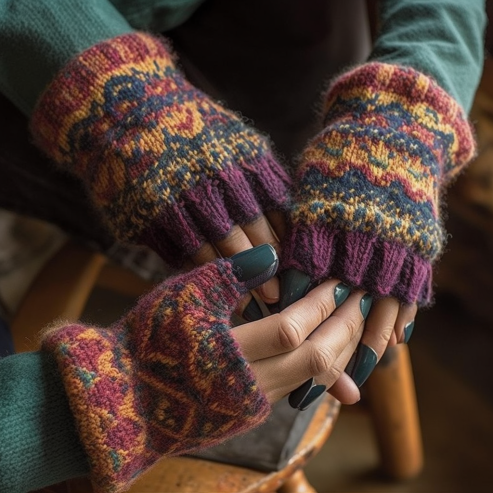
Finally, when the last stitch is cast off and you slip the glove onto your hand for the first time, it’s a feeling of accomplishment like no other! I still remember my first pair, the way they perfectly molded to my hands, the warmth and comfort they provided, it was a testament to the time and effort I had put in.
So if you’re considering taking up the craft of knitting gloves, I wholeheartedly encourage you to do so! It’s an amazing journey filled with creativity, skill, and endless satisfaction. Trust me, once you start, you’ll be hooked!
Choosing Your Tools: A Side-by-Side Comparison of Yarns and Needles for Glove Knitting
Here’s an elaboration on the essential ingredients needed to knit gloves and a comparison between some options:
1. Yarn
This is the material you’ll be using to create your gloves. The type of yarn you choose can dramatically affect the look, feel, and warmth of your gloves. There are many options available, from synthetic fibers like acrylic and nylon to natural ones like wool, silk, and cashmere.
- Wool: Known for its excellent insulation properties, wool is a popular choice for winter gloves. It is also relatively durable and can withstand regular wear and tear. However, it may be itchy for some people and requires careful washing to prevent shrinkage.
- Cashmere: Cashmere is a premium fiber known for its incredible softness and warmth. It makes luxurious gloves but is more delicate and requires extra care in washing.
- Acrylic: Acrylic yarn is a synthetic alternative that is easy to care for and usually machine washable. It’s less warm compared to natural fibers, but it’s also generally more affordable.
2. Knitting Needles
These are the tools you’ll use to knit your gloves. They come in various materials and sizes, each offering a unique knitting experience.
- Bamboo: Bamboo needles are lightweight and have a slight grip, which can be beneficial for beginners as it helps prevent stitches from sliding off. They are also environmentally friendly. However, they might not be as durable as metal needles.
- Metal: Metal needles are highly durable and allow stitches to slide easily, which can be advantageous for more advanced knitters working on complex patterns. However, they might be too slippery for beginners.
- Plastic: Plastic needles are lightweight and affordable, making them a good choice for beginners. They aren’t as durable as metal or as grippy as bamboo.
Now, let’s put this information into a comparison table:
|
Ingredient |
Option 1 |
Option 2 |
Option 3 |
|
Yarn |
Wool (Warm, durable, might be itchy, requires careful washing) |
Cashmere (Very soft, warm, delicate, requires extra care in washing) |
Acrylic (Less warm, easy care, affordable) |
|
Knitting Needles |
Bamboo (Lightweight, grippy, environmentally friendly, may lack durability) |
Metal (Durable, slippery, good for complex patterns, not ideal for beginners) |
Plastic (Lightweight, affordable, less durable, good for beginners) |
Essential Equipment for Knitting Gloves: Must-Have Tools and Materials
Here’s a table of the essential equipment you’ll need to work on knitting gloves:
|
Equipment |
Description |
|
Knitting Needles |
Choose a set of double-pointed knitting needles (DPNs) or a long circular needle for the magic loop method. The size of the needles will depend on your pattern and yarn choice. Consider using a set of 4 or 5 needles for DPNs, typically ranging from 2.5mm to 4.5mm in size. For the magic loop method, a circular needle of appropriate length is recommended. |
|
Yarn |
Select a suitable yarn based on your desired warmth, fiber preference, and pattern requirements. Opt for yarn specifically designed for gloves or choose one with similar weight and fiber content suggested in your pattern. Consider factors such as softness, warmth, durability, and washability when selecting your yarn. |
|
Stitch Markers |
Stitch markers are useful for marking important sections, such as thumb gussets or pattern repeats. They help you keep track of your progress and make it easier to follow the pattern instructions. Choose markers that are easily visible and don’t snag on the yarn. |
|
Tape Measure |
A tape measure or ruler is essential for measuring your hand size and length to ensure a proper fit. This will help you determine the glove size and make adjustments if needed. |
|
Darning Needle |
A darning needle or yarn needle is used for weaving in loose yarn ends and sewing up any gaps or seams in your completed gloves. Choose a needle with a large eye to accommodate the yarn thickness. |
|
Scissors |
A small pair of sharp scissors is necessary for cutting the yarn when needed. Make sure they are easily accessible and suitable for cutting yarn cleanly. |
|
Stitch Holders or Waste Yarn |
In some glove patterns, you may need stitch holders or waste yarn to hold stitches temporarily. These tools allow you to set aside stitches and pick them up later when needed. Choose smooth waste yarn or dedicated stitch holders that won’t snag or damage the yarn. |
Gloves Made with Love: Mastering the Art of Knitting Your Own Hand Warmers
Step 1: Gather Your Materials
Before diving into the wonderful world of glove knitting, gather all the materials you’ll need: knitting needles, yarn, stitch markers, tape measure, darning needle, scissors, and any other tools specified in your pattern. Prepare your workspace and get your creative energy flowing!
Step 2: Measure Your Hand
To ensure a perfect fit, it’s crucial to measure your hand. Wrap a tape measure around your palm and note down the circumference and length. This will serve as your guide throughout the glove-knitting process.
Step 3: Choose a Pattern
Browse through various glove-knitting patterns and select one that matches your skill level and desired style. Read through the pattern instructions thoroughly to familiarize yourself with the techniques involved.
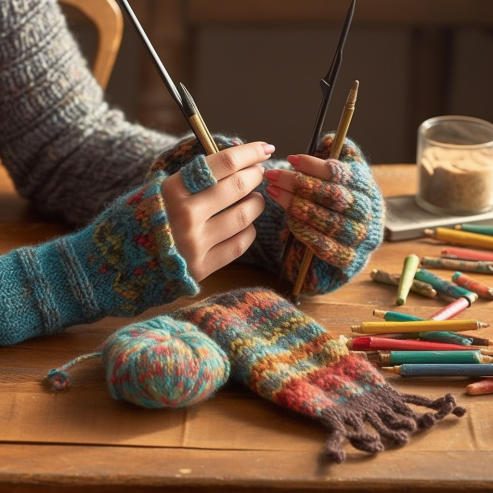
Step 4: Cast On and Begin the Cuff
Using your chosen yarn and needles, cast on the required number of stitches as indicated in the pattern. Start knitting the cuff using your favorite stitch pattern, whether it’s a ribbed design for stretch or a delicate lace for elegance. The cuff sets the tone for your glove masterpiece.
Step 5: Shape the Thumb Gusset
My investigation showed that creating a thumb gusset is essential for a comfortable fit. The pattern will guide you through this process, gradually increasing stitches to form the thumb opening. Pay close attention to the instructions and use stitch markers to mark the gusset area.
Step 6: Knit the Hand Section
Continue knitting the hand section based on the pattern, keeping in mind your hand measurements. Use your findings to adjust the length and width if needed. Feel the yarn glide through your fingers, and watch the glove take shape with each stitch.
Step 7: Form the Fingers
Now comes the exciting part—forming the individual fingers! Following the pattern’s guidance, divide the stitches for each finger and knit them separately. Marvel at how each finger emerges, bringing your glove to life. Remember to maintain the correct stitch count for each finger.
Step 8: Complete the Thumb
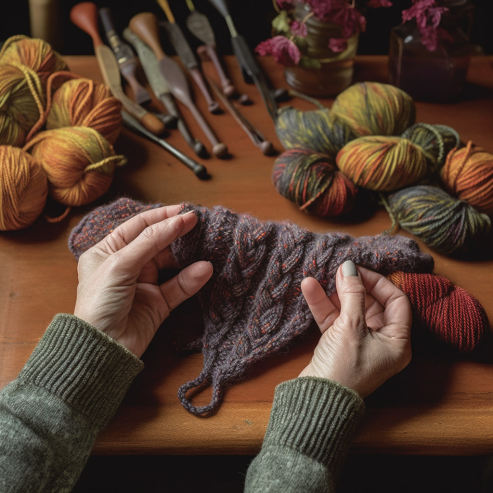
Return to the thumb stitches that were set aside and knit them according to the pattern instructions. Shape the thumb to match the natural contours of your hand. Admire how it seamlessly integrates into the glove design.
Step 9: Finishing Touches
Once all the fingers and the thumb are complete, it’s time for the finishing touches. Weave in loose ends using a darning needle, ensuring they are secure and tidy. Examine your work and make any necessary adjustments to ensure a flawless fit.
Step 10: Celebrate Your Handcrafted Masterpiece!
Hold your finished glove in your hands and revel in the satisfaction of creating something beautiful and functional. Your hard work and creativity have paid off. Slip your hand into the glove and relish the warmth and comfort it provides.
Congratulations! You’ve successfully knitted your own gloves, tailored to your unique style and hand shape. Now, go forth and embrace the joy of wearing handmade warmth, proudly sharing your findings with others who appreciate the art of glove knitting.
FAQ — How to Knit Gloves
While glove knitting may seem daunting at first, it’s definitely within reach for beginners! Start with simpler patterns and focus on mastering the basic techniques. Take your time, follow the instructions carefully, and don’t be afraid to seek help from online tutorials or knitting communities.
Sizing is crucial for a well-fitting pair of gloves. Refer to the pattern’s sizing chart and compare it to your hand measurements. Measure the circumference of your palm and the length from your wrist to the tip of your middle finger. Choose the size that aligns closest to your measurements, making adjustments if necessary.
Mistakes happen, even to experienced knitters! If you drop a stitch or make an error, take a deep breath and remember that it can be fixed. You can use a crochet hook or a smaller knitting needle to pick up dropped stitches, or refer to tutorials on how to fix common knitting mistakes. Don’t let mistakes discourage you—view them as learning opportunities.
Personalize your gloves by adding your own creative touches! Experiment with different stitch patterns, color combinations, or even incorporate small embellishments like buttons or embroidery. You can also explore using specialty yarns or hand-dyed yarns for a truly one-of-a-kind pair of gloves. Let your imagination run wild!
The time it takes to knit a pair of gloves varies depending on factors such as the complexity of the pattern, your knitting speed, and the amount of time you can dedicate to the project. It can range from a few days to a couple of weeks. Enjoy the process and remember that each stitch is a step closer to completing your unique gloves.
Proper care will help extend the life of your gloves. Check the yarn label for specific washing instructions, but most gloves can be hand washed in mild detergent and laid flat to dry. Avoid using harsh chemicals or excessive agitation that could damage the delicate fibers. Treat your gloves with care, and they’ll continue to keep your hands cozy for seasons to come.



Leave a Comment