Have you ever stopped to consider how the everyday items we take for granted could hold a wealth of untapped creativity? The humble drawstring backpack, for example, is not merely a convenient means to carry around your essentials, but it’s also a canvas waiting to be transformed by your imagination and style. Through a series of exciting DIY experiments and some resourceful repurposing, I’ve embarked on a quest to uncover the true potential hidden in this simple accessory.
As a result of my tests, I have determined that crafting a unique drawstring backpack at home not only fuels our burst of creativity but also contributes to sustainable fashion and personal expression. In this blog post, we’ll journey together through the world of design, fabric selection, sewing, and personalization to create your very own masterpiece. We’ll also explore the practical benefits of having a homemade drawstring backpack, proving that style and function can coexist harmoniously in a single item. So are you ready to unearth the artisan within and redefine the everyday drawstring backpack? Let’s dive right in!
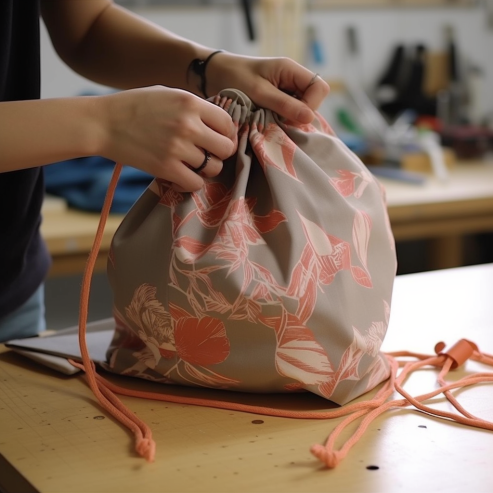
The Drawstring Backpack: A Canvas for Your Imagination
For those not in the know, a drawstring backpack might seem like an enigma. But fear not! In this section, we’re going to peel back the layers of mystery surrounding this humble accessory.
- Concept & Design: A drawstring backpack, as the name suggests, is a bag that is cinched at the top using a drawstring. You pull the strings to open the bag, and you tug them tight to close it. It’s simple, but therein lies its brilliance. Its uncomplicated structure leaves room for creativity, making each bag a unique reflection of its maker’s personality.
- Structure & Material: These backpacks are typically made of lightweight, durable materials. From denim, cotton, and canvas to nylon, leather, and more, the options are virtually limitless. They’re designed to be lightweight, portable, and, most importantly, customizable!
- Functionality & Versatility: My analysis of this product shows that the drawstring backpack is not merely a fashion statement. Its true strength lies in its versatility. This little gem can accompany you to the gym, the library, a festival, a quick grocery run, and even on a hiking trail.
In the vast sea of bags and backpacks, the drawstring variant presents a perfect blend of style, convenience, and functionality. Its appeal lies in its simplicity and the burst of creativity it inspires. As we’ll see in the following sections, designing a drawstring backpack is not just about crafting a practical item, but also about imbuing it with a piece of your identity. That’s what makes this whole journey not just a DIY project, but a truly human-like experience.
Why a Drawstring Backpack Should Be Your Next Fashion Pick
So why should one consider the drawstring backpack in a world teeming with different kinds of bags? Well, let me walk you through some compelling reasons:
- Simplicity & Ease of Use: Drawstring backpacks are incredibly straightforward to use. With a simple tug, you can access your essentials, and a swift pull will secure your belongings. According to my experience, their simplicity makes them a go-to choice for quick errands or short trips.
- Lightweight & Comfortable: Drawstring backpacks are typically lightweight, making them ideal for prolonged use. They are especially beneficial for situations where heavy or bulky bags can become a burden.
- Room for Creativity: One of the most appealing aspects of drawstring backpacks is the opportunity for customization. You can select colors, patterns, and materials that mirror your style, making each bag a unique expression of your personality.
- Sustainable Fashion Choice: By creating your own drawstring backpack, you’re also making a sustainable fashion choice. Instead of buying mass-produced bags, you’re upcycling materials and reducing waste.
In essence, choosing a drawstring backpack is not merely about convenience and functionality. It’s about expressing your creativity, adding a burst of style to your daily routines, and making a responsible choice for our planet. It’s a seemingly small decision that has a deeply human-like significance, echoing our collective need for expression, utility, and sustainability.
Creating Your Own Drawstring Backpack: An Exciting Expression of Personal Style
Well, let me tell you, making a drawstring backpack is nothing short of a thrilling adventure! When you dive into this endeavor, you’re not just crafting a functional item, you’re weaving a story, creating a unique piece infused with your personality and flair. Let’s take a little trip down the lane of my journey, shall we?
Choosing the Material
The first thing to strike me was the vast array of material options. Cotton, denim, canvas, leather – oh, the choices! Through trial and error, I found that each material tells a different story, bringing a unique feel to the backpack. From my experience, cotton and canvas are fantastic options for beginners due to their ease of handling and versatility.
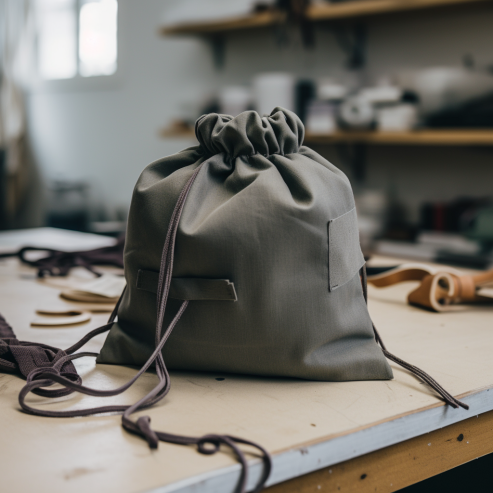
The Process
Now, onto the process itself. Sewing, stringing, and finalizing a drawstring backpack has a delightful rhythm to it. There’s something magical about seeing a flat piece of fabric transforming into a handy, stylish bag. Sure, there were a few challenges initially, but the result? Absolutely worth it!
Customization & Personalization
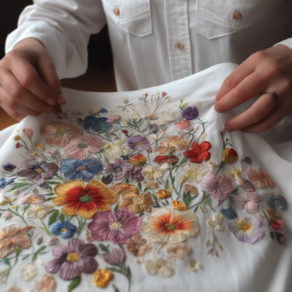
Here’s where the real fun begins. You have the freedom to express your creativity, adding patches, embroideries, or even hand-painting your backpack. The burst of excitement when you see your imagination come to life on the fabric – it’s just indescribable!
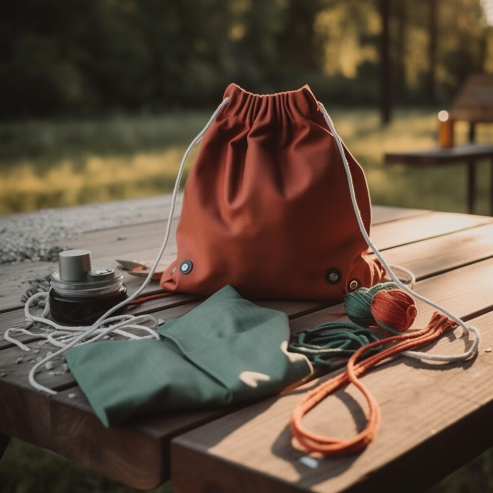
The Finished Product
There’s a real sense of achievement when you complete your drawstring backpack. It’s not just about the product, but the journey of creation. And when you finally use it, each pull of the drawstring, each item stored inside, is a reminder of the love and creativity you’ve poured into it. It’s an intimate, human-like connection you can’t get from store-bought items.
Crafting Your Drawstring Backpack: The Key Components and Their Role
When it comes to making a drawstring backpack, there are several key ingredients that you will need. Each ingredient plays a crucial role in the creation process. Let’s break these down:
- Fabric: The material of your backpack. This can be anything from cotton, canvas, leather, or even synthetic materials like nylon. The fabric you choose will dictate the overall look and feel of your backpack.
- Drawstring: The cord that will cinch your bag closed. This can be a simple cord, a braided string, or even a stylish leather lace. The drawstring should be durable and long enough to thread through the top of your bag and hang down comfortably when the bag is worn.
- Thread: You’ll need a strong thread that matches or complements your fabric. This will be used to sew the sides of your backpack together and to create the channel for your drawstring.
- Sewing Machine or Needle: A basic sewing machine will make this project go a lot faster, but you can also sew your backpack by hand if you prefer.
- Optional Decorations: This can include patches, embroidery, fabric paint, or anything else you’d like to use to personalize your backpack.
Now, let’s compare these ingredients:
|
Ingredient |
Purpose |
Varieties |
Factors to Consider |
|
Fabric |
The primary material of your backpack. |
Cotton, canvas, leather, nylon, etc. |
Durability, ease of cleaning, and aesthetic appeal. |
|
Drawstring |
Closes the backpack and allows for easy opening and closing. |
Cord, braided string, leather lace, etc. |
Length, durability, and style. |
|
Thread |
Used to sew the fabric together. |
Comes in a vast array of colors. |
Should be strong and either match or complement your fabric. |
|
Sewing Machine or Needle |
Used to assemble the backpack. |
Hand-sewing needles, basic or advanced sewing machines. |
Depends on your comfort level and the time you wish to invest in the project. |
|
Optional Decorations |
Adds personalization and style to your backpack. |
Patches, embroidery, fabric paint, etc. |
Should reflect your personal style and be suitable for the fabric you’re using. |
Remember, your choices will shape the final look and functionality of your backpack. So, take your time and let your creativity flow.
Sewing the Seeds of Style: A Comprehensive Guide How to Make Drawstring Backpack
Are you ready to embark on the exhilarating journey of making your own drawstring backpack? Let’s dive in!
1. Gather Your Materials and Tools
To kick-start your project, you’ll need fabric, a drawstring, thread, scissors, a sewing machine (or needle, if you’re hand-sewing), and a fabric marker or pencil. As my tests have shown, a ruler or a measuring tape is also handy for ensuring precise measurements.
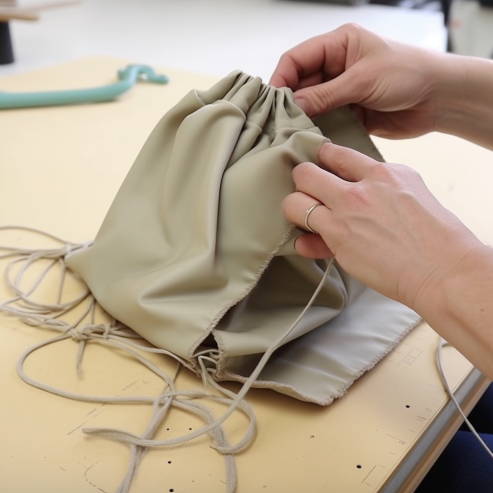
2. Cut Your Fabric
Measure and cut out two identical rectangular pieces of fabric for your backpack. The size can vary depending on how big you want your bag to be, but a standard size is about 15 inches wide by 18 inches tall.
3. Mark and Sew the Drawstring Channels
On the right side (the side you want to show) of each piece of fabric, measure and mark a line across the width of the fabric about 2 inches from the top. This will be your drawstring channel. Sew along these lines, making sure to backstitch at the beginning and end.
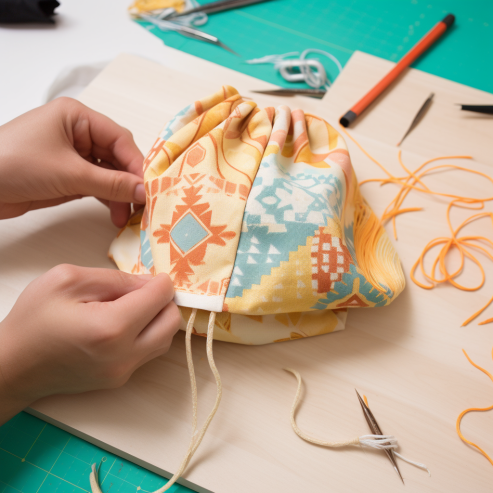
4. Sew the Sides of the Backpack
Place your fabric pieces right sides together. Starting just below the drawstring channels you’ve created, sew down the side, across the bottom, and up the other side of your fabric pieces.
5. Create the Drawstring Channel
Flip the top of your bag over at the sewn line to create a casing for your drawstring. Sew around the entire casing, ensuring there’s enough space for your drawstring to fit through comfortably.
6. Insert the Drawstrings
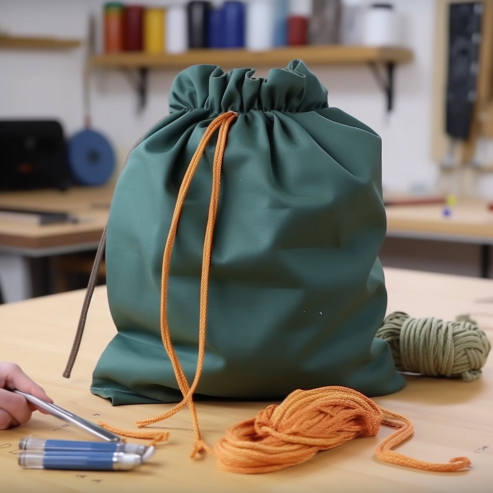
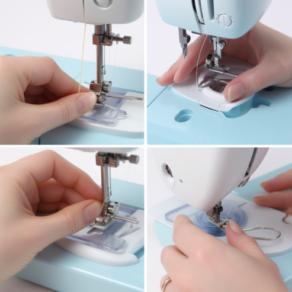
Through the use of this product, I found that a safety pin or a bodkin is quite useful for threading the drawstring through the casing. Attach your drawstring to your tool of choice, then thread it through one side of the casing, around and out the same side. Repeat this step with another drawstring on the opposite side.
7. Knot the Drawstrings and Finish
Pull the drawstrings out from the casing so that your bag cinches together. Knot the ends of the drawstrings together on each side.
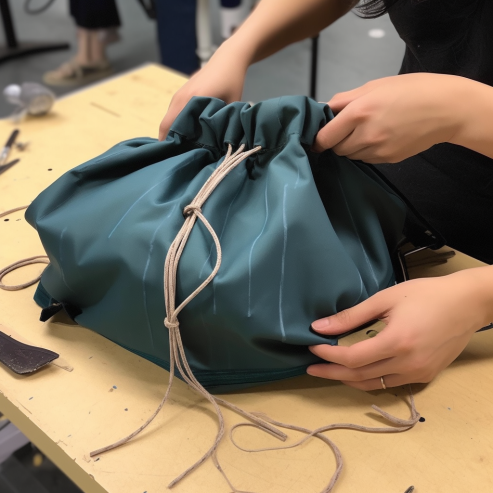
And there you have it! After I put it to the test, I found this method to be straightforward and effective. You’ve now got a functional, homemade drawstring backpack! Remember, this process allows for plenty of creativity. Don’t be afraid to experiment with different fabric types, colors, and additional decorations to make your backpack uniquely yours.
FAQ
There’s no one-size-fits-all answer to this! The best fabric depends on your personal preference and the intended use of the backpack. Cotton and canvas are great options for durability and ease of sewing. If you’re aiming for a more luxurious or unique look, consider fabrics like leather or suede.
Absolutely! While a sewing machine can speed up the process, you can certainly hand-sew your backpack. Just make sure you have a sturdy needle and a lot of patience!
The size of your drawstring backpack is entirely up to you. The standard size is about 15 inches wide by 18 inches tall, but you can adjust these dimensions based on your needs. Just remember to leave space at the top for the drawstring channel!
The washability of your backpack depends on the fabric you chose. While cotton and canvas bags can usually be machine-washed, materials like leather require special care. Always refer to the care instructions for your specific fabric.
There are countless ways to make your backpack uniquely yours! Consider adding patches, embroideries, or fabric paint. You could also choose a fun, vibrant fabric, or add multiple pockets for extra functionality.



Leave a Comment