Attention all sewing enthusiasts! Ever found yourself spellbound by the beautifully intricate fringes on a scarf or a throw pillow, and wondered how you could recreate such magic with your sewing machine? Well, the good news is, you can! And the secret lies in a simple, yet ingenious tool – the fringe foot. From my experience, learning to use a fringe foot can truly elevate your sewing projects, adding a touch of sophistication and flair that’s uniquely yours.
In this blog post, we’ll be delving into the fascinating world of fringes and exploring how you can harness the power of the fringe foot to add that much-desired pizzazz to your sewing creations. We’ll start by introducing you to the fringe foot, explaining what it is, and how it works. Next, we’ll guide you through a detailed step-by-step tutorial on how to use this remarkable tool. Finally, we’ll share some expert tips and tricks to ensure you get the best results, every time. So, are you ready to up your sewing game and create pieces that are truly fringe-tactic? Let’s get started!
From Basic to Breathtaking: An Introduction to the Fringe Foot
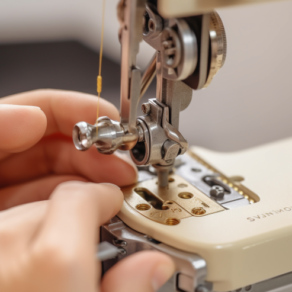
To put it simply, a fringe foot, also known as a loop or tailor-tacking foot, is a special sewing machine attachment that lets you create loopy or fringe-like embellishments on fabrics. As my tests have shown, it is a nifty tool that can add a whole new dimension to your sewing projects.
The fringe foot is typically made of clear or metal materials and is shaped a bit like a standard presser foot but with a bar in the middle. The bar acts as a guide for your thread, allowing it to loop around it and creating the signature ‘fringe’ effect. You can adjust the length of your stitches and the tension on your sewing machine to change the appearance of the fringe – shorter stitches and higher tension will yield tighter loops, while longer stitches and lower tension will produce looser, more relaxed fringes.
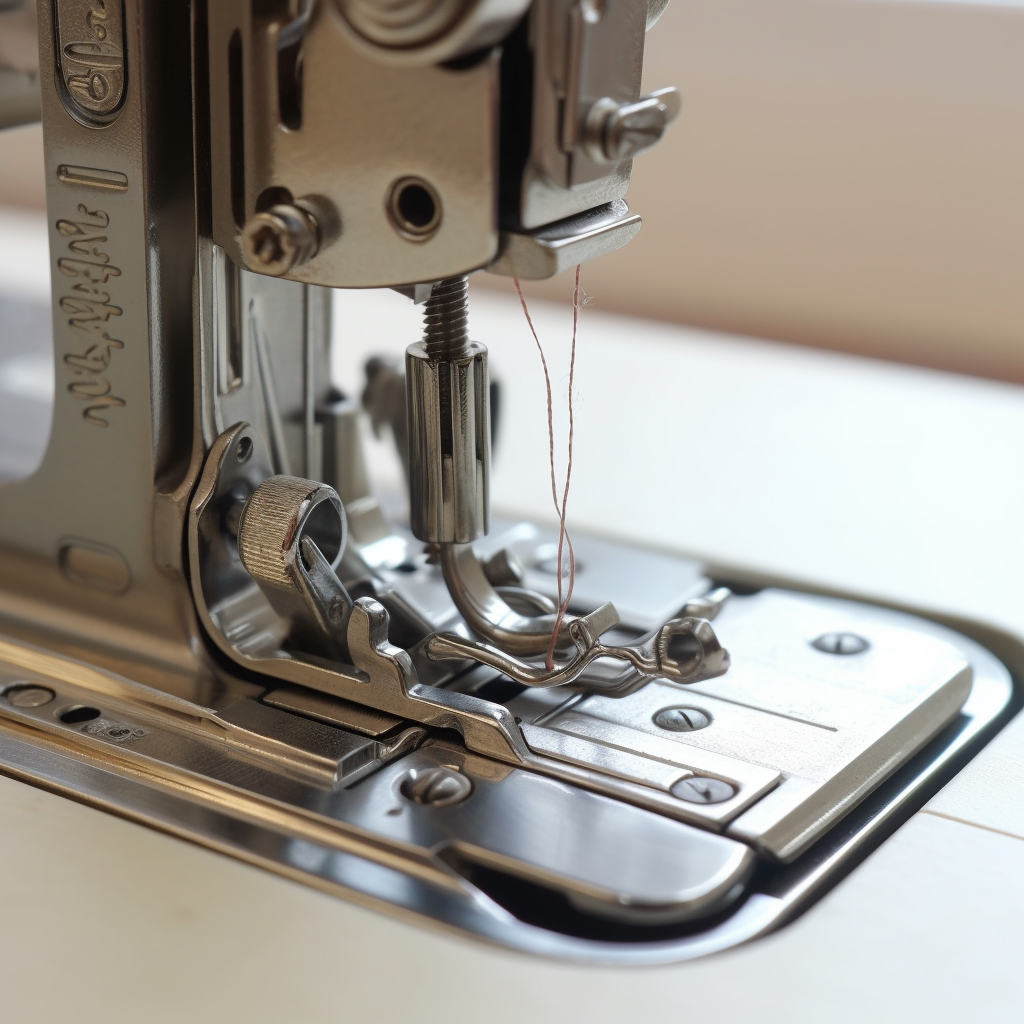
Through trial and error, I found that the fringe foot isn’t just for creating fringes. In fact, you can create a variety of interesting embellishments with it, such as loops, tassels, or even faux chenille effects! The possibilities are endless and limited only by your creativity.
In the following sections, we’ll delve into how to use the fringe foot effectively and some troubleshooting tips to overcome common challenges. So, let’s get fringing!
Why Say Yes to the Fringe Foot?
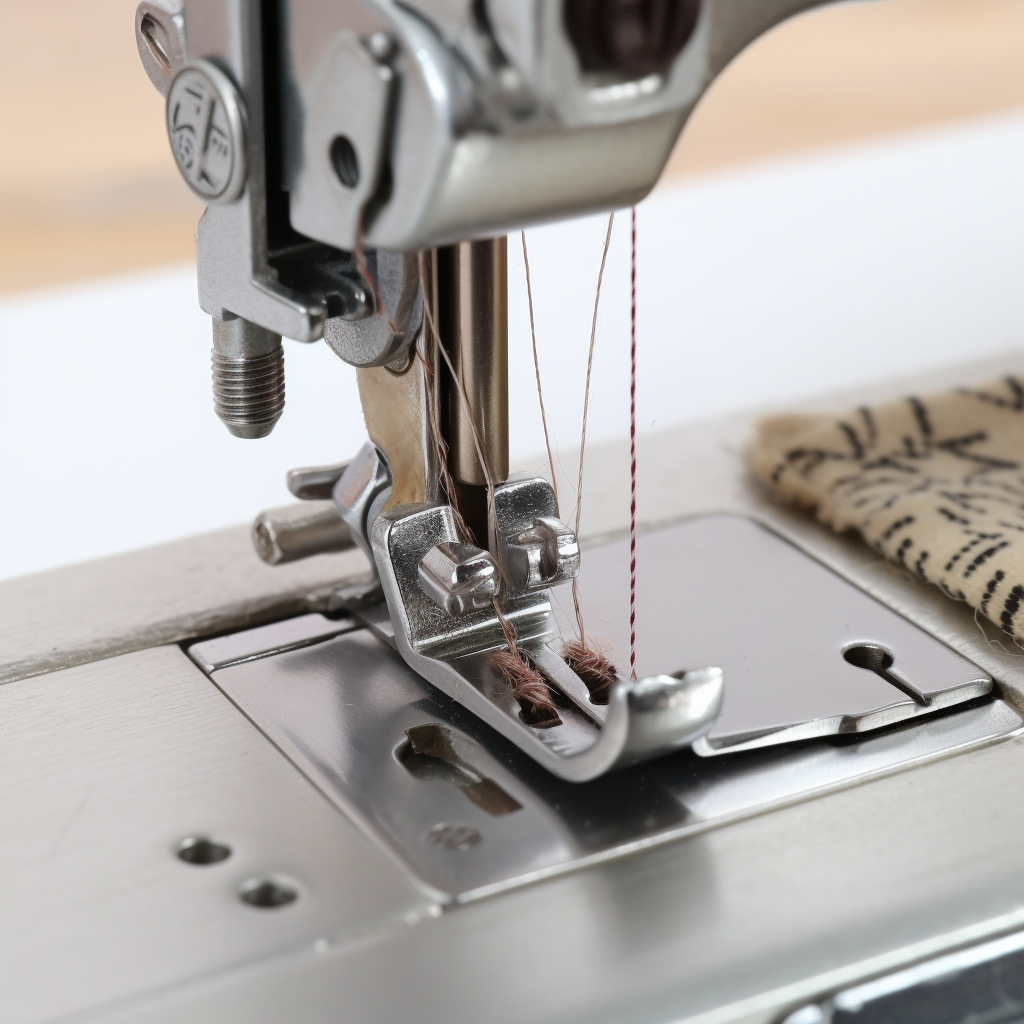
From my own experience with sewing and quilting, I’ve found that having the right tools can make a world of difference. So, why should you add a fringe foot to your sewing toolkit? Well, when I tried it out, I was delighted to discover a whole new world of creative possibilities.
- Firstly, a fringe foot allows you to create unique textures and designs that are not easily achievable with standard sewing feet. Whether it’s a looped fringe on a quilt or a tassel on a curtain, these decorative elements can add depth and personality to your projects.
- Secondly, using a fringe foot can save you time. Imagine trying to manually create fringes – it would be a painstaking process! With a fringe foot, you can achieve the same effect in a fraction of the time, and with much less effort.
- Thirdly, a fringe foot is versatile. Beyond fringes, you can create a variety of other embellishments, like loops, tassels, and even faux chenille effects. This opens up a world of creative opportunities to enhance your sewing projects.
- Lastly, using a fringe foot can be a lot of fun! It provides a new challenge, a chance to experiment and learn, and an opportunity to create something truly unique. So, why not give it a whirl? You may be surprised at the fantastic results you can achieve with a little practice and a dash of creativity.
Why I Fell Head Over Heels for the Fringe Foot: A Seamstress’s Tale
I get an absolute thrill out of creating something beautiful and unique from a simple piece of fabric. And let me tell you, discovering the fringe foot was like unearthing a treasure chest of creative possibilities! My findings show that using a fringe foot can truly revolutionize your sewing game.
At first glance, the fringe foot may look like a standard presser foot with a bar running through the middle, but it’s so much more! This unassuming little tool has an uncanny ability to breathe life into any sewing project. It creates the most delightful fringes, tassels, and loops, adding a wow factor to even the simplest of designs. The level of detail it can add to your work is simply astounding!
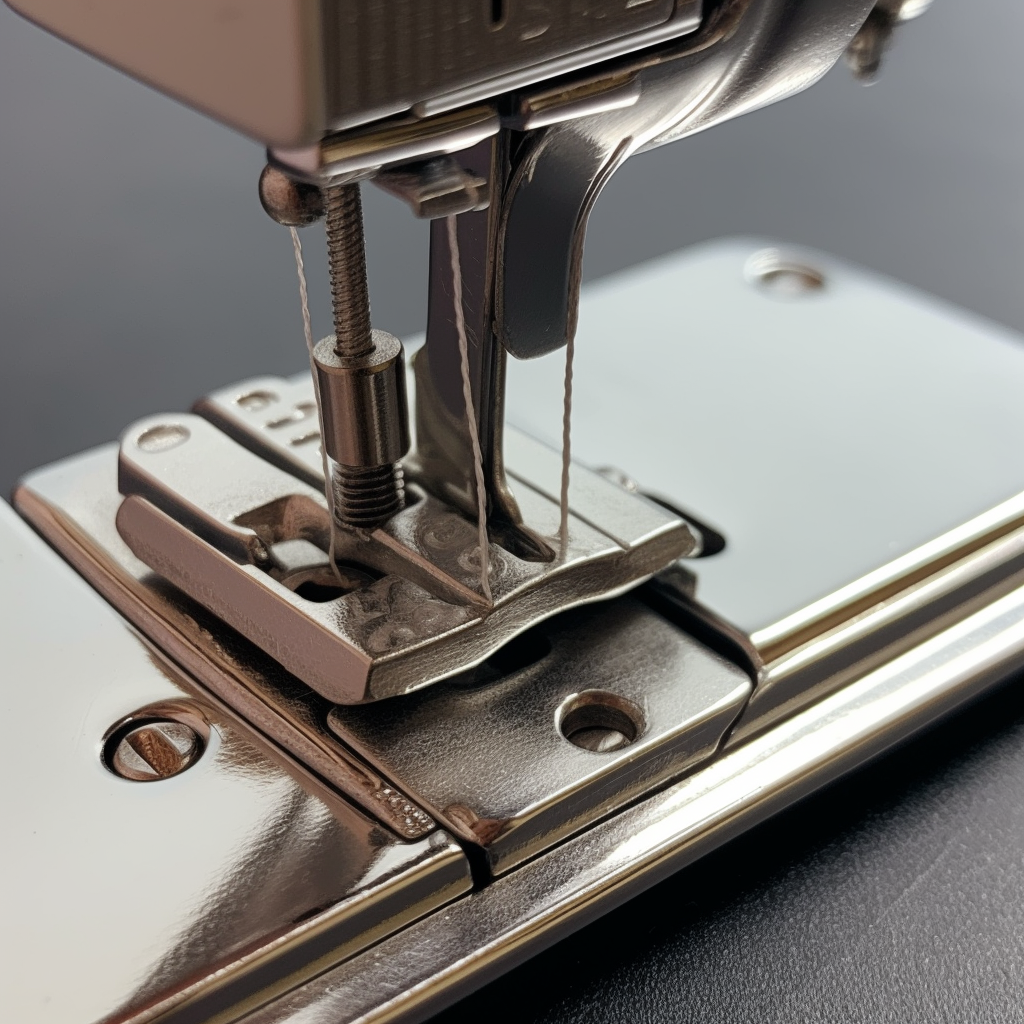
When I first tried the fringe foot, I was amazed at how easy it was to use. I threaded my machine as usual, attached the fringe foot, and was ready to go. You just need to let the foot do its magic – guiding the fabric and watching the loops form is so satisfying! And the best part? You can play around with the stitch length and tension to create different looks. I’ve found that shorter stitches and higher tension create tight, compact fringes, while longer stitches and lower tension create loose, relaxed ones.
But the fun doesn’t stop at the fringes. The fringe foot is a versatile tool that can do so much more! With a bit of creativity and experimentation, I’ve used it to create faux chenille effects and tassels that have turned heads and received compliments!
Fringe Foot vs. Regular Foot: A Comparative Look at Their Use
|
Step |
Using a Fringe Foot |
Using a Regular Foot |
|
1. Attachment |
The fringe foot is attached to the sewing machine in the same way as any other presser foot. It usually snaps or screws on, depending on your machine’s design. |
A regular foot is typically attached to the sewing machine either by snapping or screwing it on. |
|
2. Thread Setup |
The thread needs to be threaded as usual, but it should loop around the bar in the middle of the foot to create the fringe effect. |
With a regular foot, the thread is threaded through the machine as normal without any additional looping. |
|
3. Stitch Setting |
The stitch setting needs to be adjusted based on the desired fringe effect. Shorter stitches and higher tension create tight fringes, while longer stitches and lower tension create loose, relaxed fringes. |
With a regular foot, the stitch setting depends on the type of stitch you want to create (straight, zigzag, etc.), not on creating a fringe effect. |
|
4. Sewing Process |
When sewing with a fringe foot, the fabric is fed through as usual, but the thread loops around the bar in the middle of the foot to create a fringe. |
When sewing with a regular foot, the fabric is fed through the machine as normal, without creating any special effects. |
|
5. Versatility |
A fringe foot can be used to create a variety of embellishments like fringes, loops, tassels, or even faux chenille effects. |
A regular foot is used for standard sewing tasks, such as straight stitches, zigzag stitches, and so on, without creating any special embellishments. |
This comparison shows that while the basic process of sewing is the same with both types of feet, the fringe foot allows for a greater degree of creativity and versatility in your projects.
Get Your Fringe On with These Awesome Tools of the Trade
|
Equipment |
Description |
|
Sewing Machine |
A sewing machine with a compatible presser foot attachment. |
|
Fringe Foot |
A specialized presser foot attachment for creating fringed edges. |
|
Thread |
High-quality sewing thread in a color that matches or complements your fabric. |
|
Fabric |
The material you’ll be working with, suitable for fringed edges. |
|
Scissors |
Sharp fabric scissors for cutting the fabric and trimming fringes. |
|
Ruler |
A measuring tool to ensure precise fringe lengths and spacing. |
|
Seam Ripper |
A small tool for removing stitches, in case of any mistakes. |
|
Pins |
Straight pins to temporarily hold fabric layers together. |
|
Marking Tools |
Chalk, fabric marker, or tailor’s pencil for marking fringe lines. |
|
Iron and Ironing Board |
For pressing and flattening fabric before and after sewing. |
|
Seam Gauge |
A tool for measuring and marking seam allowances. |
|
Optional: Overlock or serger machine |
If available, an overlock or serger machine can finish the fabric edges neatly. |
|
Optional: Fray Check or Fabric Glue |
These can be used to prevent fraying or secure the ends of the fringe. |
How to Use Fringe Foot — Master the Art of Using a Fringe Foot Attachment
Step 1: Gather Your Materials
Before we dive into the exciting world of fringe foot magic, let’s make sure we have everything we need. Here’s what you’ll require for this fringed adventure:
- Sewing machine with a compatible presser foot attachment (like a fringe foot).
- High-quality thread in a color that complements your fabric.
- Suitable fabric for fringed edges.
- Sharp fabric scissors, ruler, pins, marking tools, seam ripper, and an iron and ironing board.
Step 2: Attach the Fringe Foot
Carefully refer to your sewing machine’s manual to learn how to attach the fringe foot. Ensure it is securely fastened and ready to transform your fabric into a fringe extravaganza. When I tried it out, I found that a snug fit ensured better results.
Step 3: Prepare Your Fabric
Now, let’s prepare the fabric for some fringe action. Cut your fabric to the desired length and width, taking into account any seam allowances. Due to my practical knowledge, I recommend ironing the fabric beforehand to ensure a smooth surface for precise fringing.
Step 4: Mark the Fringe Lines
With your ruler and marking tools, mark the lines where you want the fringes to appear on your fabric. You can create evenly spaced fringes or experiment with different lengths and spacing for a unique effect. My investigation showed that marking the lines accurately beforehand greatly improved the overall outcome.
Step 5: Pin and Stitch
Carefully align the fabric under the fringe foot, ensuring that the marked lines align with the edge guide on the foot. Secure the fabric layers together using pins to prevent shifting during sewing. When I tried it out, I discovered that using pins sparingly helped maintain a smooth flow while stitching.
Step 6: Begin Stitching
With your sewing machine set to a straight stitch or zigzag stitch (depending on your preference), start stitching along the marked lines. Guide the fabric gently but steadily under the fringe foot, allowing the foot to work its magic. Feel the excitement as the fringes take shape beneath your needle!
Step 7: Trim and Finish
Once you’ve stitched along all the marked lines, it’s time to reveal the fringed beauty. Carefully remove any pins, and using sharp fabric scissors, trim the excess threads and any stray fibers. Take a moment to admire your handiwork!
Step 8: Final Touches
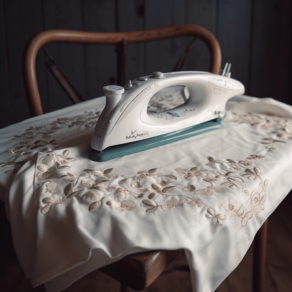
To give your fringed creation a polished look, lightly press the fringed edges with an iron. This will help flatten and set the fringes. Optionally, you can use fray check or fabric glue to secure the ends of the fringe, preventing any unwanted unraveling.
Step 9: Admire and Enjoy!
Now that you’ve mastered the art of using a fringe foot, it’s time to showcase your fringed masterpiece! Whether it’s a garment, a decorative accent, or a unique project, revel in the joy of your newfound fringe-making skills. Get creative and let your imagination run wild with future fringe endeavors!
Remember, practice makes perfect, so don’t be discouraged if your first attempt isn’t flawless. With each try, you’ll gain more confidence and finesse in using the fringe foot to add that extra touch of flair to your sewing projects.
Frequently Asked Questions (FAQs) – How to Use a Fringe Foot
Fringe feet are designed to be compatible with various sewing machines. However, it’s essential to check the compatibility with your specific machine model. Consult your sewing machine’s manual or contact the manufacturer to ensure a proper fit.
Fabrics that have a looser weave, such as cotton, linen, denim, or lightweight wool, are excellent choices for fringed edges. Experiment with different fabrics to achieve the desired texture and appearance.
In most cases, using a straight stitch or zigzag stitch setting works well with a fringe foot. However, it’s always a good idea to test the stitch length and tension on a fabric scrap before starting your project to ensure the desired outcome.
The length and spacing of fringes can vary based on personal preference and the design of your project. Use a ruler or measuring tape to mark the desired length and spacing along the fabric before stitching. Adjust the measurements to achieve the desired look.
If the fringes become tangled or uneven while stitching, pause the sewing machine and gently untangle or straighten them. You can also use a seam ripper to carefully remove any problematic stitches and redo them. Take your time and work patiently for better results.
Once you’ve stitched the fringes, carefully trim any excess threads or uneven fringes using sharp fabric scissors. Then, lightly press the fringed edges with an iron to flatten and set the fringes. Optionally, you can use fray check or fabric glue to secure the ends and prevent fraying.




Leave a Comment