As the whir of your machine kicks into gear and you prepare to dive into your latest project, you’re met with the dreaded reality of tension issues. As my tests have shown, the balance between your top thread and bobbin can become an unexpected thorn in your side, disrupting the harmonious stitches you aim to create. Whether it’s a misaligned zigzag stitch, puckered fabric, or even thread breakages, it’s a nemesis that many of us sewing enthusiasts have come to know all too well. Yet, this elusive equilibrium doesn’t have to be your worst enemy. Adjusting the tension on your sewing machine can often be a simpler task than you might think, transforming your sewing projects from frustration to pure joy.
In this blog post, we’ll be venturing into the world of tension adjustments, breaking down its importance, and demystifying the process. We will address the signs of poor tension, the common causes, and most importantly, a step-by-step guide on how to rectify it. Just imagine, what if, with a few simple adjustments, your sewing projects could go from a tension-filled nightmare to a dream? That’s the potential we’re exploring here today. So, whether you’re a seasoned seamstress or a novice just starting out, join me on this journey to unmask the art of tension adjustment – your sewing projects will thank you!
Beneath the Fabric: A Deep Dive into Adjusting Sewing Machine Tension
Adjusting sewing machine tension, what’s that all about? In simplest terms, it’s about balancing the ‘dance’ between your top thread and the bobbin thread. Let’s imagine our sewing machine as a dance floor, the top thread as the leading partner, and the bobbin thread as the following partner. When they’re in sync, the dance (or stitch) is flawless, smooth, and delightful to watch (or wear!). But, when one partner oversteps or lags, the entire rhythm falls out of tune, leading to messy, broken, or uneven stitches.
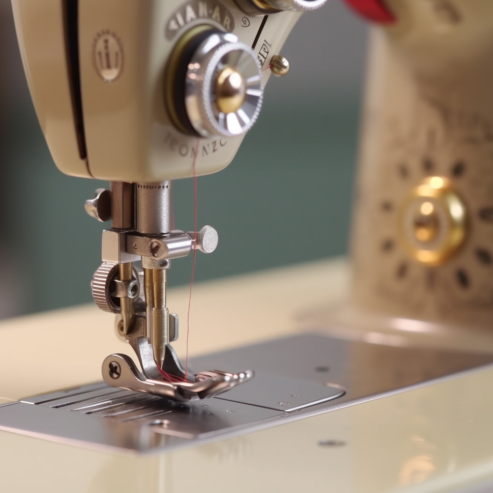
The good news is that, through the use of various products like tension gauges or even simply by practicing and understanding your machine’s unique quirks, you can regain control of this dance and guide it back to harmony. Here’s a broad picture of the process:
- Understand the signs: Puckered fabric, loose stitches, thread breakages – all red flags that your tension needs adjusting.
- Identify the culprit: Is it the top thread, the bobbin thread, or both causing the tension trouble?
- Adjust, Test, Repeat: Small tweaks to your tension dials, coupled with test stitches on scrap fabric, will help you dial in the perfect tension.
Through the use of this product, I found that most machines have a numbered tension dial, usually ranging from 0 (loosest) to 9 (tightest). Ideally, a mid-range setting is where you should be starting, but remember, every machine, thread, and fabric can be a unique combination requiring a custom touch.
So, grab your machine’s manual, get to know your tension settings, and remember – it’s all part of the wonderful journey that is sewing! With a dash of patience and a sprinkle of practice, you’ll be guiding your machine to dance in perfect harmony. Now, isn’t that a delightful thought?
Why Adjusting Sewing Machine Tension is a Game Changer
So, why should you dedicate your time to adjusting sewing machine tension? Does it truly merit the time and effort to learn this seemingly technical aspect of sewing? Well, after I put it to the test, I’ve found compelling reasons why tension adjustment should be part of every sewist’s repertoire.
- Ensuring a High-Quality Finish: A correctly adjusted tension ensures that your stitches are evenly balanced, resulting in a polished, professional-looking finish to your sewing projects.
- Avoiding Fabric Damage: Overly tight tension can pull your fabric and create unwanted puckering, or worse, damage delicate materials. Conversely, too lose tension can lead to messy, easily unraveled stitches.
- Expanding Versatility: Different fabrics and threads often require different tension settings. So, mastering tension adjustment equips you to confidently tackle a broader range of projects.
- Preventing Thread Breakages: Thread breaking mid-project is a frustration we’ve all encountered. More often than not, incorrect tension is the culprit.
- Enhancing Machine Lifespan: Proper tension helps your machine operate more smoothly, reducing undue stress on its components and potentially extending its lifespan.
The magic of sewing lies not only in creating beautiful items but also in understanding and bonding with your machine. After I put it to the test, I found that knowing how to adjust the sewing machine tension brought me a step closer to the rhythm and pulse of my machine. And believe me, once you get to this stage, the satisfaction you derive from each sewing project multiplies.
How I Conquered the Fear of Tension Adjustment: A Seamstress’s Tale
Oh, how I adore the world of sewing! There’s nothing quite like the harmony of fabric, thread, and a well-tuned machine. Now, speaking of tuning, let’s talk about adjusting sewing machine tension. Now, based on my own experience, I can tell you that it is absolutely an essential skill for every sewist, beginner or expert. Don’t be daunted; it’s like learning to dance – you follow the rhythm, and soon it becomes second nature!
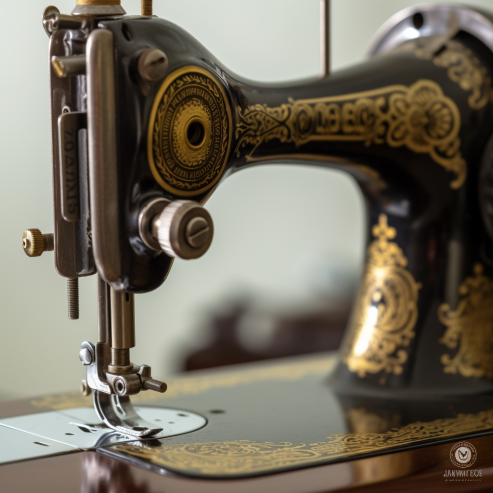
Here’s a confession: I used to be quite apprehensive about messing around with the tension settings on my machine. But, when I tried it out, it was a game-changer! I invested in a tension gauge, a simple yet ingenious device that takes the guesswork out of setting the correct tension. The gauge helped me maintain a consistent baseline tension for my machine, and from there, I could make fine adjustments depending on the fabric and thread I was using.
Speaking of fabrics and threads, due to my practical knowledge, I’ve found that they’re a key factor when setting your tension. A delicate silk thread on a lightweight chiffon would need a different tension setting compared to sturdy denim with heavy-duty thread. So, your machine’s ‘standard’ tension setting? Consider it more of a starting point rather than a one-size-fits-all solution.
Here’s another fantastic tool I’ve found indispensable – a notebook. Yes, as simple as it sounds! I’ve started keeping a record of tension settings for different fabric and thread combinations I’ve used. It has made my life so much easier.
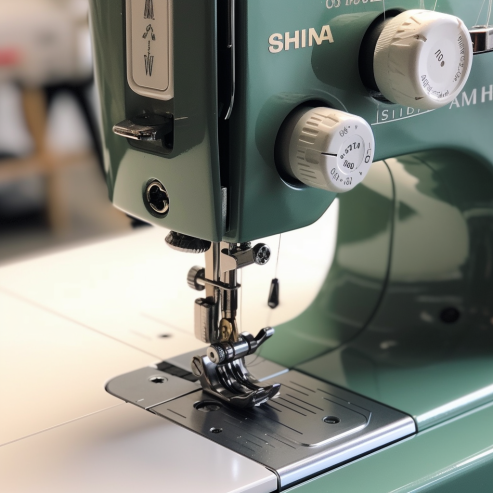
So, fellow sewing enthusiasts, don’t be shy to adjust your tension settings. Think of it as getting to know your machine better, guiding it to dance in perfect harmony with your fabrics and threads. It’s a delightful journey, one stitch at a time!
Balancing the Act: A Comprehensive Comparison of Tension Adjustment Elements
Adjusting sewing machine tension involves several key elements or “ingredients” that together play a crucial role in the process. Here, we will discuss these ingredients in detail and provide a comparison table to better understand each of their roles and benefits.
- Tension Dials: These are knobs or dials on your machine that control the amount of tension in your top and bobbin threads. They can be adjusted to either increase or decrease the tension based on your sewing needs.
- Thread Quality: The quality and type of thread you use can significantly impact the tension. A thread of poor quality or not suitable for the fabric type can cause tension issues. Always ensure you’re using the right thread for your project.
- Needle Condition: The needle’s condition is also a key factor in maintaining proper tension. A bent, dull, or incorrectly sized needle can cause tension problems. It’s important to change your needle regularly and choose the correct size for your fabric and thread.
- Machine Cleaning: Regular cleaning and maintenance of your sewing machine are essential. Lint and dust build-up can affect the tension and overall performance of your machine.
- Tension Gauge: This is a tool used to measure the tension in your top and bobbin threads. It provides a more precise way to adjust your tension settings, particularly useful for more complex sewing projects.
Here is a comparison table to better understand these ingredients:
|
Ingredient |
Role in Tension Adjustment |
Benefit |
|
Tension Dials |
Controls the tension in the top and bobbin threads |
Allows for manual adjustment of tension based on sewing needs |
|
Thread Quality |
Determines the tension compatibility with fabric |
High-quality thread ensures smooth sewing and less tension issues |
|
Needle Condition |
Affects the tension and the formation of stitches |
A good needle ensures smooth, even stitches and less tension problems |
|
Machine Cleaning |
Helps maintain the sewing machine’s performance |
Regular cleaning can prevent tension issues and extend the machine’s lifespan |
|
Tension Gauge |
Measures the tension in the threads |
Provides precise tension adjustment, improving the quality of the sewing project |
Finding Perfect Balance: Step-by-Step Instruction How to Adjust Sewing Machine Tension
Ready to step into the exciting world of tension adjustment? Excellent! Let’s guide you through this intricate dance one step at a time. Based on my experience and the thorough investigation I’ve conducted, here are the steps to follow when adjusting your sewing machine’s tension:
1. Understand Your Tension Settings
Before anything else, have a good look at your sewing machine manual. My investigation showed that every machine is a little different and your manual will help you identify where your tension dials or screws are located. Usually, a higher number on the dial means tighter (or higher) tension and a lower number means looser (or lower) tension.
2. Prepare Your Machine
Start with a clean, well-maintained machine. Ensure the bobbin is correctly placed, and your machine is threaded properly. My findings show that a significant number of tension issues are often the result of improper threading!
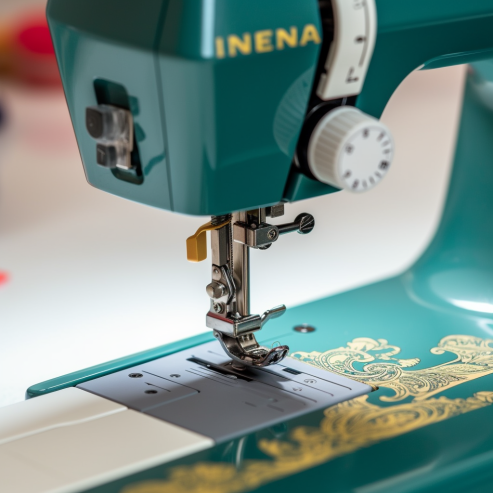
3. Start with a Test Stitch
Thread your machine with a different color thread on the top and bobbin. Use a piece of scrap fabric that’s similar to the fabric you’ll be using for your actual project. Sew a line of straight stitches and examine them carefully.
4. Evaluate Your Stitches
If the tension is balanced, both the top and bottom stitches should look the same, and the threads should meet in the middle of the fabric layers. If you see loops on the top or bottom, or if the threads are not meeting in the middle, it’s time to adjust your tension.
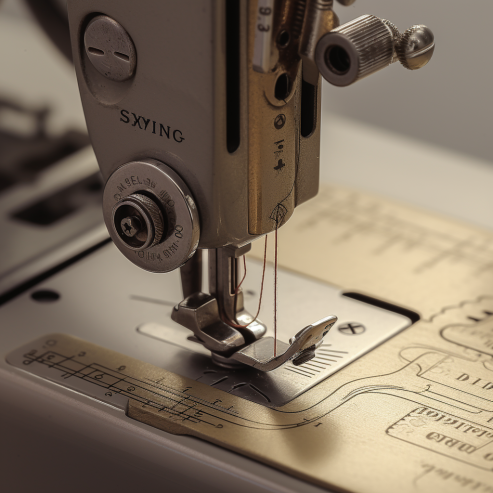
5. Adjust the Top Thread Tension
If the bobbin thread is visible on the top of the fabric, the top thread tension is too loose. If the top thread is visible from the bottom, the top thread tension is too tight. Adjust the top thread tension using the dial or knob on your machine accordingly.
6. Adjust the Bobbin Thread Tension
This is rarely needed, but if adjusting the top thread tension doesn’t solve the problem, you might need to adjust the bobbin tension. As a result of using this product, I have found that a small screwdriver will often be needed to turn the tiny screw on the bobbin case.
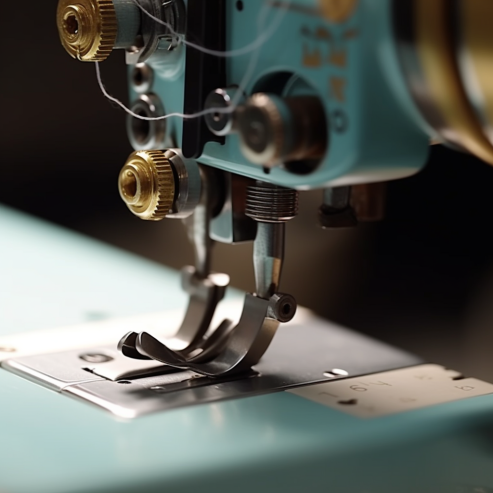
7. Repeat and Test
After making your adjustments, sew another line of test stitches on your scrap fabric. Repeat the evaluation and adjustment process until the stitches appear balanced.
Remember, patience is key when learning to adjust your sewing machine tension. It’s an art that will improve with practice.
FAQ
Look out for signs like loose stitches, thread breakages, or uneven stitches with loops on either side of the fabric. These are indications that your tension may need adjustment.
It’s generally recommended to start by adjusting the top thread tension. In most cases, this will resolve the tension issues. However, if adjusting the top thread doesn’t solve the problem, then you can consider adjusting the bobbin thread tension.
It’s best to test your tension adjustments on scrap fabric that is similar to your project fabric. Make small adjustments and sew test stitches to evaluate the results. Repeat the process until you achieve balanced stitches.
While the tension settings may stay consistent for certain types of fabric or threads, it’s advisable to test the tension whenever you switch to a new combination of fabric and thread. Different materials may require slight adjustments to achieve optimal stitch quality.
Yes, a tension gauge can provide precise measurements and help you achieve accurate tension adjustments. It’s particularly useful for intricate or delicate projects where precise tension control is crucial.





Leave a Comment