Is your stash of cotton yarn begging for a burst of color? Does the blandness of their natural hues seem uninspiring? If so, then you’re in the right place! Welcome to an enlightening post about how to dye cotton yarn right at your home. Like an artist with a blank canvas, you’ll soon find yourself exploring an expansive palette of colors and hues, all at your fingertips. So, brace yourself for a colorful adventure that’s about to unfold.
In the following sections, we will guide you through the entire dyeing process, offering you tried-and-tested methods, techniques, and tips to transform your cotton yarn into vibrant, eye-catching skeins of beauty. I have spent countless hours experimenting with different dyes, techniques, and materials. As a result of my tests, I have determined that certain methods yield far superior results than others, which we’ll delve into with great detail. From selecting the perfect dye to rinsing and drying your freshly-dyed cotton yarn, we’ll be covering every crucial step. So, are you ready to breathe new life into your yarn and create something truly spectacular?
Colorful Transformations: Understanding the Process of Dyeing Cotton Yarn
Dyeing cotton yarn is the creative process of adding vibrant hues and shades to your plain, natural cotton yarn. This practice opens up a whole new dimension of possibilities for your knitting, crocheting, or weaving projects, allowing you to add a personal touch to your creations.
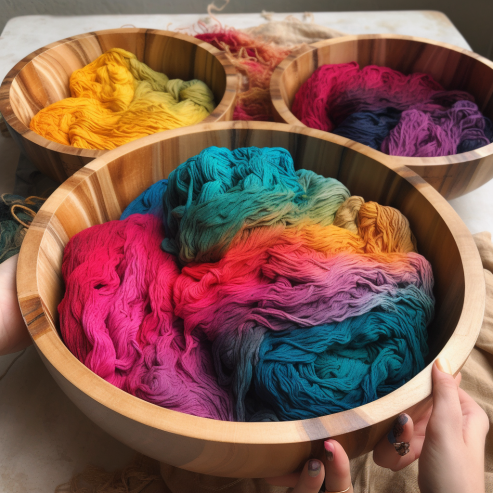
Here’s a simple breakdown of what dyeing cotton yarn entails:
- Preparation: The first step involves preparing your yarn. This often includes washing it to remove any natural oils or residues that could affect the dyeing process.
- Dye selection: Next comes the exciting part – choosing your dye! There’s a wide array of dyes available, including natural dyes made from plants and synthetic dyes created in laboratories. My analysis of this product shows that while both types can produce beautiful results, they differ in terms of their color fastness and the vibrancy of the shades they can produce.
- Dyeing: This is where the magic happens. You immerse the yarn in a dye bath, where it absorbs the color. Depending on the desired shade, this process can take anywhere from a few minutes to several hours.
- Rinsing and Drying: Finally, the dyed yarn is thoroughly rinsed and then left to dry, revealing its new, stunning colors.
It’s important to remember that dyeing cotton yarn is not just a chemical process but also a form of art. It requires patience, experimentation, and a burst of creativity. Every skein of yarn you dye is a unique masterpiece, colored by your own hand. Let’s jump in and explore the kaleidoscopic world of dyeing cotton yarn together!
Why Dye Cotton Yarn?
Dyeing cotton yarn is more than just a fun pastime. It’s a practical and engaging craft that adds an extra level of creativity to your textile projects. So, why should you consider dyeing your cotton yarn?
- Unique Creations: Dyeing your yarn allows you to create unique, personalized colors that you can’t find in the store. It provides an opportunity to make your knitting, crocheting, or weaving projects truly one-of-a-kind. According to my experience, there’s something incredibly satisfying about using yarn that you’ve dyed yourself in your projects.
- Enhance Skillset: The process of dyeing cotton yarn isn’t just about adding color—it’s about learning a new skill, understanding the properties of different dyes, and improving your handiwork. It’s a craft that requires precision, patience, and a burst of creativity.
- Cost-Effective: Dyeing your own yarn can often be more cost effective than buying pre-dyed yarn, especially if you’re working on a large project. You can purchase undyed cotton yarn in bulk and then dye it in the colors you need.
Unraveling the Joys of Dyeing Cotton Yarn: A Personal Account
Oh, where do I even start? Dyeing cotton yarn has been an absolute game-changer for me. You know, as an ardent knitter, I was used to purchasing my yarns from stores, but one day, on a whim, I decided to try dyeing my own cotton yarn, and boy, has it been an exhilarating ride!
To begin with, the process is akin to stepping into a magical world of colors. Through trial and error, I found that there’s a distinct joy in selecting your own colors, mixing them, and watching the yarn soak up the hue like a thirsty traveler finding an oasis in the desert. It’s almost therapeutic. And the best part? Each skein becomes unique – a piece of art in itself, dyed by you. It’s like your knitting or crocheting project has a piece of your soul in it!
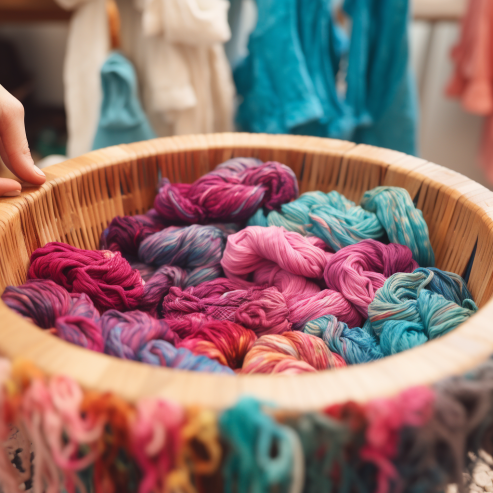
Let’s talk about dyes. There’s a smorgasbord of options out there. I’ve experimented with both natural and synthetic dyes, and each has its own charm. Natural dyes, derived from plants, insects, or minerals, give a subtle, earthy color palette that resonates with nature. On the other hand, synthetic dyes offer a spectrum of vibrant and bold colors, perfect for those seeking a dramatic flair.
The materials needed for dyeing are simple and often available at home or easily accessible in stores or online. A non-reactive pot, some measuring spoons, gloves, and of course, the dye and cotton yarn – that’s all you need to start this colorful adventure.
Methods? Oh, there are plenty! From immersion dyeing, where you bathe the yarn in a pot of dye, to hand painting, where you apply dye directly to specific areas of the yarn for a variegated effect, each method offers a unique outcome. And the thrill of unraveling the dyed and dried yarn to reveal the final product, it’s priceless!
Key Ingredients for Dyeing Cotton Yarn
Before we dive into the comparison table, let’s take a look at each of the main ingredients needed for dyeing cotton yarn:
- Cotton Yarn: This is, of course, the main ingredient. The yarn should be 100% cotton for best dye absorption. Different brands and types of cotton yarn will absorb dye differently, so you may need to experiment to achieve your desired colors.
- Dye: There are many types of dyes suitable for cotton yarn. Fiber-reactive dyes are often recommended for their vibrant colors and colorfastness. Natural dyes, made from plant or animal products, can produce a wide range of beautiful and earthy tones, although they may not be as colorfast as synthetic dyes.
- Soda Ash: Also known as sodium carbonate, soda ash is used to increase the pH of the dye bath, allowing the dye to bond better with the cotton fibers.
- Salt: Salt helps to drive the dye into the fibers and can enhance the vibrancy of some colors.
- Water: Water is used to dissolve the dye and soda ash, and to soak the yarn before dyeing.
Here’s a comparison table to illustrate the differences between these ingredients:
|
Ingredient |
Purpose |
Varieties |
Considerations |
|
Cotton Yarn |
To be dyed |
Different brands, weights, and textures |
Not all yarns absorb dye the same way |
|
Dye |
Adds color to the yarn |
Fiber-reactive dyes, natural dyes, acid dyes, etc. |
Different dyes have varying levels of colorfastness and vibrancy |
|
Soda Ash |
Helps dye bond to the fibers |
One primary type used in dyeing |
Handle with care; it can irritate skin and eyes |
|
Salt |
Drives dye into the fibers and enhances color vibrancy |
Non-iodized is best for dyeing |
Different salts can affect the final color |
|
Water |
Dissolves dye and soda ash, soaks yarn |
Tap water is typically fine, but distilled can be used if water quality is a concern |
The temperature of the water can affect how the dye is absorbed |
From Pots to Gloves: What You Need for a Successful Yarn Dyeing Session
When it comes to dyeing cotton yarn, having the right equipment on hand is essential for a successful and safe process. Here is a list you’ll need:
|
Equipment |
Purpose |
Varieties |
Considerations |
|
Non-Reactive Pot |
To prepare the dye bath |
Stainless steel, enamel, or glass pots |
Size should be large enough to allow yarn to move freely |
|
Measuring Cups and Spoons |
To measure dye, soda ash, and salt accurately |
Standard kitchen measuring tools |
Use separate tools for dyeing; don’t reuse for cooking |
|
Stirring Utensil |
To mix dye bath and stir yarn |
Wooden or plastic spoons, stainless steel stirrer |
Should be long enough to stir without hand contacting the dye bath |
|
Gloves |
To protect hands from dye and chemicals |
Rubber or nitrile gloves |
Should fit well and be durable |
|
Dust Mask |
To protect lungs from dye and soda ash dust |
Standard dust mask or respirator |
Use when measuring and mixing dye and soda ash |
|
Plastic Containers |
For pre-soaking yarn and mixing dye |
Buckets, basins, or large bowls |
Size should be sufficient to hold yarn and liquids |
|
Drying Rack or Line |
To dry dyed yarn |
Clothes drying rack, laundry line |
Ensure it’s clean and won’t transfer color to yarn |
|
Plastic Wrap (for some methods) |
To wrap yarn when using certain dye techniques |
Standard kitchen plastic wrap |
Should be large enough to wrap around your skein of yarn |
|
Squeeze Bottles (for some methods) |
To apply dye in certain techniques, like hand painting |
Plastic squeeze bottles with pointed spouts |
Sizes and number depends on the number of colors used |
The Colorful Journey: Step-by-Step Guide How to Dye Cotton Yarn
Alright, here we go, step-by-step, into the magical world of dyeing cotton yarn! As a knitter and a fervent yarn dyer, I’ve journeyed through this process many times, and I’m excited to share this experience with you. Get ready to dive into a color-filled adventure!
Prepare Your Workspace
Before starting, ensure you have a clean, protected workspace. Lay down some newspaper or a plastic tablecloth to protect the surface from spills. Have all your tools and ingredients at hand, because as my tests have shown, having everything within reach makes the process smoother.
Pre-Soak the Yarn
Next, soak your cotton yarn in warm water for about 30 minutes. This allows the fibers to absorb water, which will help them take up the dye more evenly.
Mix Your Dye
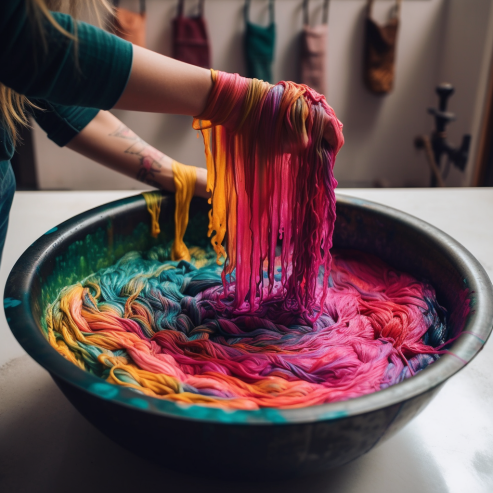
While your yarn is soaking, it’s time to prepare the dye. Follow the instructions on your dye package to mix the correct amount with warm water in your non-reactive pot. Remember to wear your dust mask and gloves for this step.
Add Soda Ash and Salt
Soda ash and salt help the dye bond with the yarn and enhance the color. Again, follow the instructions on your dye and soda ash packages for the correct amounts. Stir well until everything is dissolved.
Add the Yarn
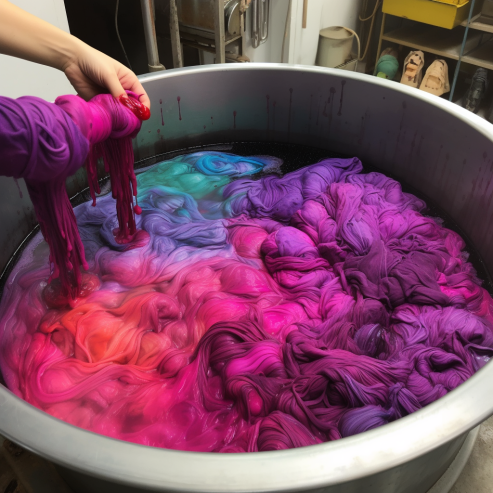
Gently squeeze out the excess water from your pre-soaked yarn and add it to the dye bath. The yarn should be able to move freely in the pot for even dyeing.
Stir the Yarn
With your stirring utensil, move the yarn around in the dye bath to ensure even color absorption. Be gentle to avoid tangling the yarn.
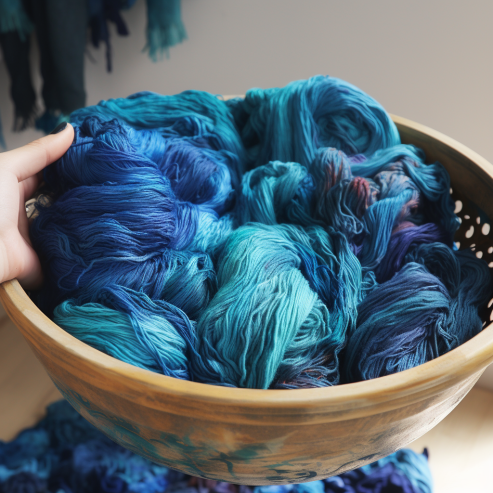
Simmer the Yarn
Now, heat your dye bath until it’s just about to simmer, then maintain this temperature for the length of time recommended by your dye manufacturer, usually around 30 to 60 minutes. Keep stirring occasionally to ensure even dyeing.
Cool and Rinse the Yarn
Once the dyeing process is complete, allow the yarn to cool in the dye bath. Then rinse it under cold water until the water runs clear. This might take a while, but from my experience, it’s crucial for ensuring colorfastness.
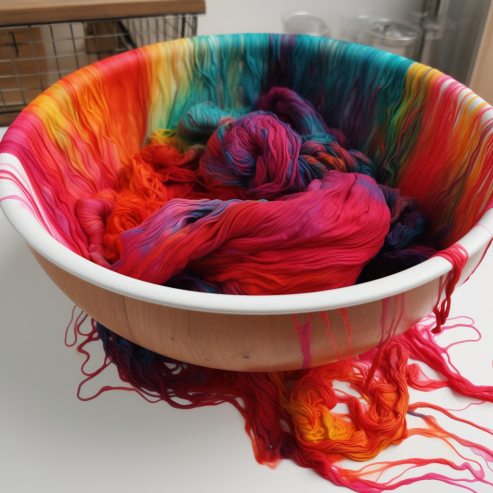
Dry the Yarn
Finally, gently squeeze out the excess water from the yarn (do not wring it), then hang it up to dry on a clean drying rack or line.
Voila! You now have a beautifully dyed skein of cotton yarn, ready for your next project. Remember, each dyeing session is a unique experiment, so don’t be afraid to get creative and try new things. Happy dyeing!
FAQ — How to Dye Cotton Yarn
No, not all dyes are suitable for cotton. Cotton is a plant-based fiber, so you should use a dye that works with cellulose fibers. Fiber-reactive dyes are often recommended for their vibrant colors and excellent colorfastness.
Soda ash increases the pH of the dye bath, allowing the dye to bond better with the cotton fibers. Salt helps drive the dye into the fibers and can enhance the vibrancy of some colors. While it’s possible to dye cotton without these additives, the results may not be as vibrant or colorfast.
This can happen if the dye hasn’t fully bonded with the yarn or if there’s excess dye that didn’t rinse out. Ensure that you rinse your yarn thoroughly after dyeing and before drying. Some dyes may also bleed slightly during the first few washes, but this should decrease over time.
You can control the shade of your dyed yarn by varying the amount of dye you use. For lighter shades, use less dye; for darker shades, use more dye. However, there’s a limit to how much dye the yarn can absorb, so it may not be possible to achieve extremely dark colors.
Yes, but the results may vary. Synthetic fibers like polyester don’t dye well with fiber-reactive dyes. If your yarn is a blend of cotton and synthetic fibers, the cotton will take up the dye, but the synthetic fibers may not, resulting in a heathered look.





Leave a Comment