Embarking on the wonderful world of needle felting? You’re not alone – I’ve been there too! Fear not! In this tutorial, I’m about to unravel the secrets of needle felting long animal fur, step by step.
I’ll demonstrate how to apply each piece of fur, ensuring it stays put and looks just like nature intended. By layering and felting in various directions, we’ll make sure your fur masterpiece is cuddly and ready for some affection. And hey, don’t hesitate to add your own twist. Maybe your animal needs a little extra fluff on its back end or a particular color blend that’s uniquely yours – creativity knows no bounds!
So, there you have it – a sneak peek into the magical realm of needle-felting long animal fur. Trust me, once you’ve mastered this technique, you’ll be able to bring your furry friends to life in a whole new dimension.
Crafting Realism: Dive into Needle Felt Long Fur
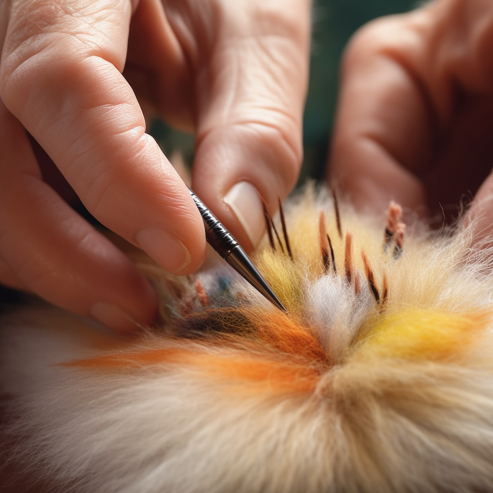
Are you venturing into the realm of arts and crafts, specifically the world of felting? If yes, then let’s dive into a particularly fascinating technique known as needle-felt long fur.
What is Needle Felt Long Fur?
Needle-felt long fur is a method that involves creating fur-like textures on a felted piece, giving it a realistic or sometimes whimsically exaggerated look. At its core, this technique utilizes barbed needles that, when poked into the wool, tangle and compact the fibers, eventually resulting in the dense material we know as felt.
A Burst of Creativity with Needle-Felt Long Fur
- Lifelike Creatures: This method is especially popular among artists aiming to create lifelike furry animals. Imagine creating a fluffy bunny or a long-haired cat. That’s where the magic of needle-felt long fur comes into play.
- Fantasy Creations: Not limiting themselves to the real world, many artists delve into the realms of fantasy, crafting mythical beasts with flowing manes or creatures from their wildest imaginations.
- Textured Landscapes: Beyond animals, the technique can be employed in making landscapes come alive, imagine grassy knolls or trees with cascading willow-like features.
Why Should You Dive into Needle-Felt Long Fur?
Needle felting has taken the world of arts and crafts by storm, but there’s a particular style that’s capturing the hearts of many – needle-felt long fur. If you’re wondering why you should venture into this captivating realm, let me unfold the magic for you.
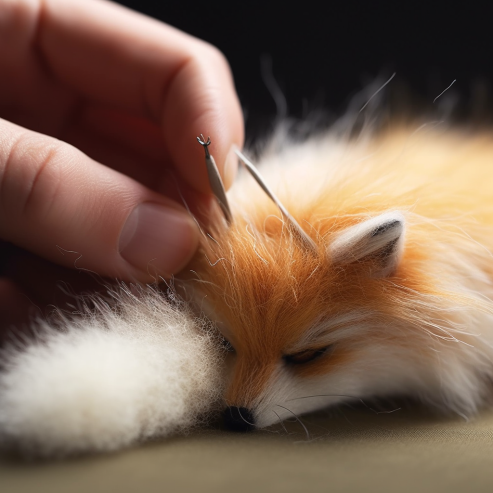
Benefits and Joy of Needle Felt Long Fur
- Unleash Your Creativity: With needle-felt long fur, the canvas is vast and limitless. Whether it’s a majestic lion’s mane or the delicate fur of a rabbit, the technique allows your creative juices to flow freely, bringing your imaginative visions to life.
- Tactile Satisfaction: There’s something undeniably therapeutic about feeling the texture of long fur between your fingers. “After I put it to the test,” many would exclaim, “the satisfaction of creating such tangible textures was unparalleled!”
- A Unique Art Form: Based on my own experience, needle-felt long fur stands out in the plethora of crafting techniques. It’s not every day that you come across an art form that lets you mold fibers into lifelike creatures or fantastical beings.
- Educational Experience: Beyond just being an art form, it’s a lesson in patience, precision, and persistence. Each project offers a unique challenge, from understanding the anatomy of creatures to mastering the intricacies of fur flow.
- Gifts with a Personal Touch: Handcrafted gifts carry a special essence. Imagine gifting a loved one a felted pet that looks remarkably like their own or a fantastical creature straight out of a fairy tale.
Transforming Wool Wisps to Wonderful Fur: The Art of Needle Felting
Alright, fellow felt enthusiasts! Let’s chat about the wonderful world of needle-felt long fur. I’ve been in this craft for years, and I must say, there’s a special corner in my heart reserved for this technique.
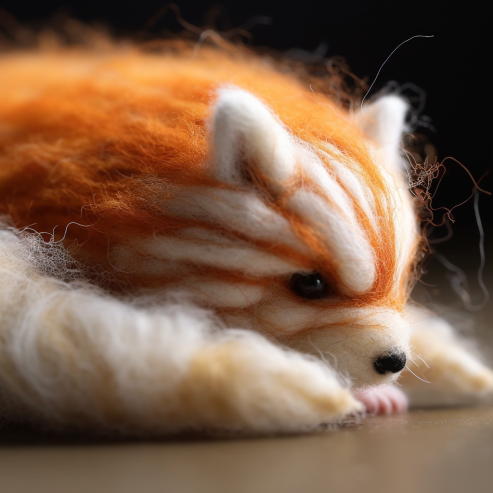
Choosing Your Materials
- The Right Wool: Based on my journey through felting landscapes, I can’t emphasize enough the importance of choosing the right wool. Merino and Corriedale have been my absolute favorites! They hold their shape well and create the most luxurious long fur.
- The Magic Wand – Barbed Needles: You might think I’m exaggerating, but a good barbed needle is like a magic wand in this craft. When I tried it out with a high-quality needle, oh boy, the difference was night and day. They catch the fibers just right, allowing you to create dense, even fur.
The Process
- Start with a Base: Before diving into the long fur, always ensure you have a firm, well-felted base. This will make the fur attachment much smoother and more manageable.
- Layering is Key: Due to my practical knowledge, I can’t stress this enough – layering is your best friend. Start with shorter layers and gradually add longer layers on top. This technique creates a natural, full look.
- Direction Matters: Always be conscious of the direction in which you’re felting the fur. Especially if you’re aiming for a realistic piece, study your reference and ensure the fur flows in the right direction.
Products and Tools That Wow!
- Felting Mats: A good quality felting mat is a game-changer. It protects both your work surface and your needle. Plus, it provides a stable base to work on.
- Multi-Needle Tools: For those who haven’t tried these yet, multi-needle tools can speed up your process, especially when working on larger pieces.
- Fur Combs: This might sound a bit off the beaten path, but a little fur comb can make your final piece look so polished. After attaching the fur, give it a gentle comb-through to remove any tangles and give it that sleek look.
Essential Ingredients for Needle Felt Long Fur
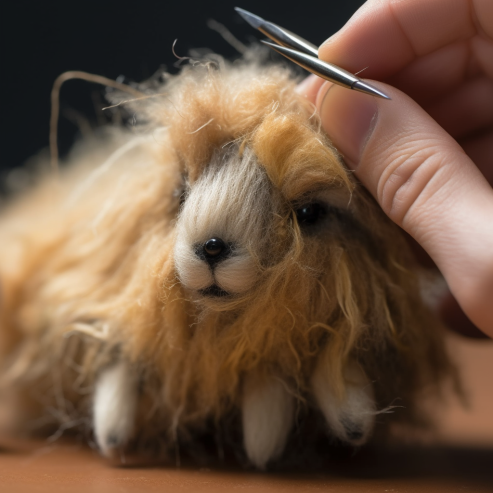
Wool:
- Description: Wool is the primary material used in felting. Its natural fibers have scales, which when agitated by the barbed needle, latch onto each other, leading to felting.
- Types: Common types include Merino, Corriedale, and Romney, among others.
- Best Use: Different wools have varied characteristics; Merino is known for its softness and fineness, making it ideal for delicate projects. Corriedale is crimped and bulky, good for more structural works.
Barbed Needles:
- Description: These needles are the primary tools for felting. They have small barbs that catch and intertwine the wool fibers, facilitating the felting process.
- Types: They come in various gauges, with each gauge having a specific use; finer needles for detail and coarser needles for initial shaping.
- Best Use: It’s essential to use the correct needle gauge for the task at hand to achieve the desired detail and density.
Felting Mats:
- Description: Felting mats provide a protective surface to work on. They ensure that the needle doesn’t get damaged and provide resistance to help with the felting process.
- Types: Common mats include foam pads, brush-like mats, and burlap-covered cushions.
- Best Use: Foam pads are ideal for beginners due to their resilience and cost-effectiveness. Brush-like mats can be more suited for intricate projects.
Multi-Needle Tools:
- Description: These tools hold multiple needles simultaneously, allowing for faster felting, especially for broader areas.
- Types: They range from holders that can fit 2-3 needles to tools that can hold up to 10.
- Best Use: They’re perfect for initial layering and large surfaces, but not as much for detailed work.
Fur Combs:
- Description: Fur combs help refine the look of the felted fur, giving it a more polished and natural appearance.
- Types: They vary based on the spacing and size of the teeth. Some are fine-toothed, while others are wider.
- Best Use: Fine-toothed combs are excellent for smaller, delicate projects, while wider-toothed ones work well for broader, coarser fur areas.
| Ingredient | Description | Types | Best Use |
| Wool | Primary material with natural fibers used in felting. | Merino, Corriedale, Romney, etc. | Merino for delicate projects; Corriedale for structural ones. |
| Barbed Needles | Needles with barbs that catch and intertwine wool fibers. | Vary in gauges for different tasks. | Finer needles for detailing; coarser ones for initial shaping. |
| Felting Mats | Protective surfaces for felting. | Foam pads, brush-like mats, burlap-covered cushions. | Foam for beginners; brush-like for intricate work. |
| Multi-Needle Tools | Hold multiple needles for faster felting. | Range based on the number of needles they can hold. | Initial layering and covering large surfaces. |
| Fur Combs | Refines felted fur for a polished appearance. | Vary based on the spacing and size of the teeth. | Fine-toothed for delicate projects; wider-toothed for coarser fur areas. |
Crafting Lifelike Textures: A Guide to Needle Felting Long Fur
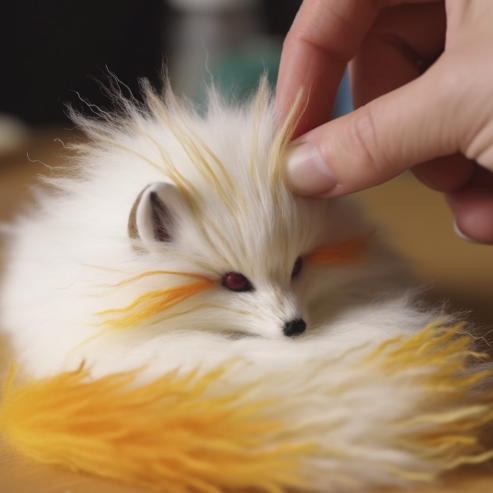
Embarking on the journey of needle-felting long fur can seem like a voyage into the unknown. But fear not, fellow crafters! Having delved deep into this art form, my investigation showed that with the right steps, you’ll soon find yourself in a world of tactile magic. Here’s the map to guide you:
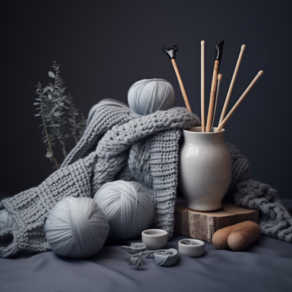
1. Gather Your Equipment
- Wool Roving: My findings show that high-quality wool like Merino or Corriedale offers the best results.
- Barbed Needles: Arm yourself with a variety of gauges. They’ll be your trusted companions through thick and thin (or rather, coarse and fine).
- Felting Mat: This will be your workspace, ensuring the sharp barbed needles have something to dive into without causing damage.
- Multi-Needle Tool: Great for when you want to cover larger areas swiftly.
- Fur Comb: For that finishing touch straighten and refine your fur.
2. Lay the Foundation
- Prepare Your Base: Before introducing the long fur, create a solid shape or base using your wool. This acts as the scaffold upon which your fur will sit.
- Compact Well: Using a coarser needle, feel the wool until it’s firm. A well-compacted base ensures a smooth layering of fur later on.
3. Creating the Fur
- Measure and Cut: Take a small amount of wool roving and cut it twice the length you want your fur to be. Remember, it’ll be folded in half.
- Fold and Attach: Fold your cut wool in half and place the midpoint on the base where you want the fur to start.
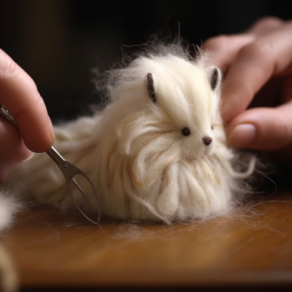
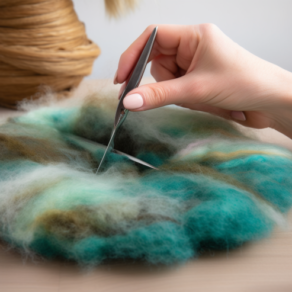
- Poke Away: Using your barbed needle, poke the midpoint of the wool onto the base. This attaches the wool as fur, with both ends hanging free. The repetitive act of poking not only secures the wool but is oddly therapeutic!
4. Layering the Magic
- Direction Matters: Always attach fur in the direction you want it to lie. For instance, if you’re crafting an animal, you’ll likely start at the base of its neck, moving upwards to its head.
- Layer Wisely: Overlap each new row of fur slightly over the previous one. This creates a dense, lush look. My investigation showed that patience here pays off in stunning 3D lifelike results!
5. Finishing Touches
- Trim if Necessary: Depending on your desired look, you might want to trim the fur to even it out or give it a specific shape.
- Comb It Out: Using your fur comb, gently comb through the fur. This removes any tangles and gives it a sleek, natural appearance.
There’s an undeniable magic in watching a nondescript wisp of wool transform into lush, lifelike fur. It’s an art of patience and passion. As you venture further, you’ll find your rhythm and techniques, but I hope this guide provides a beacon as you set sail into the wondrous world of needle-felting long fur. Happy crafting!
FAQ: How to Needle Felt Long Fur
What type of wool is best for needle felting long fur?
While you can technically use various types of wool, the most recommended are Merino and Corriedale. These types offer a nice balance of softness and structure, perfect for that lifelike fur effect.
I’m new to needle felting. Is crafting long fur suitable for beginners?
Absolutely! While needle felting long fur might require a bit more patience, it’s a technique that can be grasped by beginners. Start with smaller projects and gradually challenge yourself as you gain more confidence.
My fur doesn’t look very natural. How can I improve it?
Achieving a natural look often requires practice. Ensure you’re layering the wool in the correct direction and overlapping your rows. Using a fur comb can also make a significant difference, giving your felted fur a sleek and refined look.
Can I combine colors when needle felting long fur?
Of course! Combining colors can create beautiful gradients and patterns. Blend different colored wool rovings before attaching, or layer different colors for a multi-dimensional effect. Let your creativity flow!




Leave a Comment