The magic of polymer clay lies in its transformation, from a humble lump to an astonishing piece of art, through the hands of the creator. It’s a creative medium unlike any other. But what separates a good polymer clay piece from an amazing one? One aspect that consistently stands out is its smoothness, a key element that reflects on the overall quality and appearance of the finished product. It’s an aspect, however, that many struggle with and can be discouraging for beginners. That’s where our discussion today comes into play; my investigation showed that with a combination of the right techniques and a few handy tips, anyone can achieve a smooth finish on their polymer clay projects.
I’m going to delve into the best ways to smooth polymer clay, a topic that can seem as deceptive as the material itself. Will we be exploring the benefits of sanding versus buffing? Is there a secret ingredient that professional artists use? How much of a difference can your initial conditioning make? The answer to all these is a resounding ‘yes’ and ‘more.’ Through this post, we’ll be unraveling the mysteries of achieving the perfect smooth finish, answering the burning questions, and debunking the prevailing myths surrounding polymer clay. Ready to jump into the fascinating world of polymer clay, where creativity bursts out of every corner? Then buckle up and let’s get smoothing!
Smooth Polymer Clay: A Burst of Creativity at Your Fingertips
When you hear the term ‘smooth polymer clay,’ what first comes to mind? An impeccably even sculpture with no fingerprints, ridges, or marks? A surface that reflects light evenly, giving your creation a professional finish? My findings show that ‘smooth polymer clay’ is exactly that – it’s a polymer clay creation that’s as smooth as a baby’s cheek, devoid of any unwanted texture.
So, let’s break it down.
- Sculpture without Fingerprints or Marks: The enemy number one of a smooth finish is fingerprints and unwanted imprints. The super soft nature of polymer clay can easily record each and every touch, and while this can sometimes add a ‘human’ touch, most of the time it ends up looking messy and unintentional.
- Ridge-Free Surfaces: Just as a canvas shows the brush strokes of a painter, clay too can show the marks of your tools or the creases from the folding process. For a smooth finish, these ridges need to be skillfully eliminated.
- Even Reflection of Light: This is the final litmus test for a smooth surface. If the surface reflects light evenly without any shadows or bright spots, you’ve got yourself a smooth finish!
The world of polymer clay can be a wonderfully bursting haven of creativity. When working with this amazing medium, one can go from being an artist to a chemist, all while playing with a material as forgiving and pliable as a child’s play dough. So grab your tools and let’s get into the nitty-gritty of how to create perfectly smooth polymer clay. The journey, I promise, is as satisfying as the result.
Why Pursue Smoothing Polymer Clay?
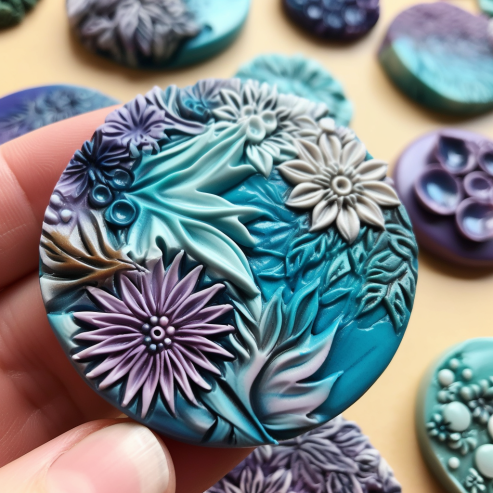
Polymer clay, with its malleable texture and vibrant colors, is a fantastic medium to unleash your creativity. But why invest time and effort into smoothing it? As a result of using this product, I have found that the rewards are manifold and encompass not just aesthetics, but also durability and usability.
Here are a few key reasons:
- Superior Aesthetics: Smooth polymer clay has a polished, professional look that’s incredibly pleasing to the eye. Rough edges or unintentional marks can distract from your design and reduce the perceived quality of your work.
- Enhanced Durability: A well-smoothed piece of polymer clay is less likely to have weak points that could lead to breaks or chips over time. The smoothing process can help ensure your artwork’s longevity.
- Greater Usability: If you’re making a functional piece like jewelry, smoothness becomes even more critical. A smooth surface is more comfortable against the skin and less likely to catch on clothing or hair.
- Learning and Mastering Techniques: The process of learning to smooth polymer clay can actually help you become a better artist overall. It forces you to pay attention to details and teaches you valuable skills that can be transferred to other mediums or projects.
In the exciting world of polymer clay, the journey of creating is as rich and bursting with possibilities as the final product. Smoothing your polymer clay can seem like a detail, but as any artist knows, the devil is in the details – and those details can make all the difference between a good piece and a fantastic one. So let’s dive deeper into the techniques and tips that can make your polymer clay pieces smooth and stunning.
Essential Equipment: Tools for Smoothing Polymer Clay
- Polymer Clay: High-quality polymer clay is the foundation of any polymer clay project. It comes in various colors and brands, offering different characteristics such as flexibility, hardness, and workability. Some popular brands include Fimo, Sculpey, and Cernit. Each brand may require slightly different techniques for smoothing, so it’s important to experiment and find what works best for the specific clay you’re using.
- Work Surface: A non-porous work surface, such as glass, ceramic tile, or an acrylic sheet, provides a smooth and easy-to-clean area for working with polymer clay. It prevents the clay from sticking and allows for easier manipulation and smoothing.
- Clay Conditioning Machine: While not necessary, a clay conditioning machine can be a helpful tool for the consistent conditioning of polymer clay. It helps soften and warm the clay, making it more pliable and easier to work with. Conditioning the clay properly ensures that it is smooth and ready for shaping and smoothing.
- Clay Cutting Tools: Blades or craft knives are essential for cutting and shaping polymer clay. They allow for precise cuts, detailing, and removal of excess clay. Sharp blades ensure clean edges and help in achieving a smoother finish.
- Sandpaper: Sandpaper comes in different grits, ranging from coarse to fine. It is used for sanding the surface of polymer clay to remove imperfections, fingerprints, or texture. Starting with a coarse grit (e.g., 400) and gradually moving to finer grits (e.g., 2000) helps achieve a smooth and polished surface.
- Sanding Blocks: Sanding blocks provide a stable and flat surface for sanding polymer clay. They are available in various shapes and sizes, and some even have different grits on each side. Sanding blocks offer better control and a consistent sanding experience.
- Silicone Brushes: Silicone brushes with soft, flexible tips are excellent tools for smoothing polymer clay. They help to gently press and smooth the clay, reducing or eliminating fingerprints, tool marks, and uneven surfaces. Silicone brushes are available in different sizes, allowing for precision work on various clay projects.
- Talcum Powder: Talcum powder is an optional ingredient used to reduce the stickiness of polymer clay. It can be lightly dusted onto the clay surface and your hands to prevent the clay from sticking and leaving unwanted marks during smoothing.
- Wet/Dry Sanding Sponge: A wet/dry sanding sponge is a versatile tool that can be used for both wet and dry sanding of polymer clay. It can be soaked in water for wet sanding, which helps to minimize dust and provides a smoother finish. The sponge texture ensures even sanding across the clay surface.
- Buffing Wheel: A buffing wheel, typically made of soft cloth or a brush attachment, is used for the final stage of smoothing polymer clay. It helps to polish the clay surface and achieve a glossy finish. Buffing wheels can be used manually or attached to a rotary tool for more controlled buffing.
Rubbing Alcohol: Rubbing alcohol is useful for cleaning tools and surfaces, as well as removing fingerprints from polymer clay. It helps to ensure a clean and smooth surface before sanding or further manipulation.
|
Equipment/Tool |
Description |
|
Polymer Clay |
High-quality polymer clay in various colors |
|
Work Surface |
Non-porous surface like glass, ceramic tile, or acrylic sheet |
|
Clay Conditioning Machine |
Optional, but helpful for consistent conditioning |
|
Clay Cutting Tools |
Blades or craft knives for cutting and shaping clay |
|
Sandpaper |
Assorted grits from coarse to fine (e.g., 400 to 2000) |
|
Sanding Blocks |
Blocks with flat surfaces for easier sanding |
|
Silicone Brushes |
Soft brushes with silicone tips for smoothing clay |
|
Talcum Powder |
Optional, for reducing clay’s stickiness |
|
Wet/Dry Sanding Sponge |
A sponge specifically designed for wet or dry sanding |
|
Buffing Wheel |
Soft cloth or brush attachment for polishing clay |
|
Rubbing Alcohol |
To clean tools and surfaces, remove fingerprints |
The Artisan’s Guide: How to Smooth Polymer Clay (My Techniques)
My fellow artists, smoothing polymer clay is such an exhilarating process! It’s an art, a science, and a little bit of magic combined. I’ve experimented a lot, and my investigation shows that a couple of techniques and tools are critical for a silky-smooth finish.
- Conditioning the Clay
You need to start off right, and it begins with conditioning. In my experience, the best way is to knead the clay in your hands until it’s nice and supple. When it reaches the point of being as pliable as warm butter, that’s when you know you’re ready to start crafting!
- Use the Right Tools
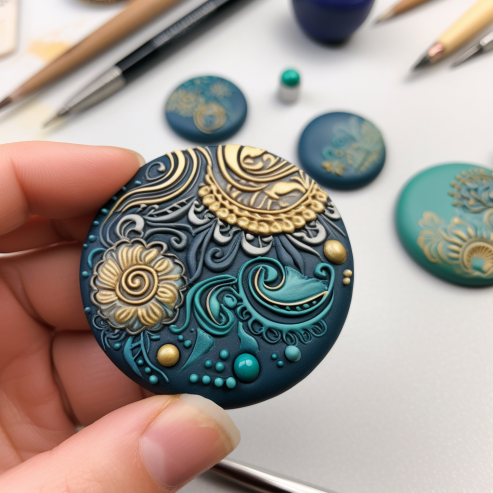
There are a bunch of tools you can use for smoothing. Some people swear by rubber-tipped tools, others prefer the heat of their own fingers. But the one tool I absolutely cannot do without? Silicone brushes! They come in a variety of sizes and they glide over the clay like a dream, erasing fingerprints and smoothing out any rough patches.
- Wet/Dry Sanding
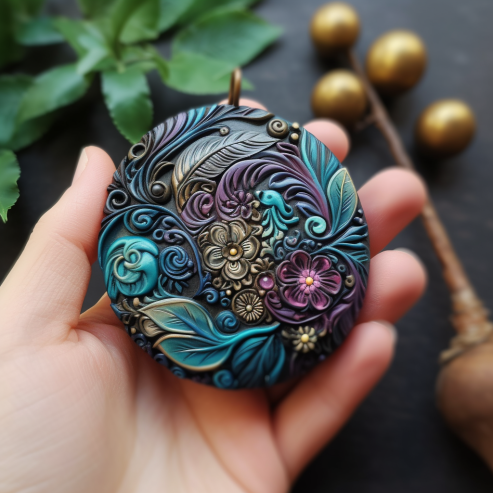
Sanding can be an absolute game-changer. It’s almost therapeutic to see those coarse bumps disappear with each stroke of sandpaper. Start with a coarse grit (around 400) and work your way up to a super fine grit (like 2000). I prefer to sand under running water or in a bowl of water – it helps keep the dust down and gives an even smoother finish.
- Leaching
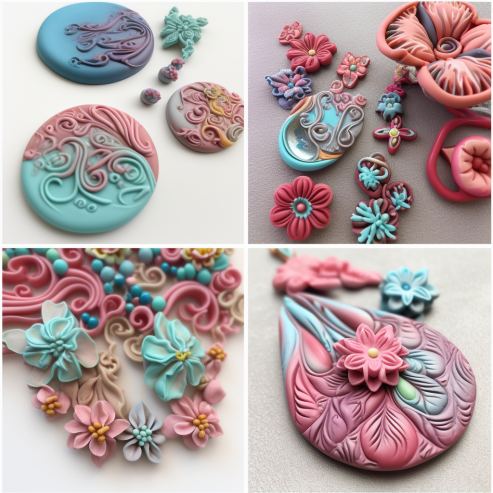
This is an under-appreciated method, but I’ve found that it does wonders. If your clay is too soft and sticky, leaching it (or sandwiching it between sheets of plain paper for a while) will help pull out some of the plasticizers and make it easier to smooth.
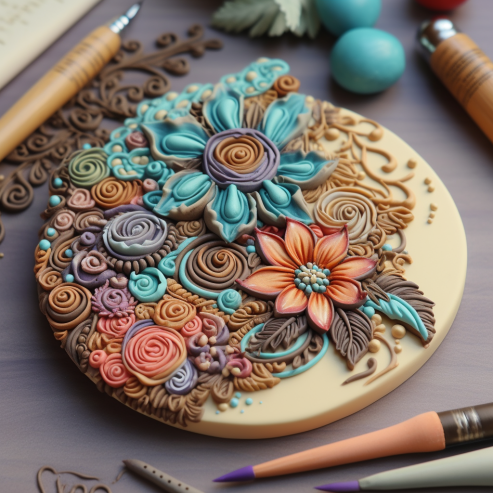
- Buffing
This is the final touch. A good buffing wheel can give your polymer clay an amazing shine. It’s like that cherry on top of your favorite dessert!
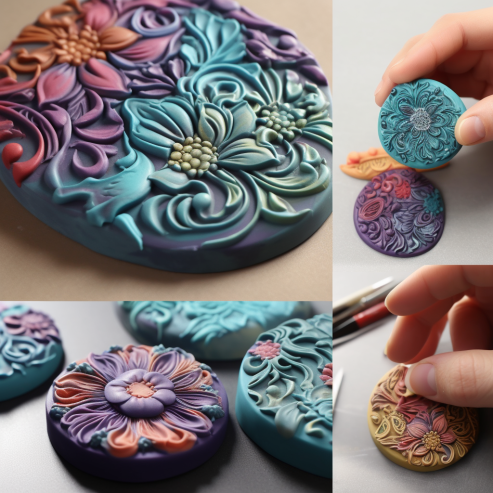
Getting smooth polymer clay is such a satisfying part of the creative process. It’s like watching a rough sketch transform into a detailed masterpiece. Remember, it’s not just about the destination, it’s also about the journey. And this journey to smooth polymer clay is a burst of creativity, patience, and artistry at every step! Embrace it and let your creativity flow.
FAQ
Sandpaper is a fantastic tool for smoothing polymer clay, but it’s not the only step in the process. Sanding helps remove imperfections and texture, but you’ll also need to use techniques like initial smoothing, wet sanding, and buffing to achieve that flawless, professional finish.
Conditioning the clay is a crucial step that should not be skipped. Kneading the clay makes it more pliable, and easier to work with, and ensures a smooth base for shaping and smoothing. It helps create a consistent texture throughout your project.
As a general rule, you should gradually progress from coarse grits to finer grits when the previous grit has removed the imperfections or tool marks. Keep sanding until the surface feels smooth to the touch. It’s always a good idea to test the smoothness of a small area before moving to finer grits.
Talcum powder is optional but can be beneficial if your clay is sticky. It helps reduce the clay’s tackiness, making it easier to handle and shape. If you’re having trouble with the clay sticking to your hands or tools, lightly dusting it with talcum powder can provide some relief.
While a buffing wheel can give your polymer clay a professional, glossy finish, it is not essential. You can achieve a smooth finish without a buffing wheel by using wet sanding, followed by hand polishing with a soft cloth. The buffing wheel simply enhances the shine and saves some manual effort.
While water can remove some clay residue, rubbing alcohol is more effective in cleaning tools and work surfaces. Rubbing alcohol helps dissolve and remove the oils and residue left behind by the clay, ensuring a clean surface for future projects.



Leave a Comment