

Whether you’re a seasoned stitcher or just dipping your toes into the vibrant pool of embroidery, you’ve likely encountered the term ’embroidery stabilizer’. It’s that elusive ingredient, the ‘secret sauce’ if you will, that can transform a decent design into a masterpiece of threads. But what exactly is an embroidery stabilizer and how can you navigate this complex world with ease? How can you ensure your handiwork remains robust and beautiful, instead of succumbing to the annoying puckers or shifts? Through trial and error, I found that understanding and effectively using embroidery stabilizers is the answer.
Embroidery stabilizers are the unsung heroes of this craft, quietly providing structure and support, allowing your creativity to burst forth unhindered. In this blog post, we will demystify these humble helpers, examining the different types available – from tearaways and cutaways to water-soluble and heat-away options – and their specific uses. We’ll discuss how your choice of stabilizer can affect the outcome of your project, and guide you through selecting the perfect one for your fabric and design. Get ready for a riveting journey that will empower you to level up your embroidery game. Remember, every master was once a beginner who never gave up, and the journey toward mastery is often marked by a landscape of errors and corrections. Let’s explore together the exciting world of embroidery stabilizers. Are you ready to turn your embroidery projects from ‘oh no’ to ‘oh wow’?
Setting the Stage for Perfect Embroidery: The Importance of Stabilizers
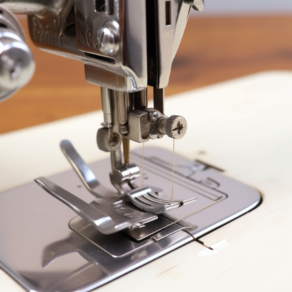
Embroidery is a beautiful dance between needle and thread, where the fabric is the canvas and your imagination the choreographer. But like all grand performances, it requires a solid stage, a robust platform on which the dancers can express themselves fully. This is where the embroidery stabilizer steps in!
From my experience, I can assure you that the stabilizer is a veritable backstage hero, diligently laying the groundwork for the main actors—your threads—to shine. It’s a non-negotiable member of your embroidery entourage, something that you’d rather have and not need than need and not have.
So, what exactly is an embroidery stabilizer?
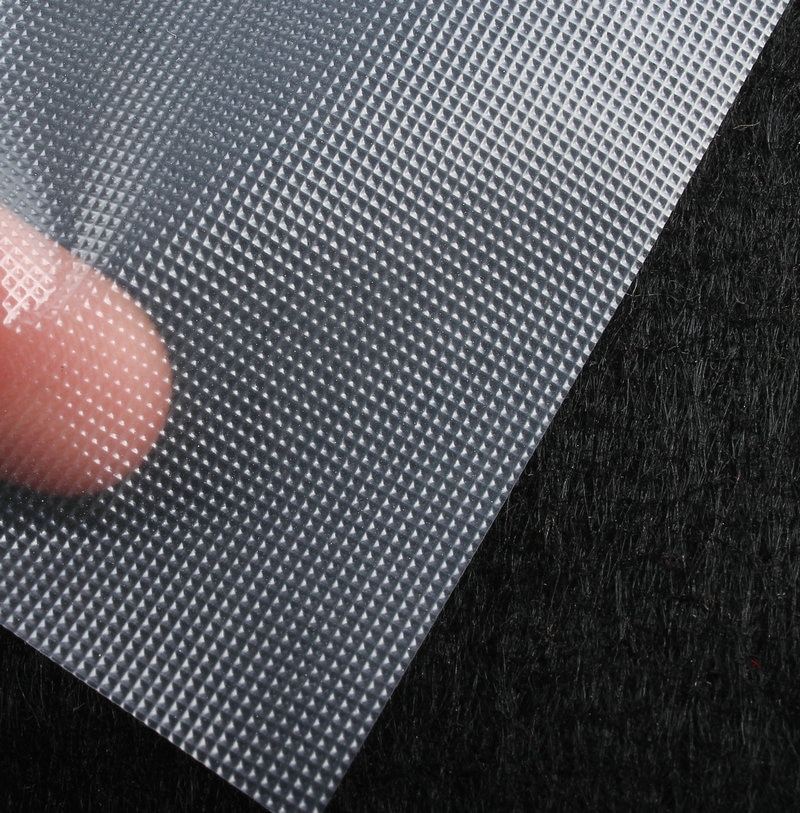
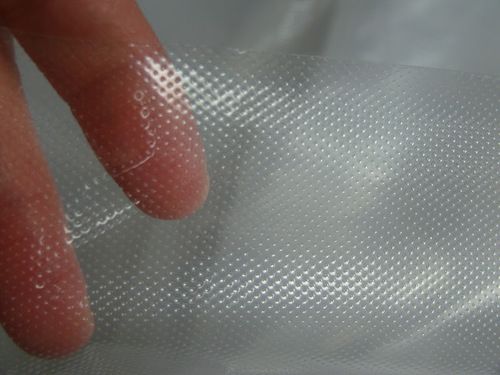
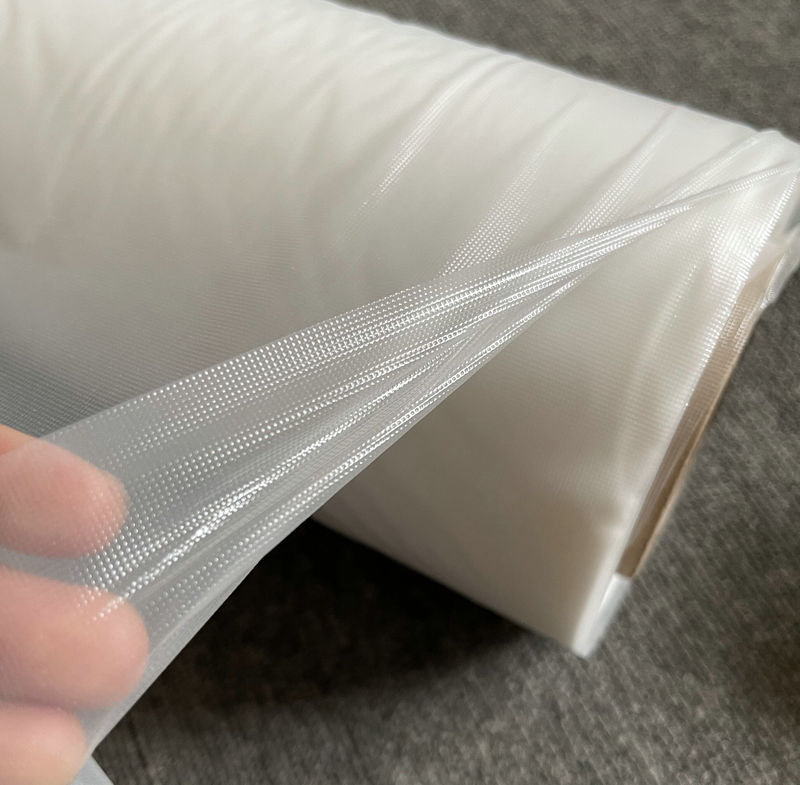
Simply put, an embroidery stabilizer is a firm material that adds support and structure to the fabric you’re embroidering. It prevents distortions and wrinkles, making sure your stitchery stays sharp and clean. Think of it as a reliable buddy, holding your fabric steady while you unleash your creativity.
Stabilizers come in different types, and choosing the right one can seem like a daunting task, but fear not! Here are some pointers:
- Tearaway Stabilizers: These are easy to remove and best suited for firm, stable fabrics. Perfect for your quick embroidery projects.
- Cutaway Stabilizers: They provide robust support and are ideal for stretchy or unstable fabrics. Consider this for projects that will see a lot of wear and wash.
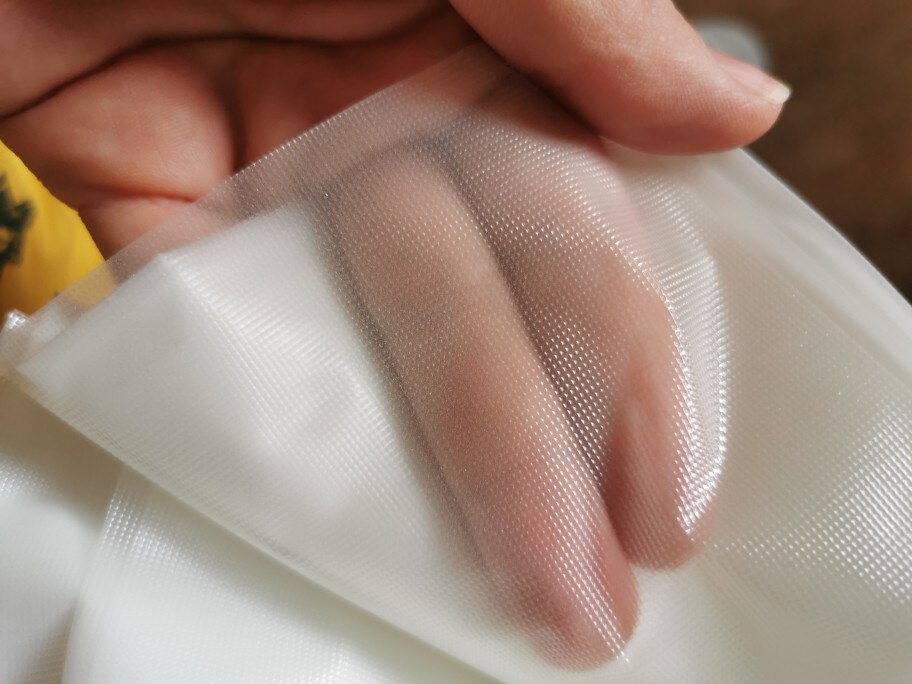
- Water-soluble Stabilizers: When you want no trace of the stabilizer left, these are your go-to. They completely dissolve in water, vanishing like a magician’s trick!
- Heat-away Stabilizers: Like their water-soluble cousins, they leave no residue, but require heat instead of water to disappear. A fiery exit for the backstage hero!
Embroidery stabilizers are akin to unsung maestros, harmonizing your fabric, thread, and design into a symphony of stitches. Now that we’ve unveiled their magic, let’s dive deeper into the ways they can elevate your embroidery endeavors. Stay tuned, because the backstage hero is ready for his time in the limelight!
The Unsung Protector: Why Stabilizers are a Must in Embroidery
Embroidery is a marvelous world of texture, color, and creativity. However, like any world, it needs a solid foundation to thrive. This is where our invisible guardian— the embroidery stabilizer—comes into play. Now, why should you use an embroidery stabilizer?
Maintaining Design Integrity
Embroidery is like painting with threads. And just like you’d want your paints to adhere well to a canvas, you’d want your stitches to stay put on the fabric. As my tests have shown, stabilizers provide that much-needed firmness to keep your designs from distorting. They ensure that your stitches lay flat and remain intact, allowing your design to blossom in all its glory.
Resisting Fabric Distortions
Imagine embroidering a beautiful design, only to see it wrinkled or puckered after a while. Heartbreaking, isn’t it? Stabilizers are here to prevent such heartbreaks! They resist fabric distortions, providing a smooth and robust surface for your designs, thereby maintaining the shape and appearance of your project in the long run.
Supporting Different Fabric Types
Embroidery stabilizers are like chameleons—they adapt! From soft, stretchy fabrics to firm, sturdy ones, there’s a stabilizer suitable for every type. They ensure that the nature of the fabric doesn’t interfere with the integrity of your embroidery, offering support and rigidity where needed.
Facilitating Complex Designs
Have you ever attempted a complex, detailed design? If so, you’ll know that they demand precision and stability. Stabilizers are the silent partner in this endeavor, providing the necessary support to execute complex designs with accuracy and grace.
Preserving Work over Time
Embroidery is not just about creating—it’s about preserving. And stabilizers play an essential role in ensuring your beautiful work withstands the test of time. They add strength and durability, safeguarding your embroidered pieces from wear and tear.
In a nutshell, using an embroidery stabilizer is like investing in insurance for your embroidery projects. It safeguards your hard work and ensures that each stitch you make counts towards creating a beautiful, enduring piece of art.
Stitching with a Secret Weapon: My Take on Using Embroidery Stabilizers
Let me tell you, if there’s one product that can totally transform your embroidery game, it’s the embroidery stabilizer. Oh my goodness, the difference it makes is astounding! It’s like a steadfast friend who’s got your back, especially when you’re working on those intricate designs. Through the use of this product, I found that it really is the unsung hero of the embroidery world.
Now, you might wonder, how do you use it? Well, let me spill the beans!
1. Choose the Right Type of Stabilizer
First things first, you need to get to know your stabilizer options. There’s the tearaway stabilizer that’s perfect for those stable fabrics. It’s so satisfying when you just tear it away after you’re done embroidering. Then there’s the cutaway stabilizer. Oh, it’s a lifesaver for stretchy or unstable fabrics. Trust me, you’ll be grateful for the robust support it provides.
2. Match the Stabilizer with Your Fabric and Design
Every fabric and design has a stabilizer soulmate! I cannot stress enough how vital it is to match these correctly. After I put it to the test, I realized that a water-soluble stabilizer is a dream for those top stitches and openwork designs. And the heat-away stabilizer, wow, it’s perfect for delicate fabrics, disappearing without a trace, like magic!
3. Position the Stabilizer Correctly
Don’t underestimate the importance of correct positioning. The stabilizer goes behind the area you’re going to embroider. Sometimes, for certain projects, you might need it on top too. It’s all about experimenting and finding what works best!
4. Secure the Stabilizer and Start Stitching!
Once you’ve got the stabilizer positioned, just secure it in the hoop with your fabric, and voila, you’re ready to start stitching! Remember, the stabilizer needs to be taut but not overly stretched.
Through the use of these methods, my embroidery work went from decent to dazzling. The stabilizer provided the much-needed support, kept the fabric from puckering, and let my designs truly come to life. I could even see a marked improvement in the durability of my work. It’s like the stabilizer gave each piece a little extra backbone!
Stitch Success: How to Choose and Use the Right Embroidery Stabilizer
Alright, let’s delve deeper into the different types of embroidery stabilizers, how to use them, and their ideal applications. Understanding these will surely help you elevate your embroidery game to the next level!
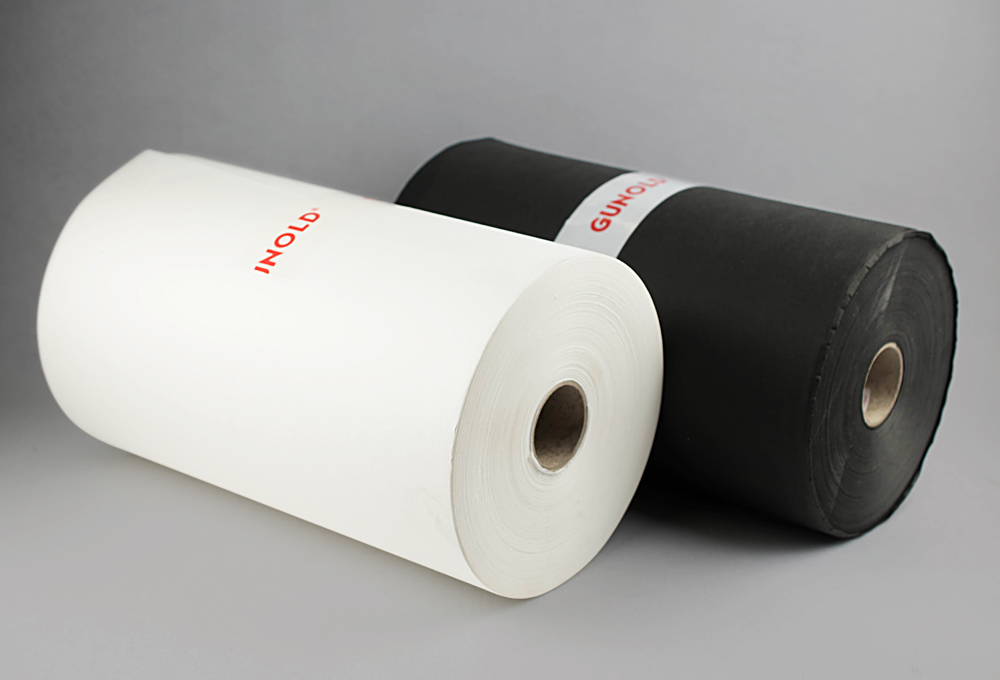
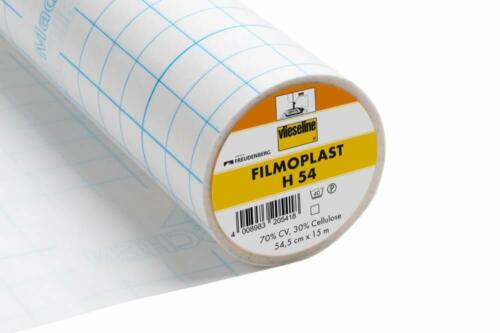
- Tearaway Stabilizers: Tearaway stabilizers are usually made from paper-like material, and as the name implies, you can easily tear them away after stitching. They’re best suited for stable, non-stretchy fabrics and simple designs. The trick here is to tear them off gently to avoid stressing your stitches.
- Cutaway Stabilizers: Cutaway stabilizers are known for their durability. They’re typically made from polyester or vinyl and remain attached to the fabric even after the embroidery is done, as you simply cut away the excess. They’re excellent for stretchy fabrics and complex, dense designs since they offer robust support.
- Water-soluble Stabilizers: These are like magic—once you’re done with your stitching, you simply rinse them off with water and they disappear! Water-soluble stabilizers are excellent for sheer and delicate fabrics or any project where you don’t want the stabilizer to show. They’re also great for freestanding lace designs.
- Heat-away Stabilizers: These stabilizers are removed by applying heat, usually with an iron. They’re perfect for projects where water cannot be used, and like water-soluble stabilizers, they leave no residue behind. Ideal for fabrics sensitive to water and for use with high-detail designs.
Here’s a comparison table to make things clearer:
|
Type of Stabilizer |
Ideal For |
Ease of Removal |
Provides Stability For |
|
Tearaway |
Stable, non-stretchy fabrics |
Very Easy |
Simple designs |
|
Cutaway |
Stretchy fabrics |
Moderate (Requires cutting) |
Complex, dense designs |
|
Water-Soluble |
Delicate, sheer fabrics and freestanding lace |
Easy (Requires water) |
Designs where stabilizer should not show |
|
Heat-away |
Fabrics sensitive to water, high detail designs |
Easy (Requires heat) |
Designs where stabilizer should not show |
Must-Have Equipment for Using Stabilizers
Here’s a handy table listing down all the equipment you might need when working with embroidery stabilizers:
|
Equipment |
Purpose |
|
Embroidery Hoop |
To stretch the fabric and stabilizer taut, providing a flat surface for embroidery |
|
Embroidery Stabilizer |
To provide support to the fabric, prevent distortion, and ensure design integrity |
|
Fabric |
The base material on which the embroidery design will be applied |
|
Embroidery Needle |
To execute the embroidery design on the fabric |
|
Embroidery Thread |
To create the design on the fabric |
|
Scissors |
To cut away excess stabilizer (for cutaway type) and to trim threads |
|
Iron |
To remove heat-away stabilizers after embroidery |
|
Water Spray Bottle or Basin |
To remove water-soluble stabilizers after embroidery |
Remember, each embroidery project might require a different set of tools depending on the design, fabric, and stabilizer type. It’s always best to prepare in advance to ensure a smooth and enjoyable stitching session!
Mastering Stabilizers: Your Step-by-Step Guide How to Use Embroidery Stabilizer
So, you’ve got your embroidery project in mind, and your pattern picked out, and now it’s time to prep your fabric and stabilizer. Let me guide you through this process, step by step, based on my own experience and practical knowledge. It’s like learning to dance—it might seem intimidating at first, but once you get the rhythm, it’s a joy!
1. Choose the Right Stabilizer
Your first step is to select the appropriate stabilizer for your fabric and design. Light, simple designs on stable fabrics may only require a tearaway stabilizer. In contrast, stretchy fabrics or intricate designs call for a sturdy cutaway stabilizer. When I tried it out, I found water-soluble stabilizers perfect for delicate fabrics or freestanding lace, and heat-away for fabrics sensitive to water.
2. Cut Your Stabilizer to Size
Next, cut a piece of your chosen stabilizer slightly larger than your hoop. This ensures that the stabilizer will be securely hooped with your fabric, providing the necessary support for your design.
3. Position Your Fabric and Stabilizer
Now, layer your stabilizer and fabric. Usually, the stabilizer goes on the back of the fabric. However, sometimes, especially for lofty or textured fabrics, you might want to put a layer on top. Trust me, due to my practical knowledge, it does make a difference in the final result!
4. Hoop Your Fabric and Stabilizer
The secret to perfect embroidery? Hooping your fabric and stabilizer correctly. Make sure they are both taut in the hoop, but not overly stretched. This will prevent any puckering or distortion in your design.
5. Stitch Away
Now the fun part: stitch away! Follow your pattern and see your design come to life. Remember, embroidery is a form of expression. There’s no rush—enjoy each stitch.
6. Remove the Stabilizer
Once you’ve completed your design, it’s time to remove the stabilizer. For tearaways, gently tear off the stabilizer. Cutaways require careful trimming, and water-soluble types simply rinse away. Heat-away stabilizers vanish with a quick press of a warm iron.
And there you have it! A step-by-step guide to using embroidery stabilizers. Trust me, once you incorporate stabilizers into your stitching routine, your embroidery will go from good to great. You’ll see a world of difference! Happy stitching!
FAQ
The choice of stabilizer depends on the type of fabric and the complexity of the design you’re working on. For stable fabrics with simple designs, a tearaway stabilizer might be sufficient. For stretchy fabrics or complex, dense designs, a cutaway stabilizer is usually recommended. If you don’t want the stabilizer to show, consider using a water-soluble or heat-away stabilizer.
The method of removal depends on the type of stabilizer used. Tearaway stabilizers can be gently torn off, cutaway stabilizers need to be carefully trimmed, and water-soluble stabilizers dissolve when exposed to water. Heat-away stabilizers disappear when you apply heat, usually with an iron.
Unfortunately, embroidery stabilizers are generally not reusable. Once they’ve been used for a project, they’re typically torn, cut, or dissolved away.
While there might be some exceptions, using a stabilizer is generally recommended for most embroidery projects. It helps keep your fabric stable during the embroidery process, enhancing the quality and longevity of your designs.


Leave a Comment