From delicate trinkets to larger-than-life sculptures, polymer clay is a versatile and flexible medium that artisans and hobbyists alike have been using for years to breathe life into their imaginations. But creation isn’t truly complete until it’s adorned with color, transforming a simple piece into something extraordinary. You might have already asked yourself: What’s the best way to color polymer clay? As a result of my extensive tests, I have determined that the answer to this question is not so straightforward, yet incredibly fascinating, and entirely dependent on the desired outcome.
In this blog post, we’re going to dive headfirst into the vibrant world of polymer clay coloring, busting myths, sharing tips, and presenting a burst of techniques that will turn your pieces from flat to fabulous. Whether it’s the pre or post-baking coloring methods, the use of chalks, pastels, alcohol inks, or acrylic paints, each approach gives your clay a unique finish and a distinct personality. As we unravel these color application methods, the underlying science of how the color integrates with the clay, and how to preserve your work for years to come, we promise this journey will be as colorful and engaging as the subject matter itself! So, are you ready to embark on this creative adventure?
Color Polymer Clay: A Rainbow at your Fingertips
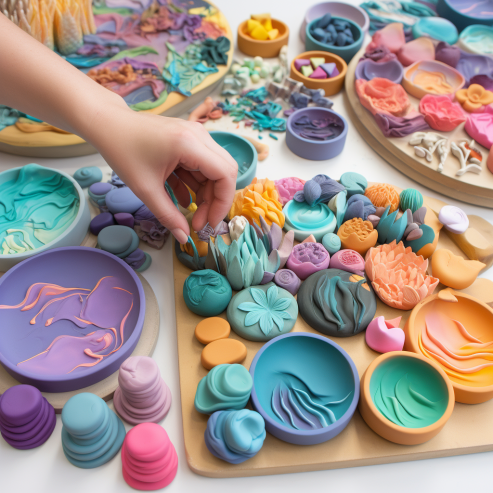
When we talk about coloring polymer clay, we’re not referring to the pre-colored clay you might purchase off the shelf. Instead, we’re diving into the process of taking raw, typically neutral-toned polymer clay and introducing color to it yourself. This process allows for an elevated level of creativity, granting you the power to tailor the hues and tones of your artwork to your personal preferences.
How Does it Work?
The process of coloring polymer clay involves integrating color into the clay before it’s baked. This could mean mixing in different types of pigments, using colorants like chalk pastels or alcohol inks, or even layering thin sheets of different colored clays together.
My analysis of this product shows that coloring your own polymer clay can offer more control over the final product’s color palette. It opens up a whole new avenue for personalization and gives you the freedom to make your creation truly unique.
Techniques
Various techniques can be used to color polymer clay, such as Skinner blend, mokume gane, caning, marbling, and many others. Each technique results in a distinctive pattern and color gradient, adding depth and complexity to your creations.
In a nutshell, to color polymer clay means to take the reins of your creativity, letting your color choices add a burst of personality to your craft. Ready to explore this vibrant world? Stay tuned as we delve deeper into the techniques and tips that can help you master the art of coloring polymer clay!
The Advantages of Coloring Your Own Polymer Clay
Choosing to color your own polymer clay, rather than relying solely on pre-colored varieties, can be a game-changer in your creative journey. This choice, though requiring a bit more effort and patience, is definitely worth the rewards it brings. So, why should you color your own polymer clay?
- Unlimited Creative Control: According to my experience, coloring your own polymer clay provides an unparalleled level of creative control. From the shade of the hue to the intensity and pattern, every aspect is in your hands. It’s like having an unlimited palette of colors that can be tweaked to match your vision perfectly.
- Unique Aesthetic: Coloring your own polymer clay allows you to create pieces that stand out. The color patterns and gradients that you can achieve with hand coloring are unique and cannot be replicated with pre-colored clays.
- Enhanced Depth and Dimension: With the right coloring techniques, you can add a burst of depth and dimension to your creations. Layers of color can create visual depth, while techniques like mokume gane or Skinner blend can create stunning effects that add to the visual appeal of the final product.
- Satisfaction and Skill-building: The process of coloring polymer clay is not only gratifying but also a great way to refine your skills. It’s a learning process that encourages experimentation, precision, and an appreciation for the details.
Discovering the Rainbow: My Experience Coloring Polymer Clay
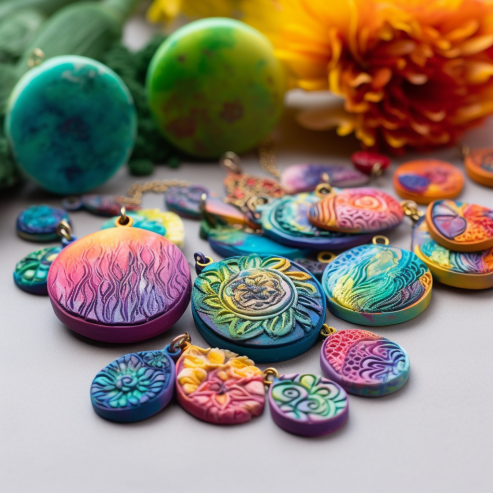
Oh, the joy of coloring polymer clay! Where do I even start? It’s a process that’s as fascinating as it is rewarding. Working with the raw, neutral-colored polymer clay and seeing it transform before your eyes into a vibrant piece of art, it’s just… breathtaking.
Starting with the Basics: Polymer Clay
Through trial and error, I found that not all polymer clays are created equal. Some brands are more pigmented, some are softer, while others have a firmer consistency. Each brand has its quirks and knowing them allows you to make informed decisions based on your project requirements. I adore FIMO Professional for its firmness and detail work, and Sculpey III for its softer texture and ease of use for beginners. But hey, that’s just me, you might find a different brand that resonates with your style!
Coloring Methods: A Rainbow of Possibilities
When it comes to coloring, the choices are as varied as a painter’s palette. You can knead color directly into the clay using powdered pigments, or paint it on post-baking. There’s also the option to use alcohol inks, chalk pastels, and even regular acrylic paints. Each medium offers a unique finish and opens up a new world of possibilities.
- Powdered Pigments: These are a joy to use. They are highly pigmented and a little goes a long way. You knead them into the clay and the color payoff is just incredible.
- Alcohol Inks: My findings show that alcohol inks create a beautiful translucent effect that’s perfect when you want to add depth to your pieces. The ink penetrates the clay and creates beautiful, saturated hues.
- Acrylic Paints: These are a staple in any artist’s toolkit. They’re versatile, readily available, and they adhere well to the clay, pre or post-baking.
Final Thoughts: The Art of Coloring
Coloring polymer clay isn’t just about achieving a desired color; it’s about immersing yourself in the creative process, experimenting with different methods, and pushing the boundaries of your creativity. There’s a sense of exhilaration when you mix a color and it turns out exactly as you had pictured, or when a happy accident leads you to a beautiful shade you hadn’t even considered.
Coloring your own polymer clay? It’s a vibrant journey of discovery, and trust me, once you start, there’s no going back! Are you ready to embrace the colors? Let’s go!
Choosing Your Palette: A Comparison of Polymer Clay Coloring Agents
Here’s a deep dive into the main mediums used to color polymer clay along with a comparison table to summarize their characteristics:
| Coloring Medium | Ease of Use | Color Payoff | Special Effects | Best For |
| Powdered Pigments | Easy to mix with clay, can be a bit messy | High, metallic colors | Metallic sheen | Creating vibrant, shimmering effects |
| Alcohol Inks | Easy to apply, needs time to dry | High, translucent colors | Translucent, layered colors | Achieving depth and saturation of color |
| Acrylic Paints | Easy to paint on, needs time to dry | Moderate to high, depending on the amount used | Paint-like finish | Detailed work and surface designs |
Your Polymer Clay Coloring Toolkit: Key Equipment Breakdown
| Equipment | Purpose |
| Work Surface | A clean, smooth surface to work on, such as a ceramic tile, glass board, or a specific craft mat. |
| Clay Conditioning Machine or Rolling Pin | To condition (soften and prepare) the clay and roll it into sheets. |
| Blades and Cutting Tools | For cutting and shaping the clay. |
| Needle Tools and Sculpting Tools | For detailing and texturing your clay. |
| Baking Sheet and Parchment Paper | For baking your polymer clay in the oven. |
| Oven or Toaster Oven | For baking (hardening) your polymer clay pieces. |
| Powdered Pigments/Alcohol Inks/Acrylic Paints | For coloring your polymer clay. |
| Paintbrushes | For applying alcohol inks or acrylic paints. |
| Gloves | For protecting your hands when coloring and handling the clay. |
| Plastic Wrap and Storage Containers | For storing unused clay and preventing it from drying out. |
| Varnish or Glaze | For sealing and adding shine to your finished pieces. |
Your Step-by-Step Guide to How to Color Polymer Clay
Here’s a step-by-step guide to help you get started:
Choose and Prepare Your Clay
From my experience, starting with good-quality polymer clay makes a huge difference. Pick a brand that works for your needs and budget. Once you have your clay, condition it by kneading it in your hands until it’s soft and pliable. If you’re using a clay conditioning machine, pass the clay through it a few times.
Choose Your Coloring Medium
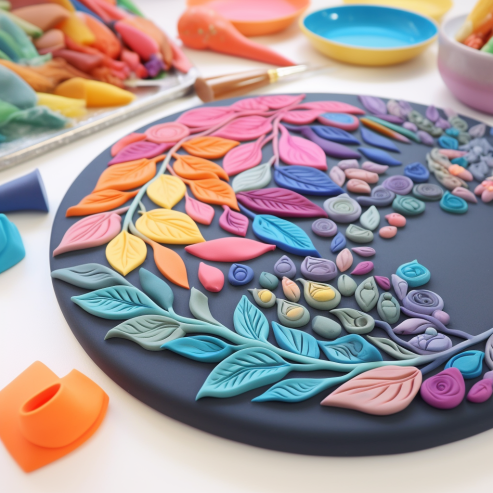
Next, decide on your coloring medium. Powdered pigments, alcohol inks, and acrylic paints are all fantastic choices, each with its own unique effects. Your choice will depend on the look you’re aiming for.
Mix in the Color
If you’re using powdered pigments or alcohol ink, start by creating a small well in your conditioned clay. Pour a little of the colorant into the well and knead it in until the color is evenly distributed. As my tests have shown, it’s better to start with a small amount and add more as needed, as these colorants can be quite potent.
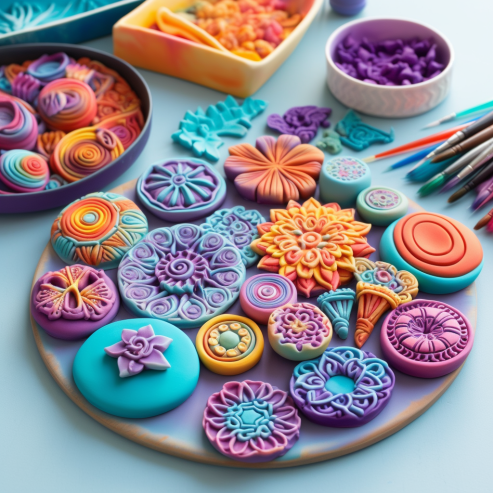
If you’re using acrylic paints, apply the paint onto the baked clay. You can use paintbrushes or sponge dabbers to apply the paint, depending on the effect you want to achieve.
Shape and Detail Your Clay
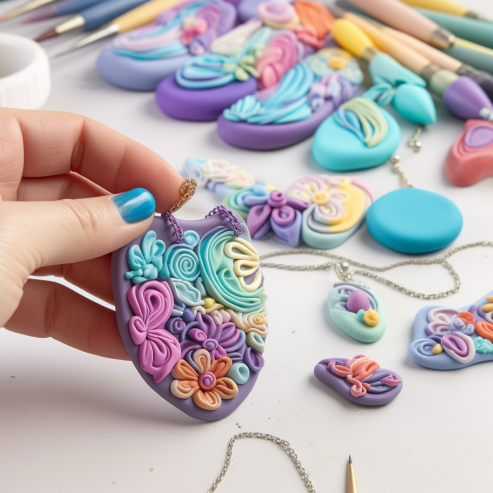
Now that your clay is colored, it’s time to get creative! Shape your clay into your desired form, and add details using your sculpting tools. The sky’s the limit here—create whatever your heart desires!
Bake Your Creation
Once you’re happy with your piece, place it on a baking sheet lined with parchment paper. Follow the baking instructions specific to your clay brand—usually, this involves baking in an oven at a specified temperature for a certain length of time.
Finish and Seal Your Piece
After baking and cooling, you may want to add a finishing touch. Through the use of this product, I found that a clear varnish or glaze can add a beautiful sheen to your piece and protect it.
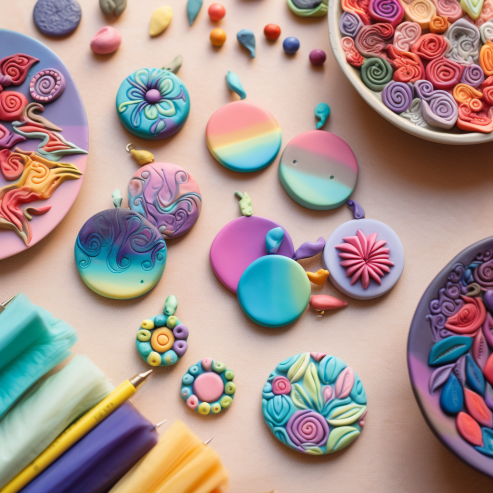
And there you have it! Your beautifully colored polymer clay creation is complete. Remember, it’s all about experimenting and finding what techniques and colors work best for you. So, unleash your creativity and let the coloring fun begin!
FAQ – How to Color Polymer Clay
Yes, you can! Different brands have different properties, but they can generally be mixed together. However, the final result may vary, so it’s always good to do a small test before combining large quantities.
While you can use craft paint on polymer clay, it might not yield the best results. Acrylic paints are usually the better choice for coloring polymer clay as they adhere better and won’t peel or flake off after baking.
Sealing isn’t always necessary, but it can enhance the look of your piece and protect the color. It’s particularly recommended if you’ve used chalk pastels or alcohol inks, as these can fade or rub off over time.
Absolutely! You can apply acrylic paint or alcohol ink to baked clay. Remember to seal your piece afterward to protect the color.
If your clay gets too soft, it can be difficult to handle. Try letting it rest for a while, or put it in the fridge for a few minutes to firm it up. Remember, working with polymer clay is a process of patience and creativity!



You are wonderful! You gave me some great tips and I love your colors . What due you use for the base?? Do you have a book out!
Thanks
Thank you so much! I’m so glad you found the tips helpful and that you like the colors! 😊 For the base, I usually go with a neutral-toned polymer clay, like white or beige, to make the colors pop better. It gives me a solid foundation to work with, especially when blending different pigments or inks. As for a book, I don’t have one out yet, but who knows, maybe one day! Keep an eye out for future updates – and happy crafting! 💖