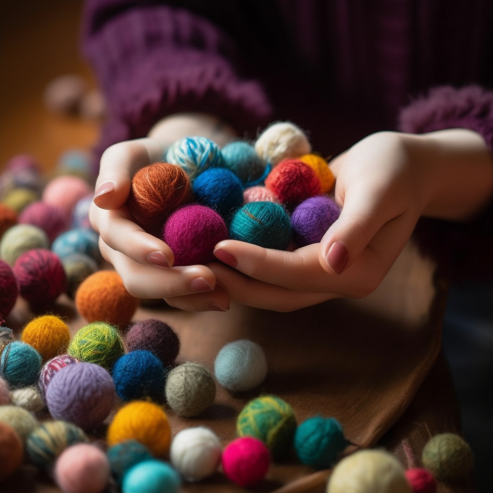
All about handmade
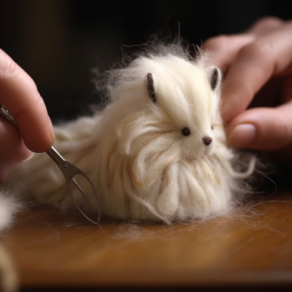
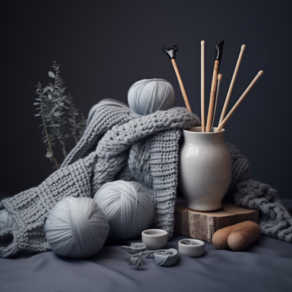
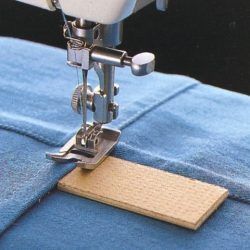
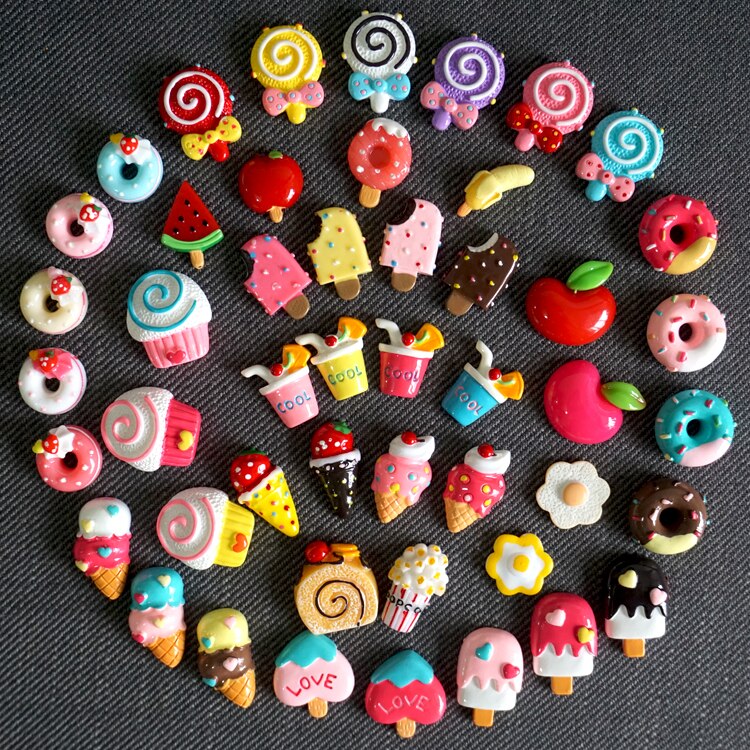
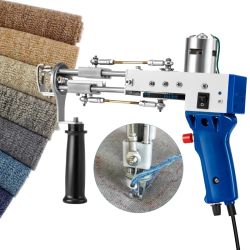
Sewing, knitting, scrapbooking, polymer clay molding, tufting, and much more.

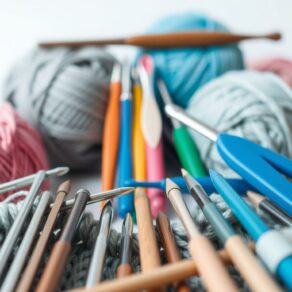

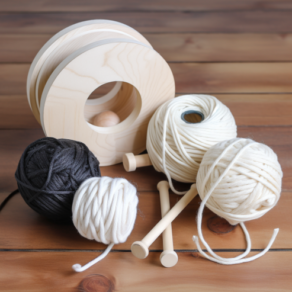
THERE’S A LOT OF INTERESTING STUFF HERE:
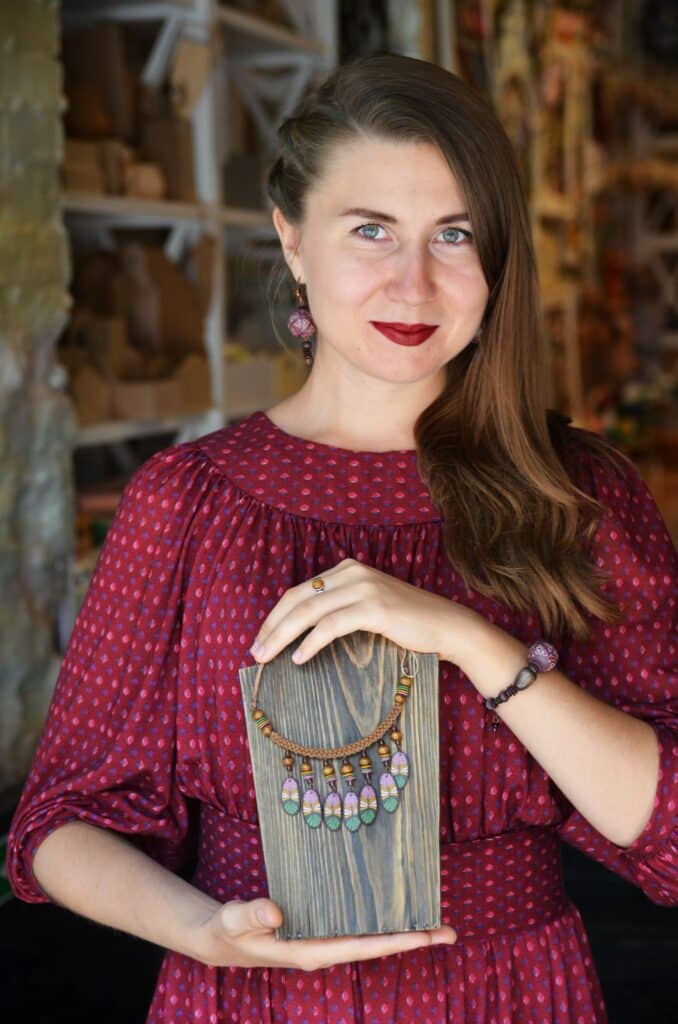
Vlada
Hi, my name is Vladislava. I’m a jewelry designer. I create unusual jewelry for women, micro-macrame earrings and bracelets, bib necklace statements with hand-sculpted polymer clay feathers, and floral hair accessories.
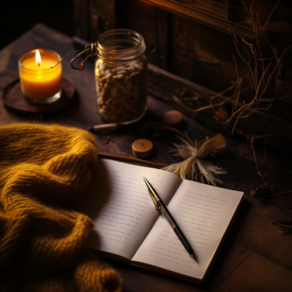
It’s a pleasure to welcome you to my blog. I will tell you about the tools and equipment I have had to work with. I will share my opinion about this or that material – what is worse or better for specific tasks in my opinion. Follow the site links, share with your friends, and I will try to publish only interesting and useful content. Email me with any questions, I’ll be happy to chat!
NOT SURE WHERE TO START? TAKE YOUR PICK:
FEATURED ON